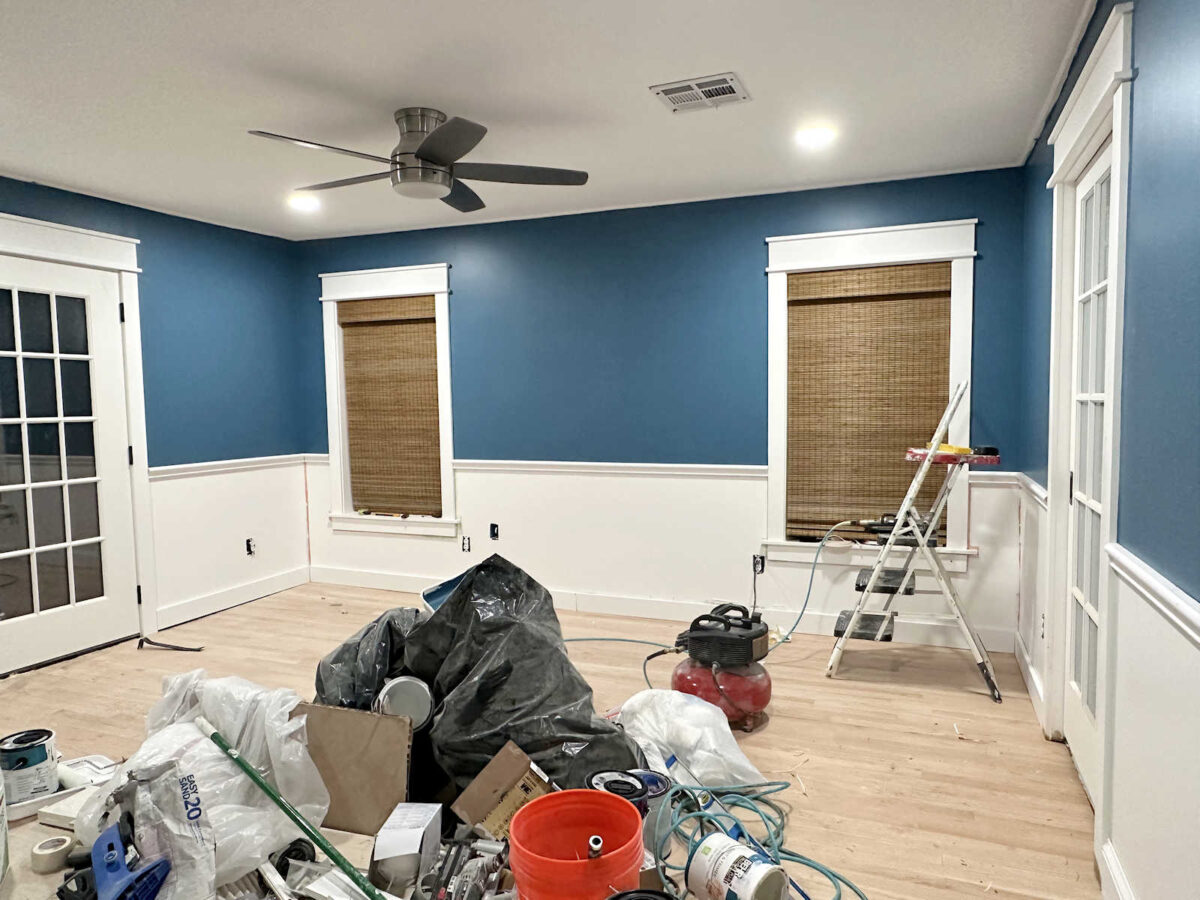
Oh my goodness, y’all. This took so much longer than I thought it would, but the wainscoting and trim in the bedroom is finally finished!! I had hoped to get the room all cleaned up and get a few pretty things in the room before I showed you the finished wainscoting and trim, but I didn’t finish up with the crown molding until 11:00 last night, and I just couldn’t do any more work. So the cleanup had to wait.
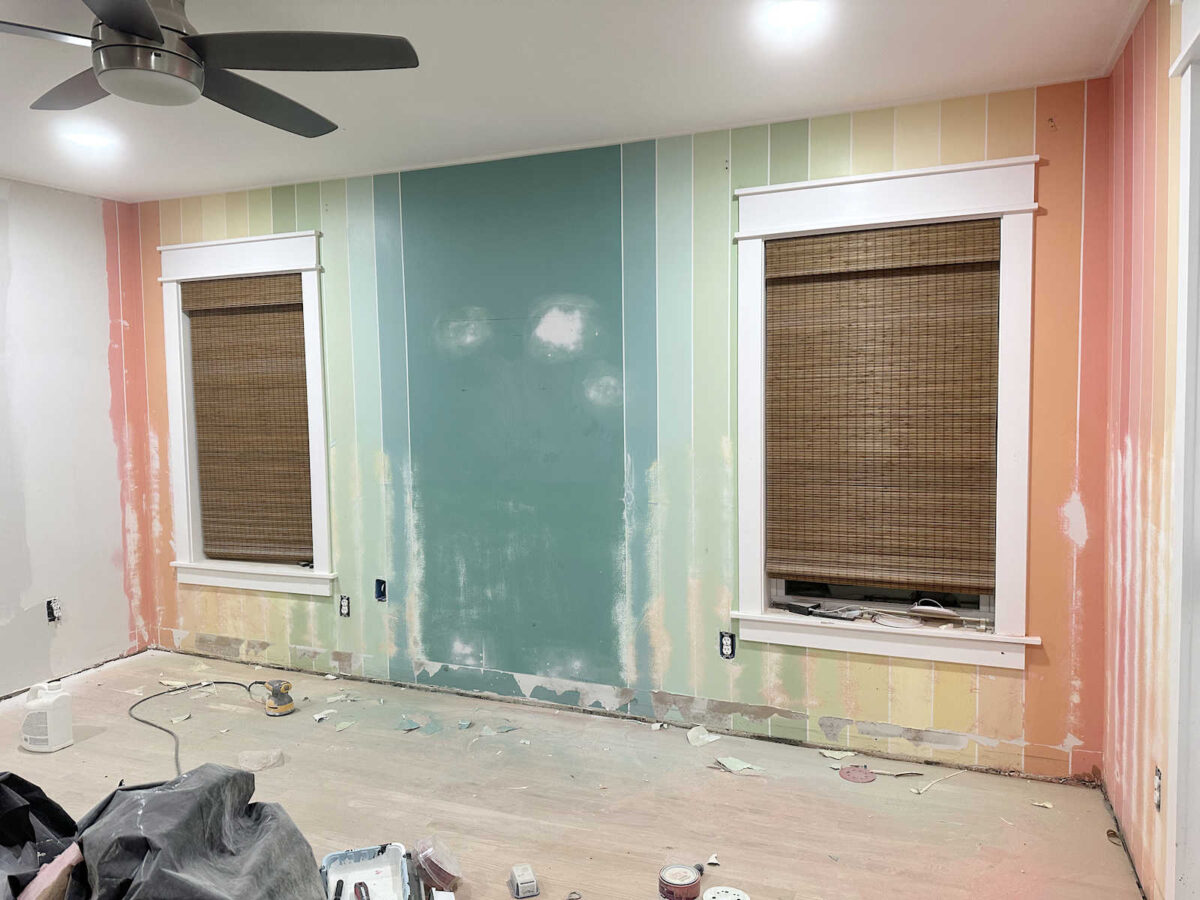
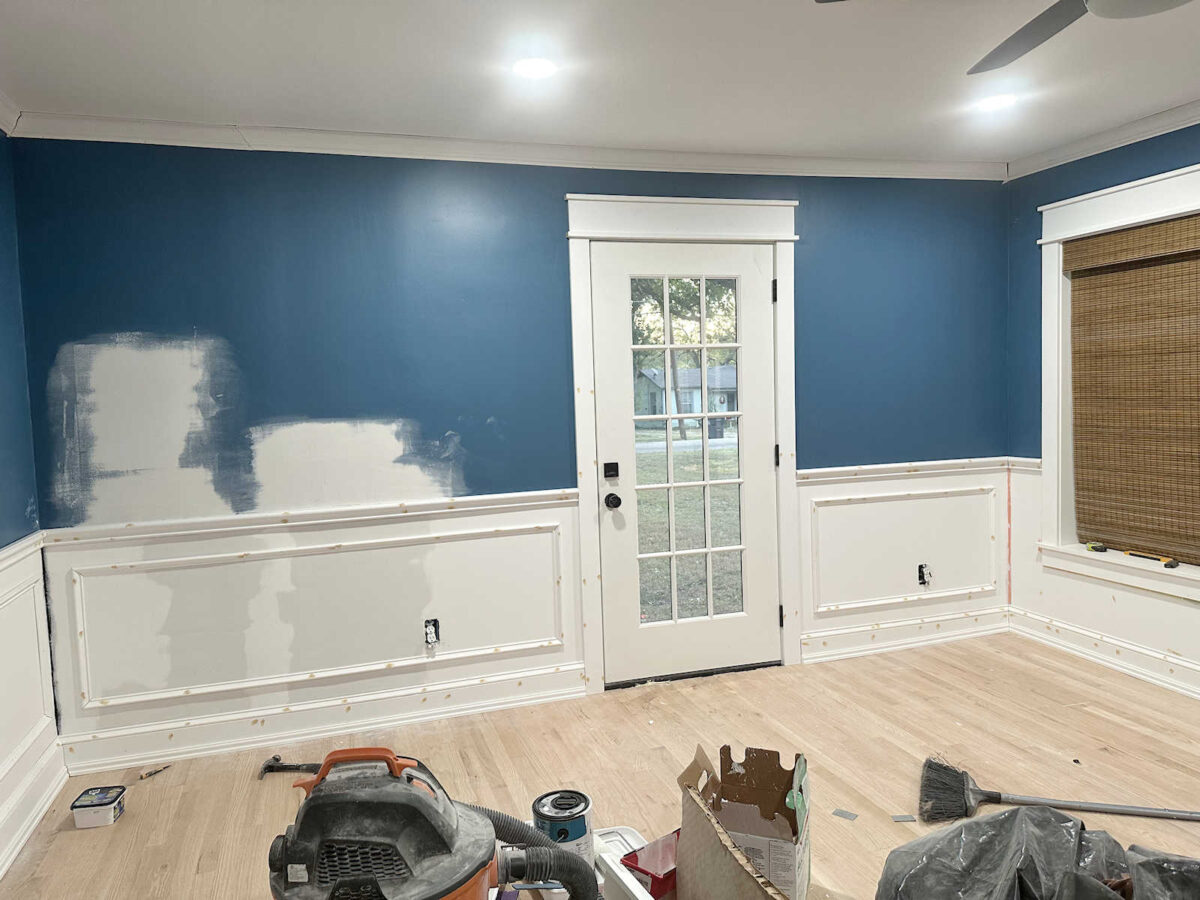
But I’m so pleased with how it turned out. First, let me remind you of what it looked like before I started the priming, painting, and trim installation. This was right after I sanded the stripes on the lower part of the walls to make them smooth enough so that the taped off lines from the stripes wouldn’t show through on the bottom portion of the walls.
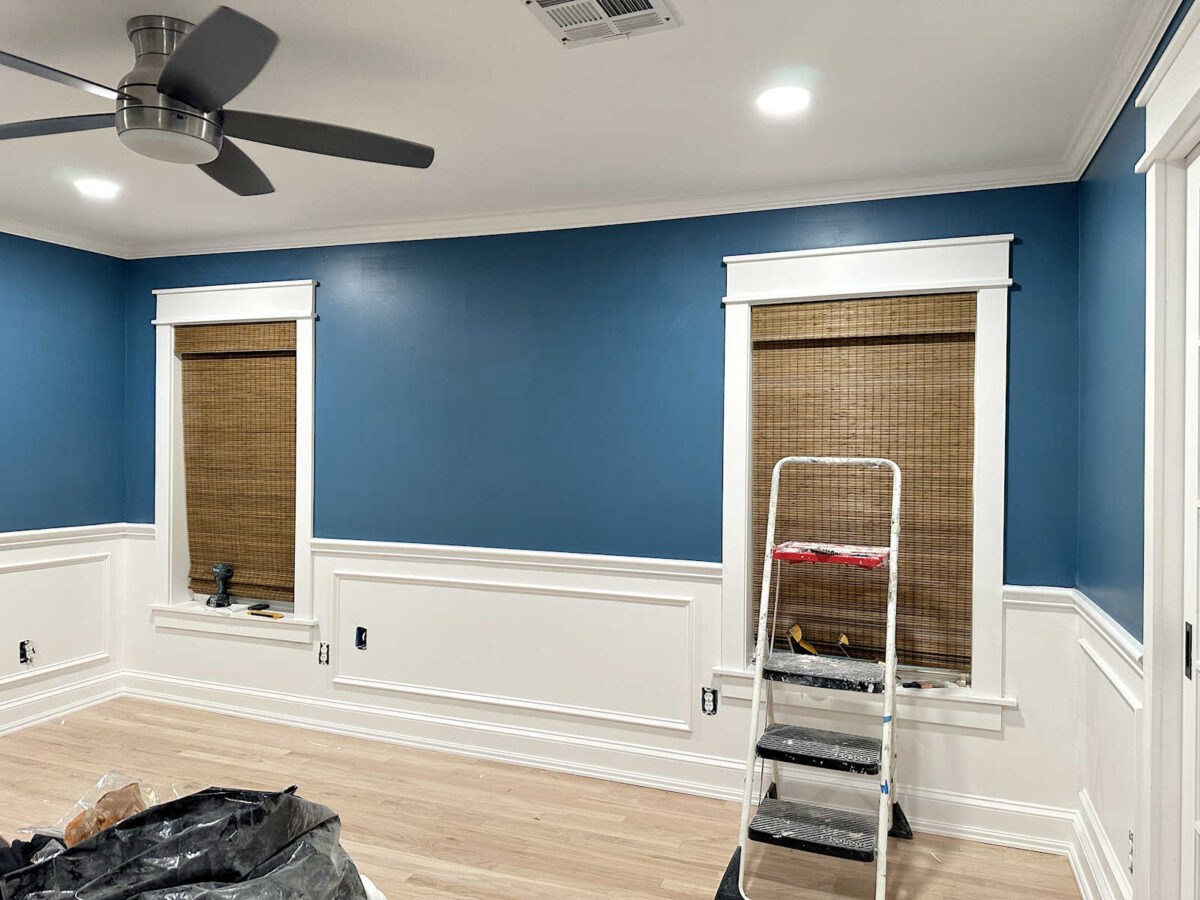
And now, finally, it looks like this with the new wainscoting and crown molding. I will need to add the outlet covers. And keep in mind that I didn’t go to great lengths to make the upper walls perfect since they’ll have the grasscloth wallpaper on them, which will hide any small imperfections and those taped off lines from the previous painted stripe walls.

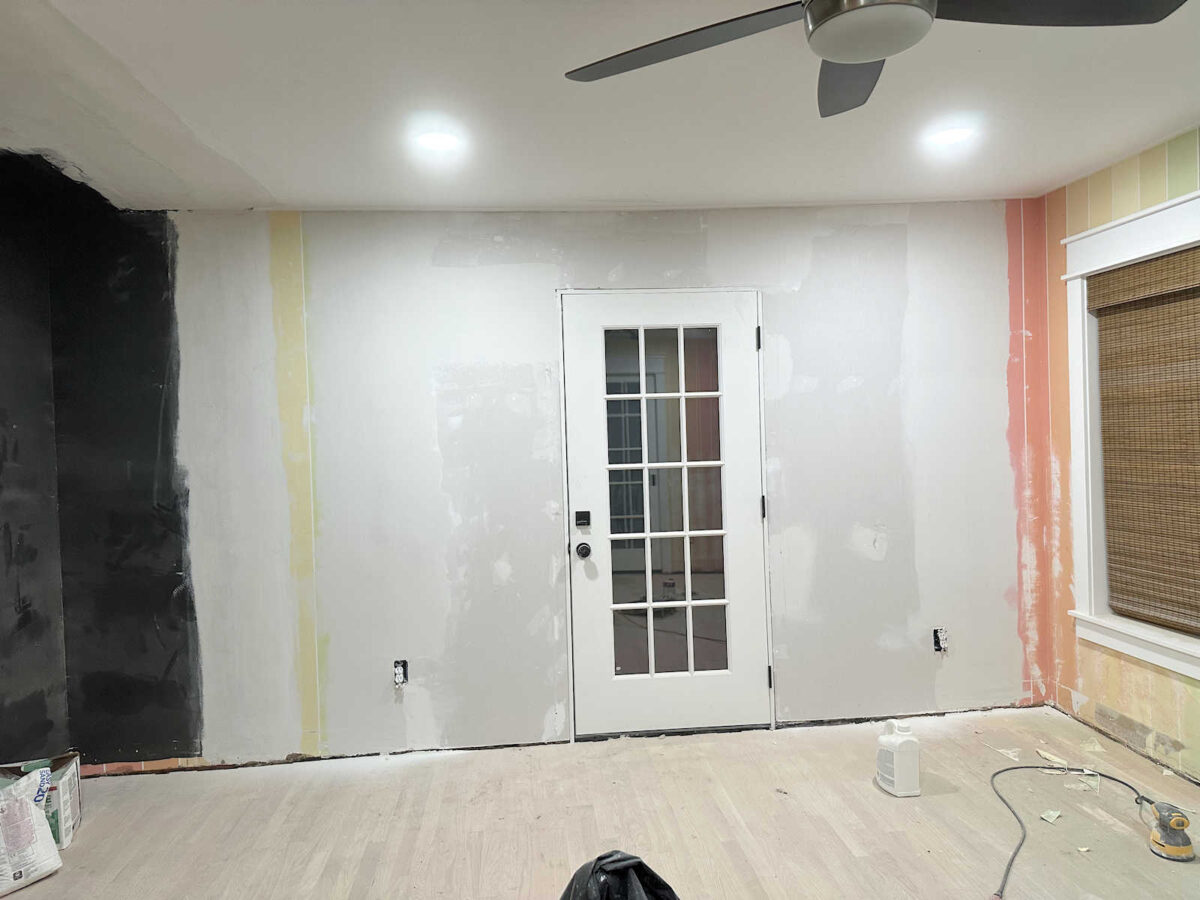
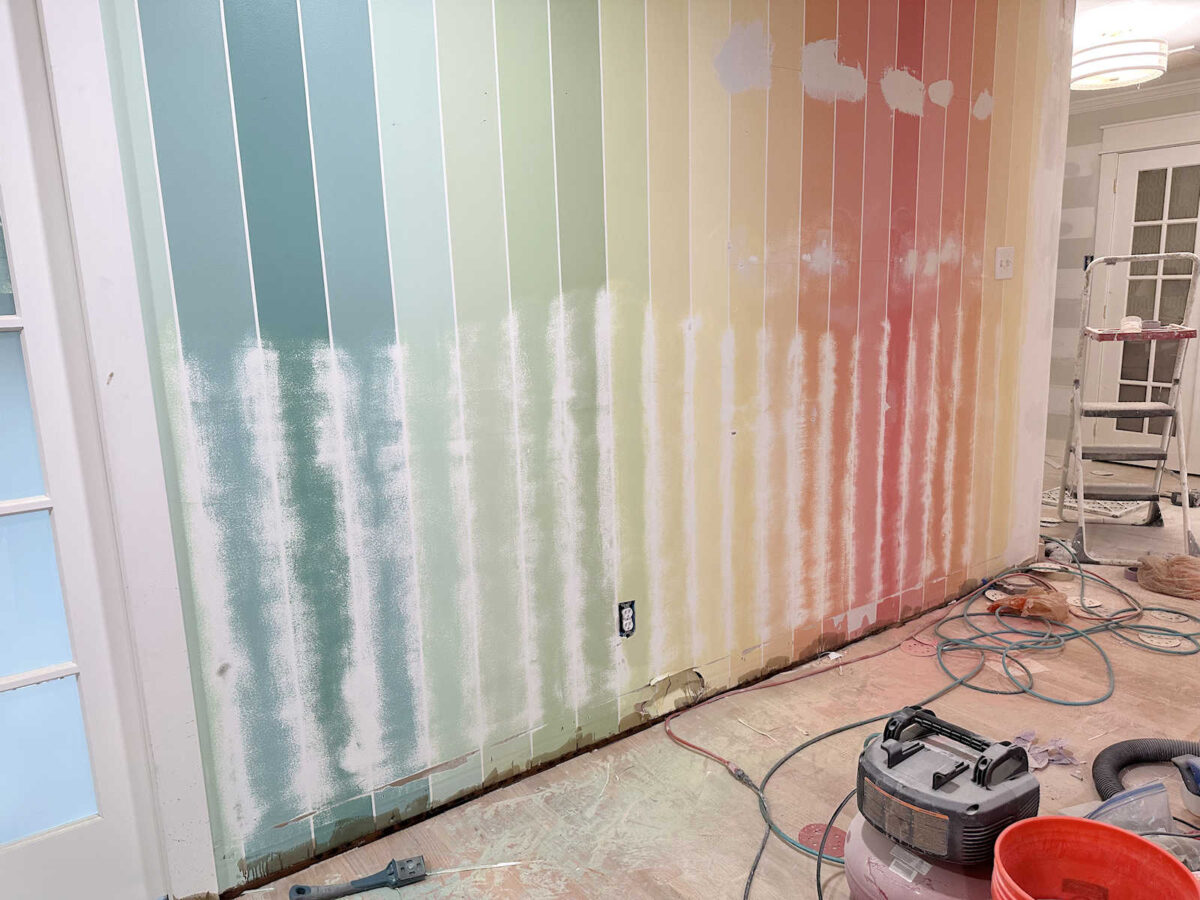
This wall was an absolute mess, with a combination of the black from where the closet used to be, the stripes from the previous home gym walls, and new drywall from the door installation.

And even after I started adding the wainscoting, I had to go back and smooth out a couple of very wavy areas in the wall.

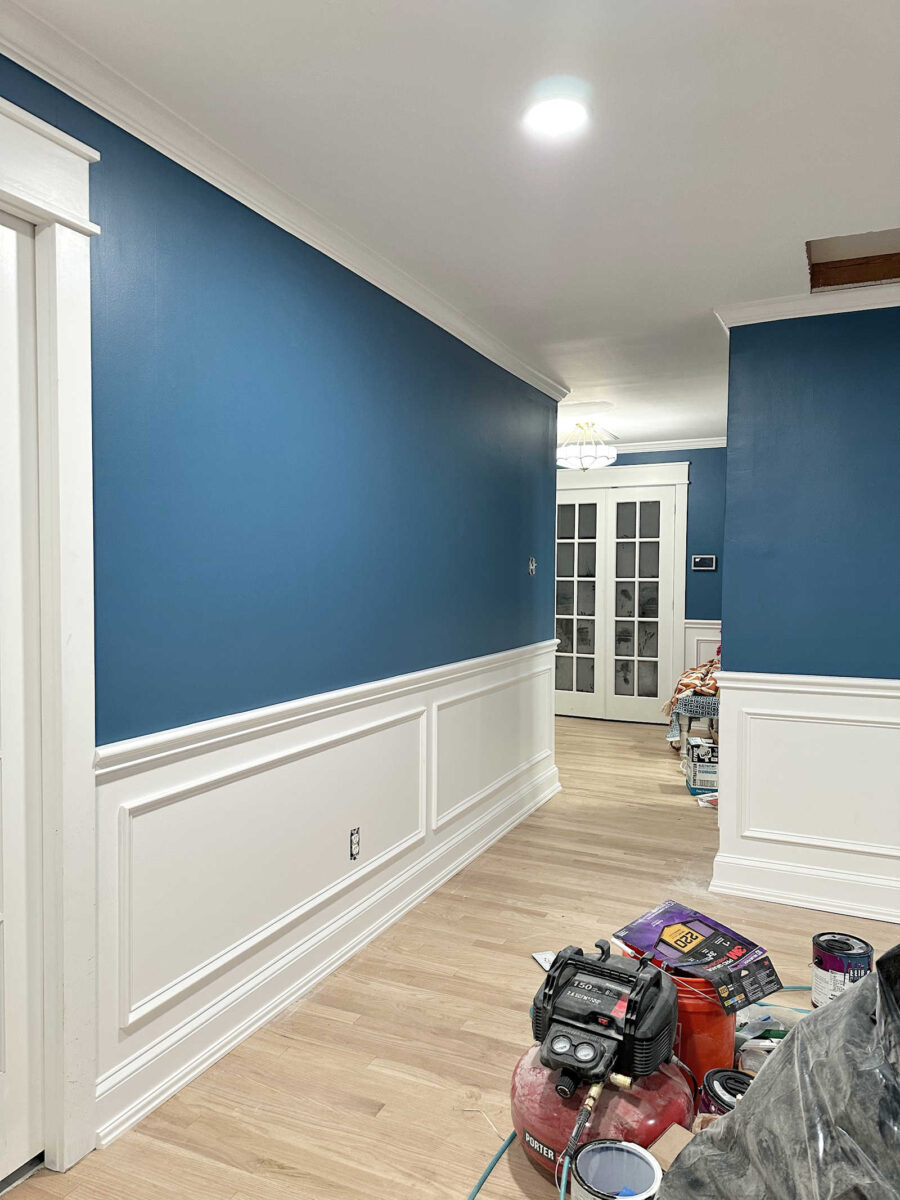
And now it looks like this. The wainscoting and crown are done, and it’s now ready for the wallpaper.
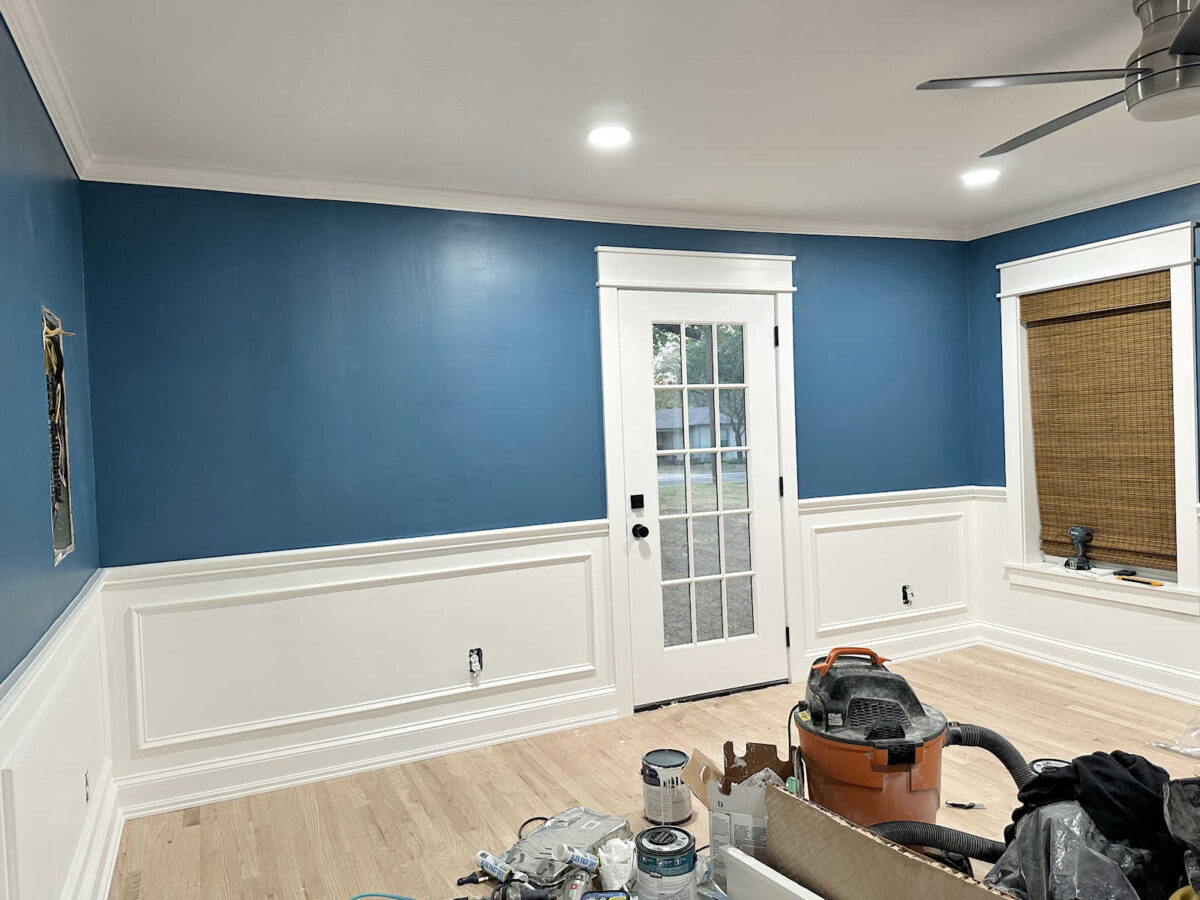

It’s hard to decide which wall was the biggest mess, because really, all of them were quite a mess. They were all a testament to the fact that it has to get much worse before it can get better.

But patience and perseverance pay off. None of the walls are perfect, but they’re good enough that I can live with them. And as a perfectionist with a very critical eye that can always pick out the flaws, that’s saying a lot.
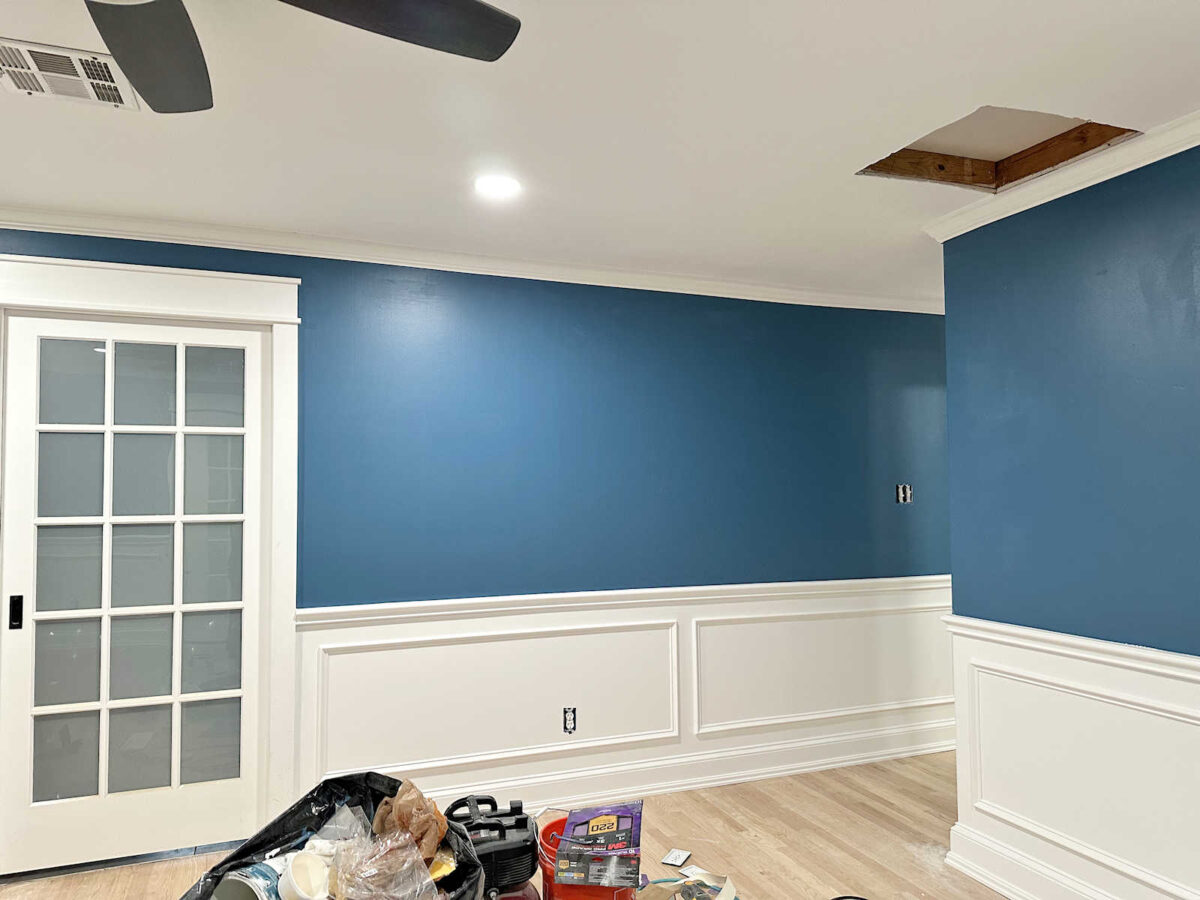

And of course, as I was taking these pictures, I realized that I had forgotten to sand and paint that area on the ceiling in the foyer where I had to patch the drywall after moving the ceiling light. *Sigh* There’s always something I seem to overlook. So I’ll need to get that taken care of before I start moving in the area rug, bedside tables, etc.

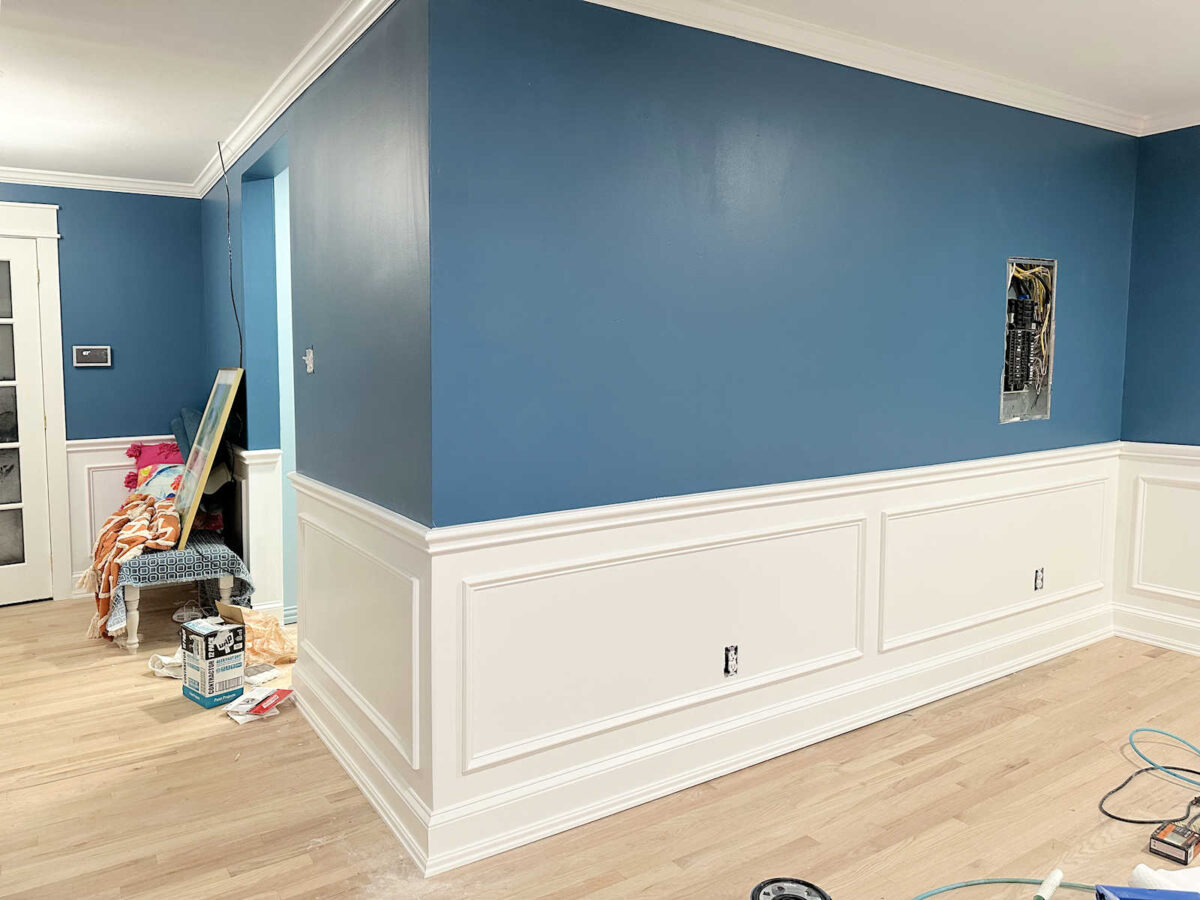
And finally, let’s not forget the mess that was this wall. This is the wall where the closet used to be.
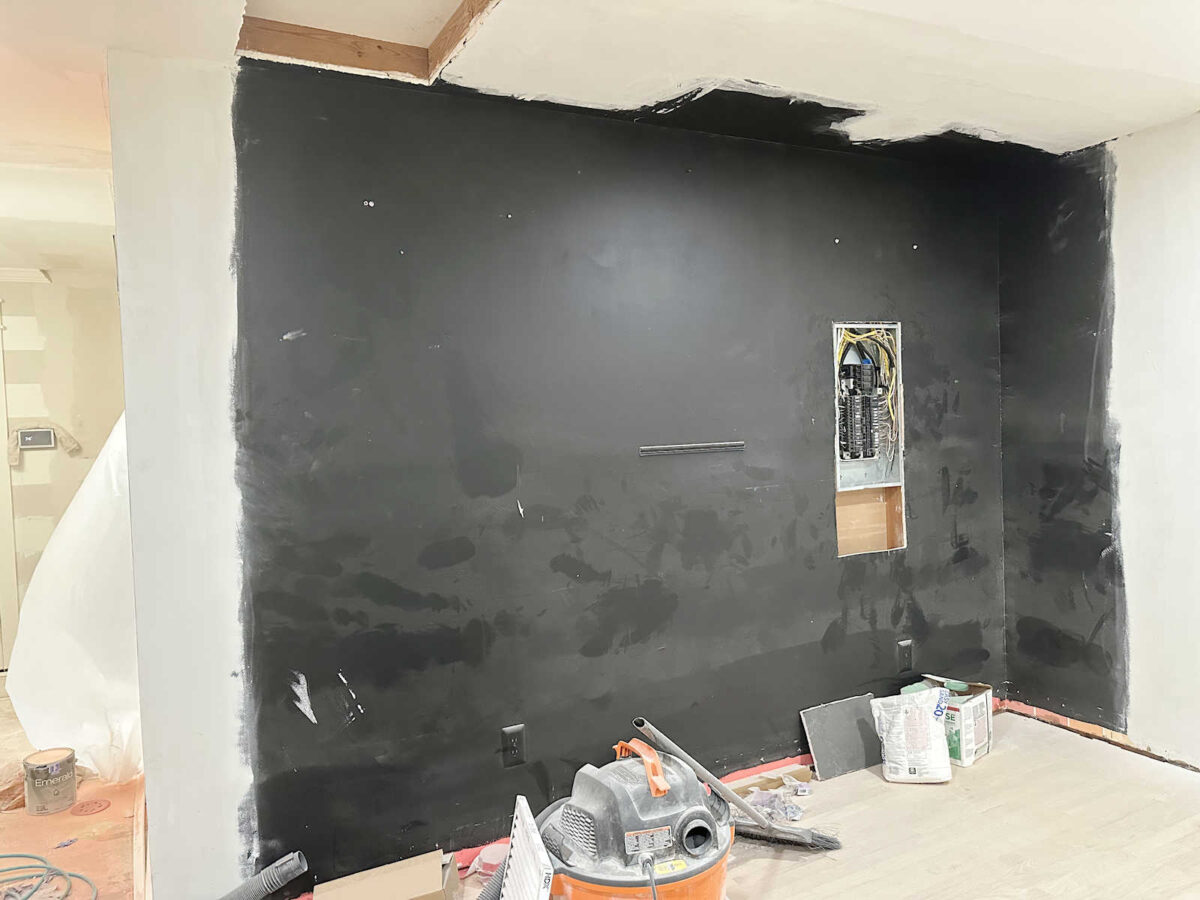

So that you can get your bearings, I’ll remind you of what it looked like when this room was our home gym. You can see that the black walls were leftovers from that black closet in our home gym. That closet area had two full-length mirrors, which is why you see a window to the left of the dresser. That’s just a reflection in the mirror of the opposite wall…


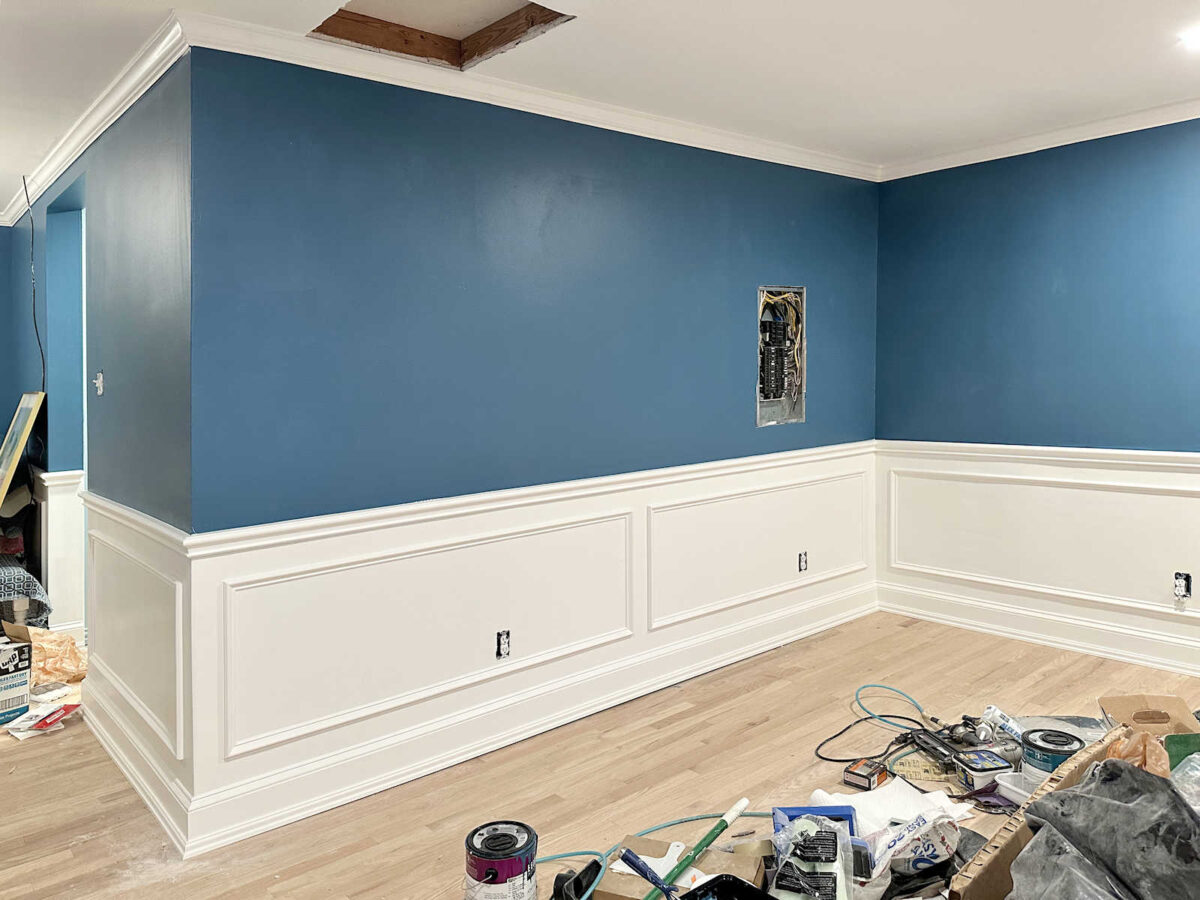
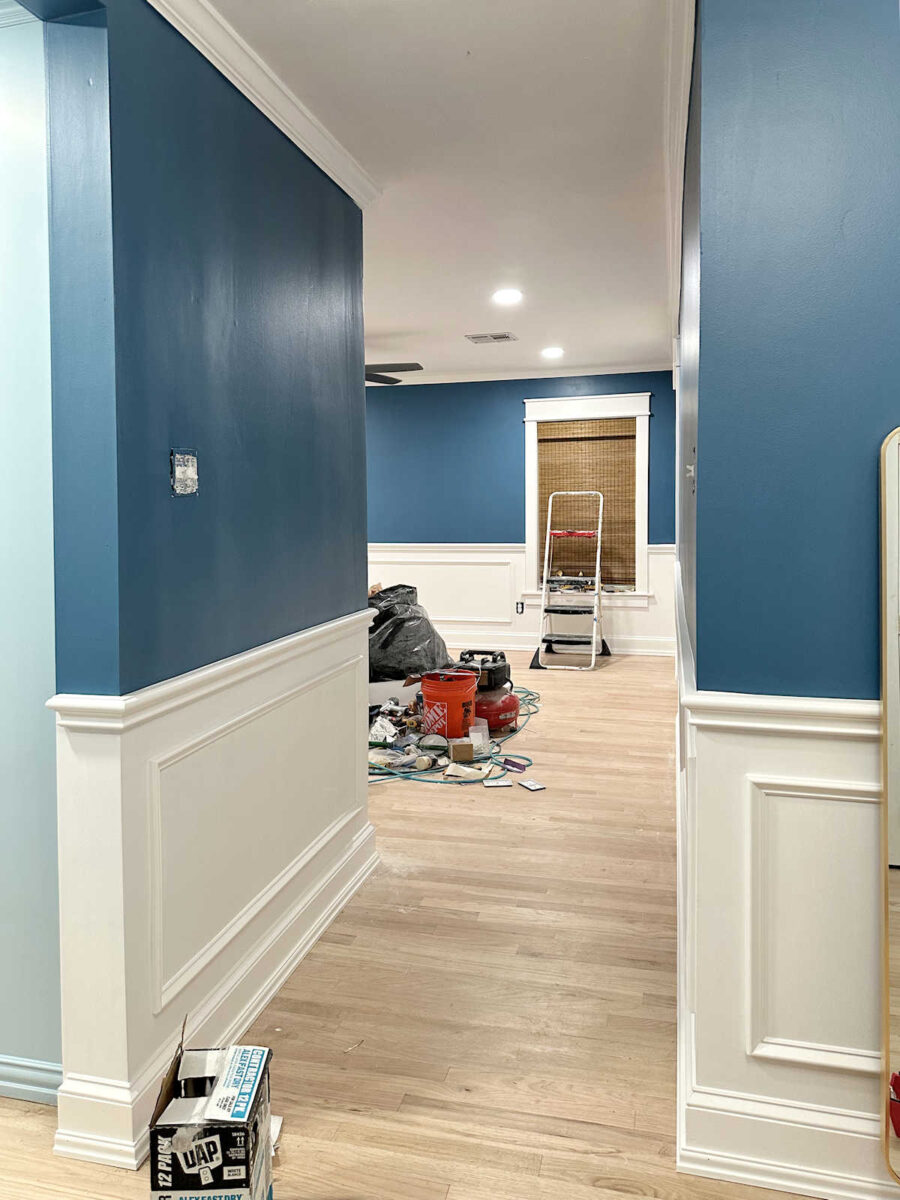
And now, with that closet gone, the walls repaired, the wainscoting and crown molding installed. and that entire doorway removed to open up this room to the foyer, it looks like this…

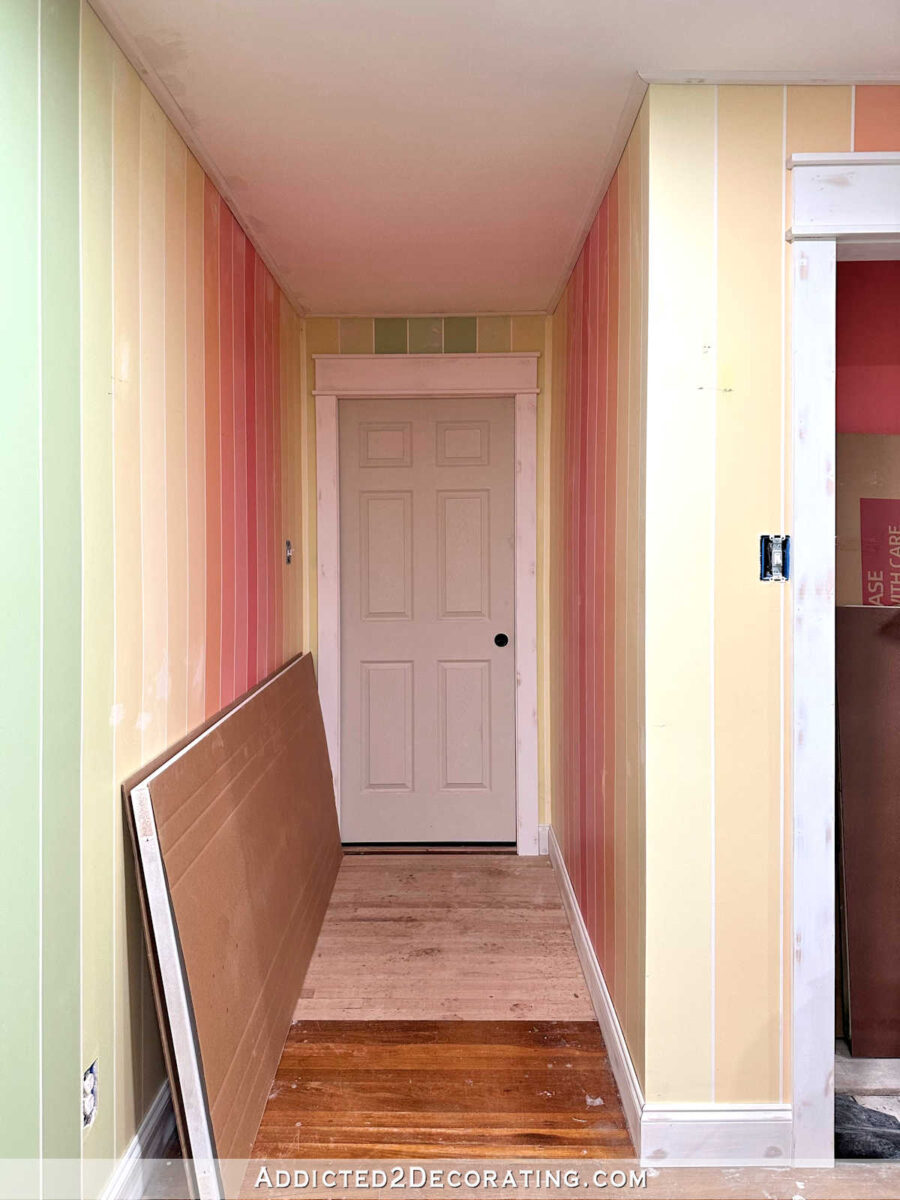
I don’t have a picture of this exact view from when the home gym was actually finished, but I do have one from when the home gym was still in progress. I can’t get over the difference in this view from then to now. This area used to feel so closed in like a tunnel.

And now look at how open it looks. What a difference removing a couple of walls can make! 😀
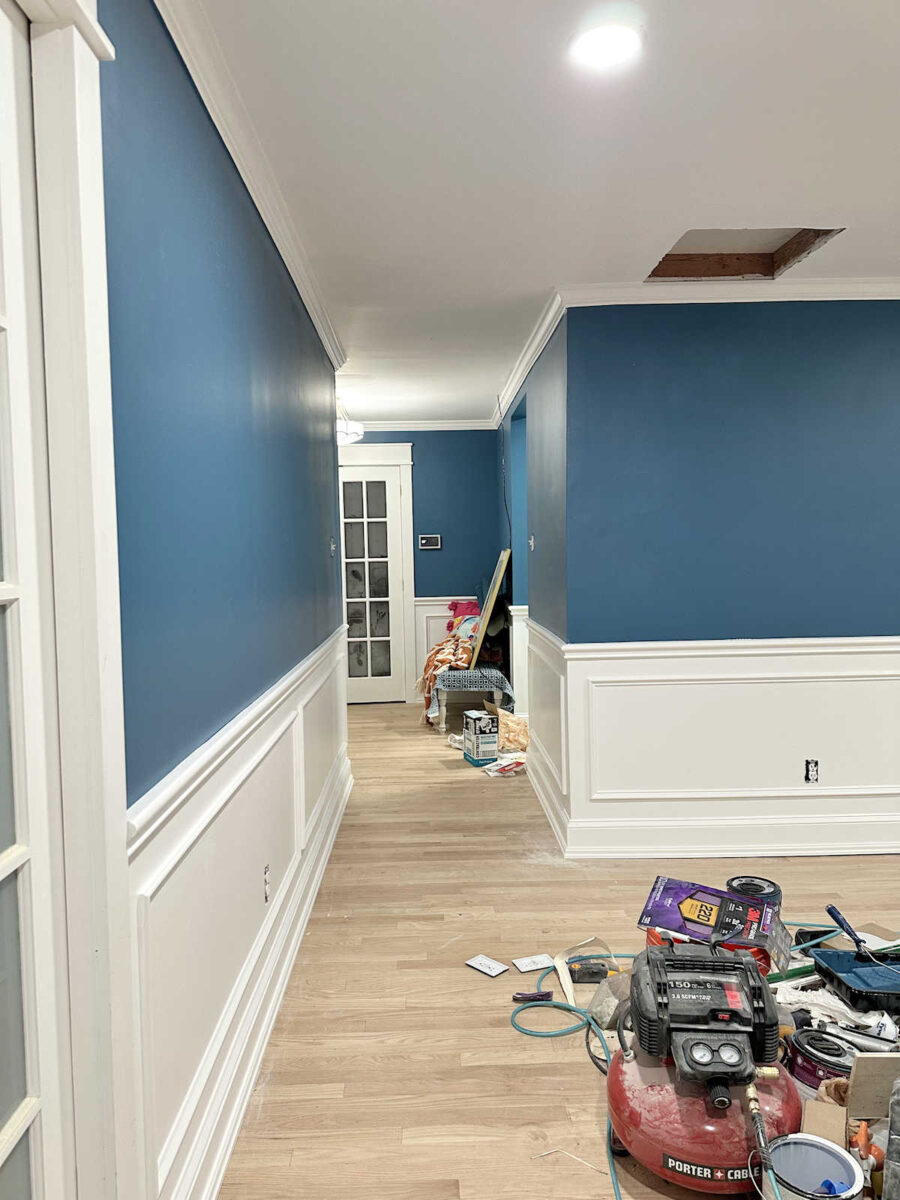

As you can see above, I do still need to trim out the entrance to the attic, but that will be a pretty simple project.
I also need to add some trim right in front of the door to cover up those cut edges of the flooring. I’m not sure if a strip of quarter round will be big enough for that, but I’ll come up with something.
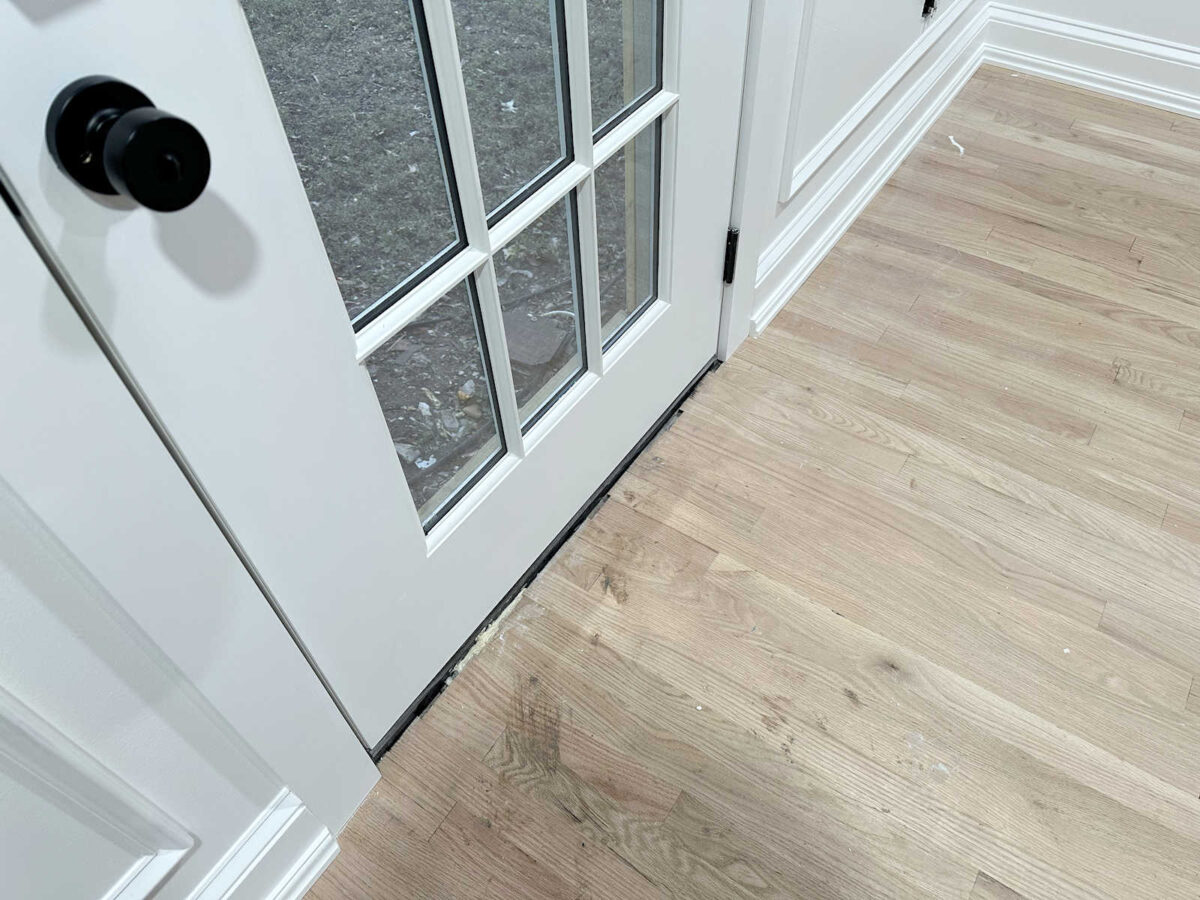

So there are still a few little details that I need to finish — the attic access, the trim in front of the door, sanding and painting that spot on the foyer ceiling, and installing the outlet covers. But at least I can breathe a sigh of relief that the big project is finished.
And I’m even okay with how this one corner turned out. It’s the biggest problem area in the room because that corner is visibly unlevel. You don’t even need a level to see that that corner is high. It’s obvious just by looking at it. But once the draperies are up, it’ll look just fine.
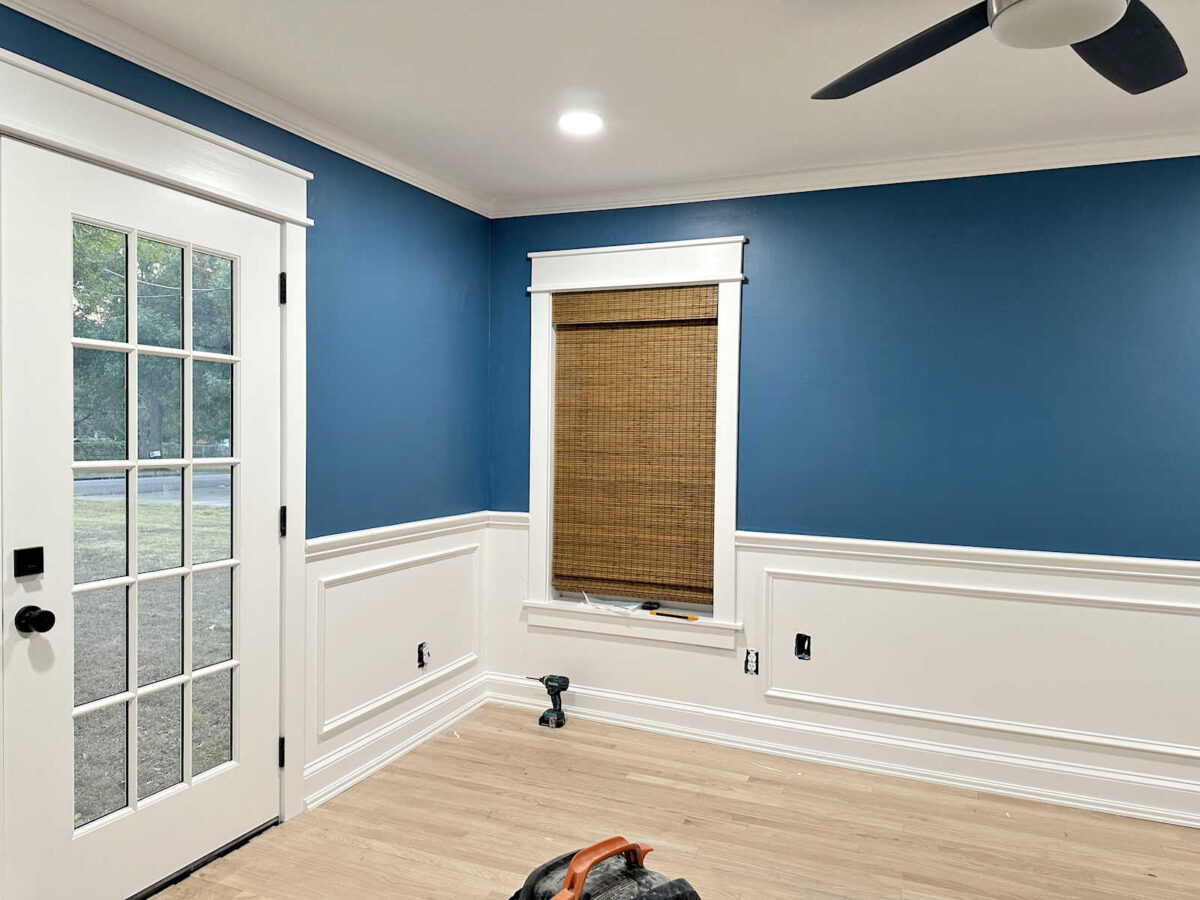

I’m also considering whether I need to give the window trim, door trim, and bathroom door a fresh coat of paint. I was hoping I could get away with just cleaning it, but this white paint yellows over time. It’s ever so slight, but I can see it. I have no idea why it yellows. I’m using latex paint, so I wouldn’t expect it to yellow. But every time I go back to touch up areas where I’ve used this paint (Behr Premium Plus in the color Polar Bear), the older paint has yellowed just a tiny bit so that any new paint looks brighter.
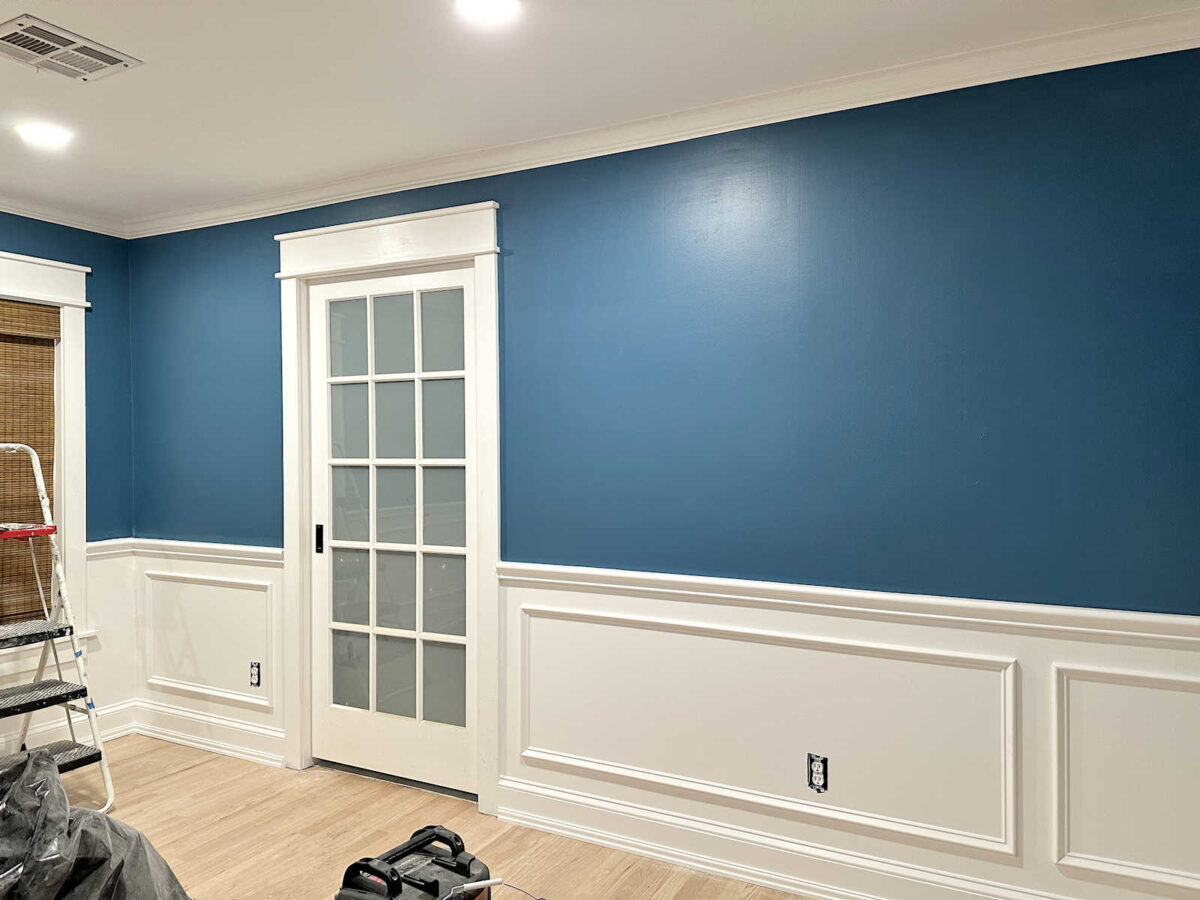

Anyway, I’m just thrilled to have this big project done. I’m not sure when I’ll install the grasscloth wallpaper. I’m trying not to rush it since you’re supposed to let paint fully cure before installing wallpaper, but I’m feeling a bit anxious and excited to get it done. We’ll see how long my self-control can hold out. 😀

I do have plenty of other projects I can focus on for now, like getting the room cleaned up, moving a few things in, making the headboard, etc.

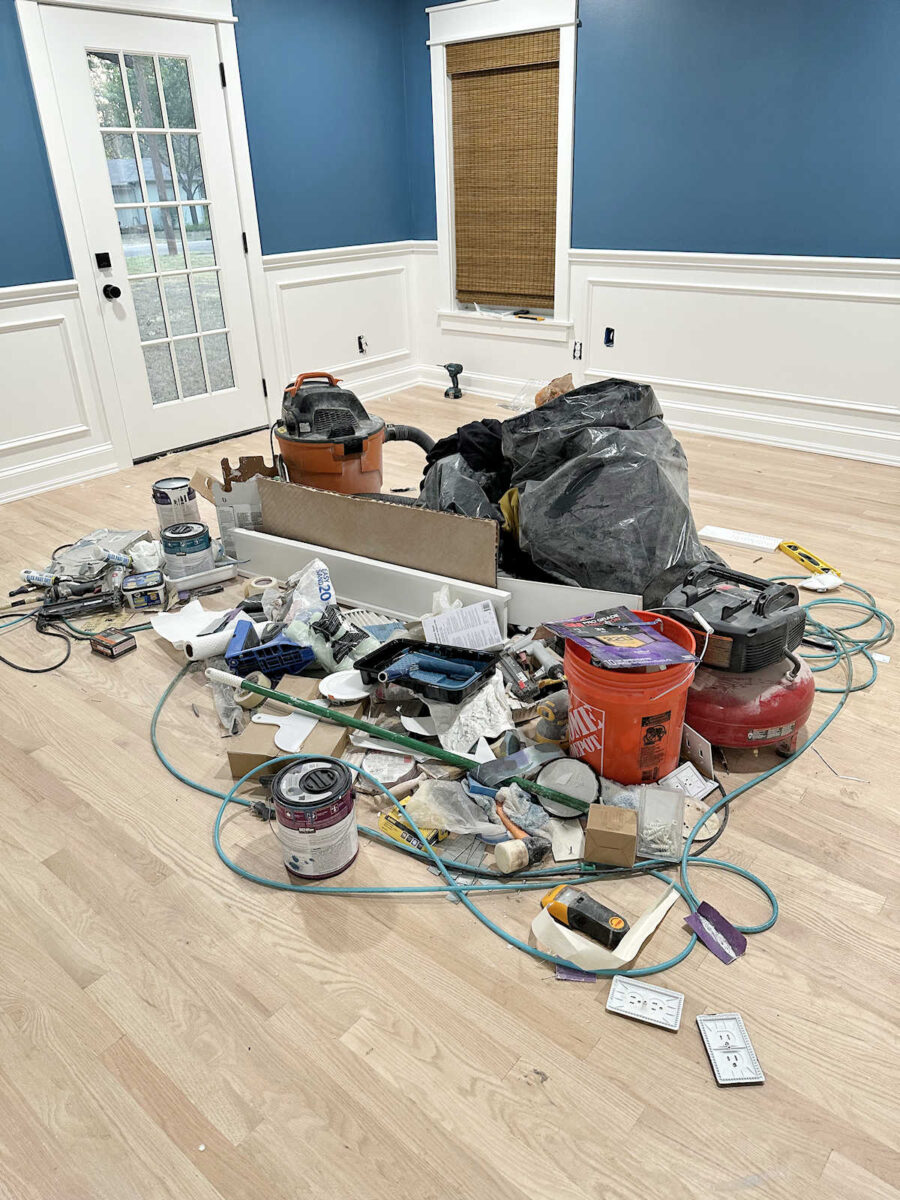
But obviously, the first thing I need to do is tackle this pile that I’ve been adding to for the last few weeks. Getting rid of this pile and cleaning the floors should keep me busy for at least a few hours today.

More About Our Master Bedroom
see all master
bedroom diy projects
read all master
bedroom blog posts

