
I realized a couple of days ago that I could get the bedroom suite foyer finished pretty quickly since there are no really big projects for this area, so that’s what I’ve decided to focus on before I start sewing draperies for the bedroom. So yesterday, I pulled out the bench for the foyer corner and reupholstered it.
First, I had to decide if I wanted to make the bench narrower. Several people have said that they think the bench is too wide for the area, so after removing the original fabric, I placed the bench back into the corner to make the final decision on if I was going to cut it down to make it narrower or leave it as is.
Honestly, I like it just like it is. If I made it narrower so that there’s more room on the right, then I’d have to allow the same space on the left, and then I’d be left with a space between the bench and the wall. That seems annoying to me. And I actually really love the width as it is. I think it looks perfect.
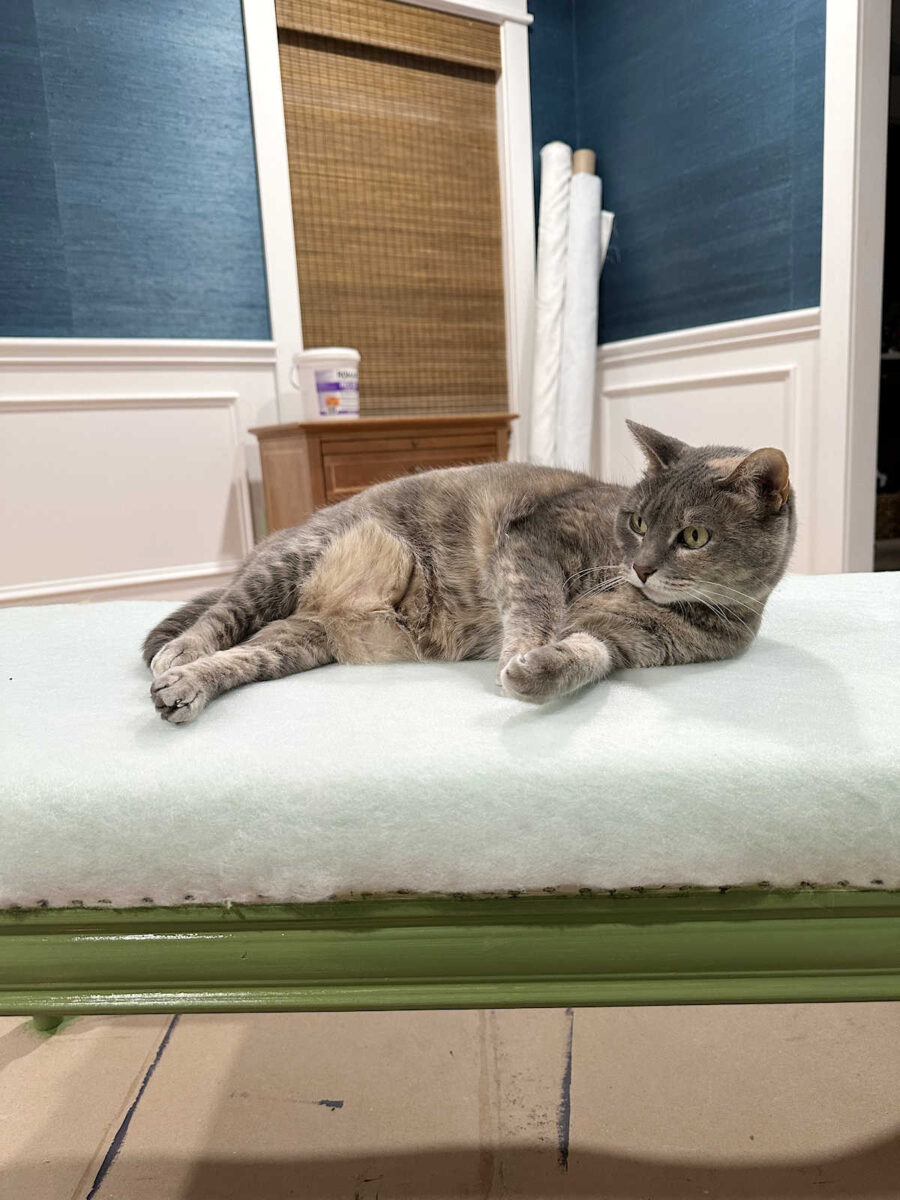
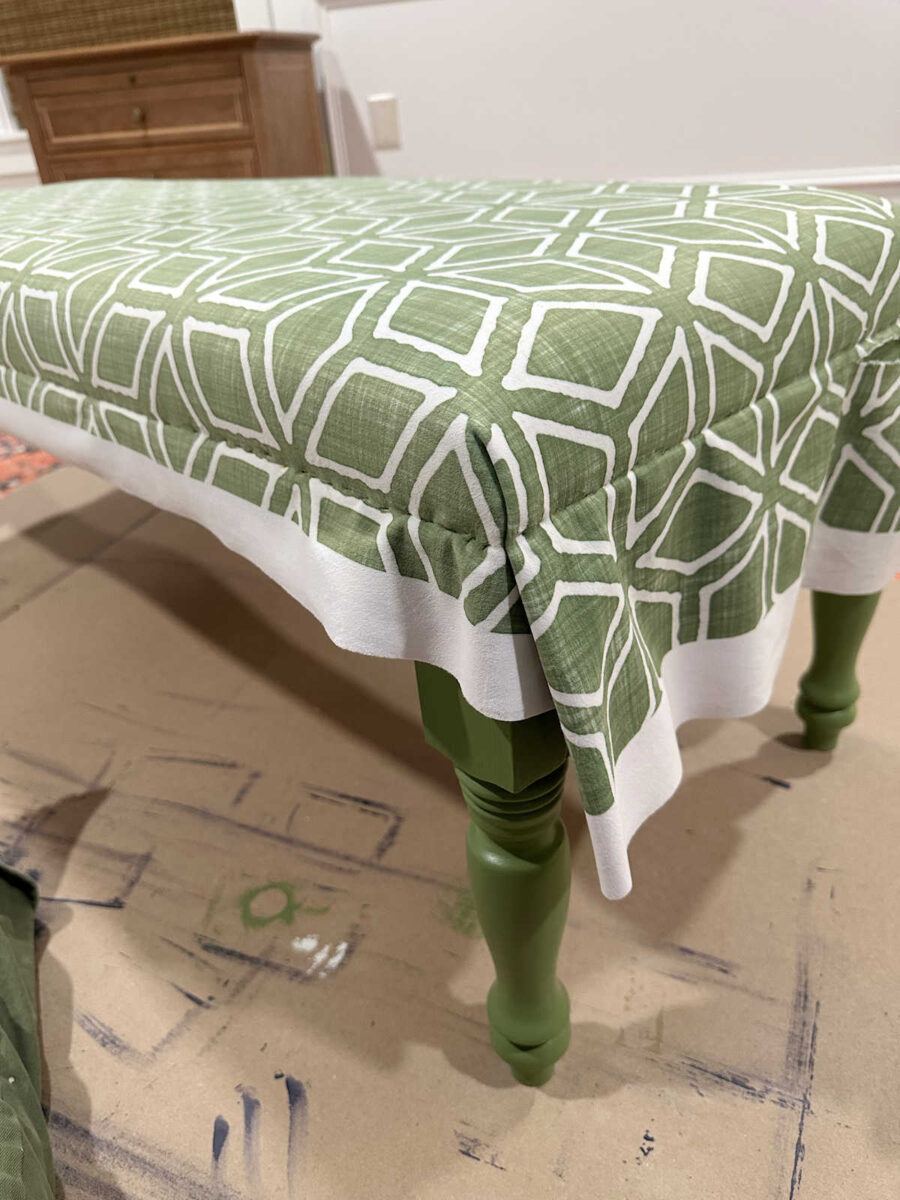
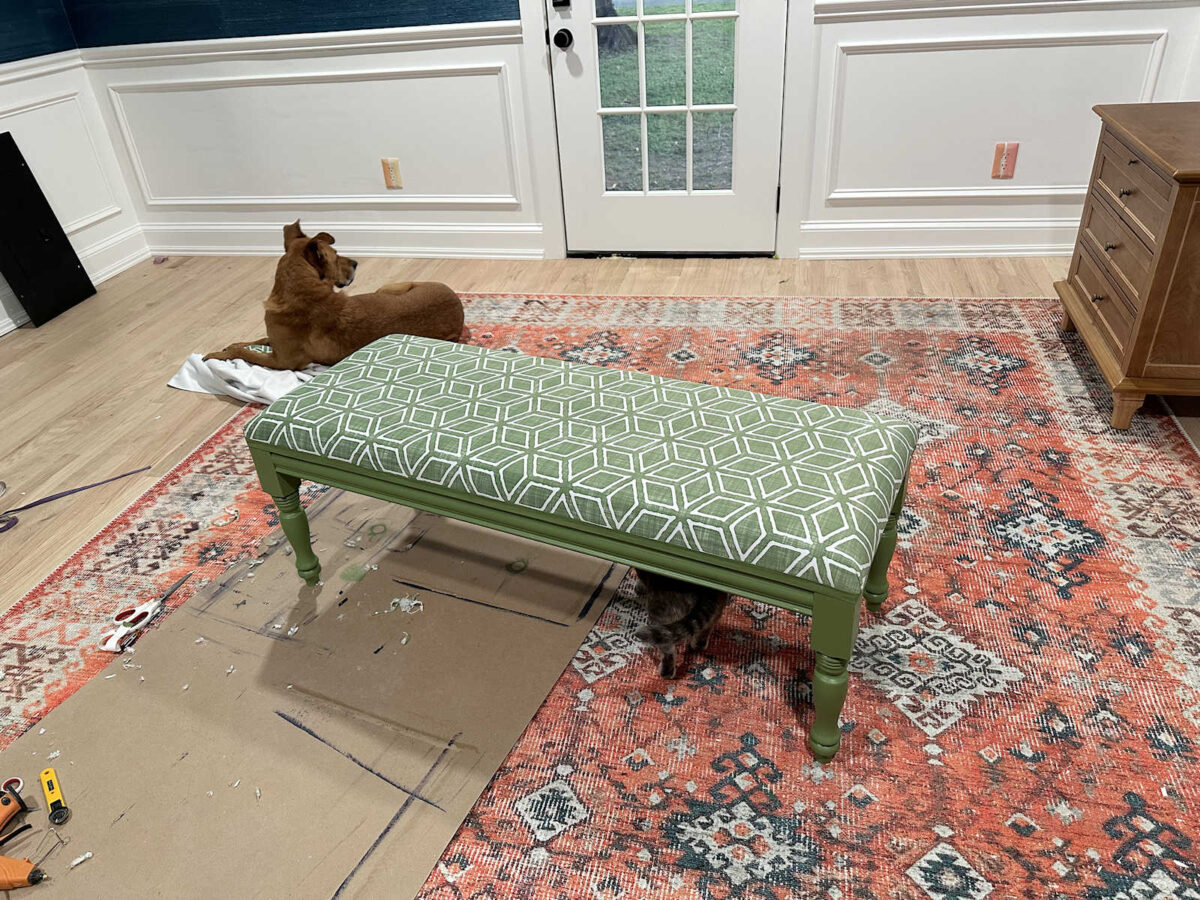
So with that decision made, I was ready to get started on this makeover. I started by giving the base two coats of the same green paint that I used on the dresser. And you can see my view the whole time I was painting. 😀
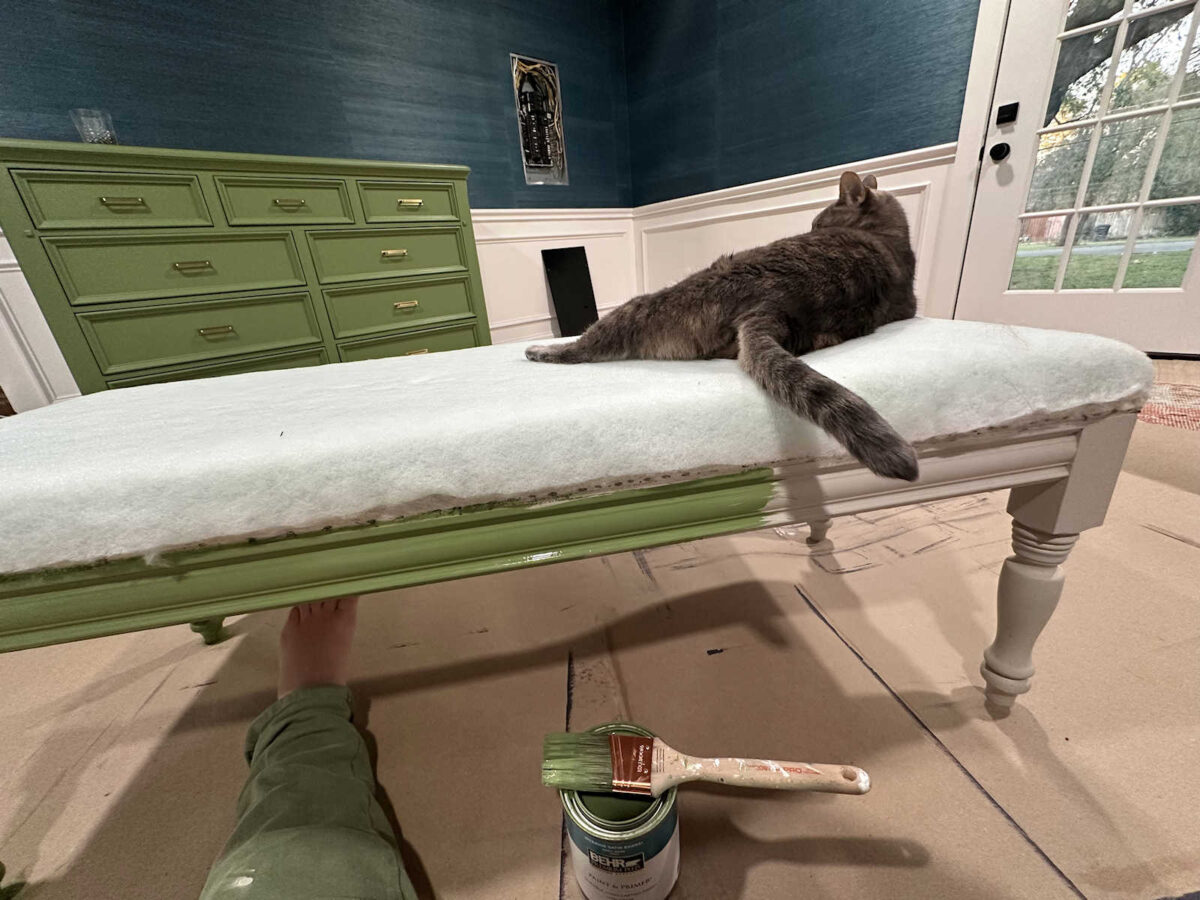
But that’s okay. She’s pretty darn cute, and she keeps me company. Just as long as her tail stays out of the wet paint, we’re good.
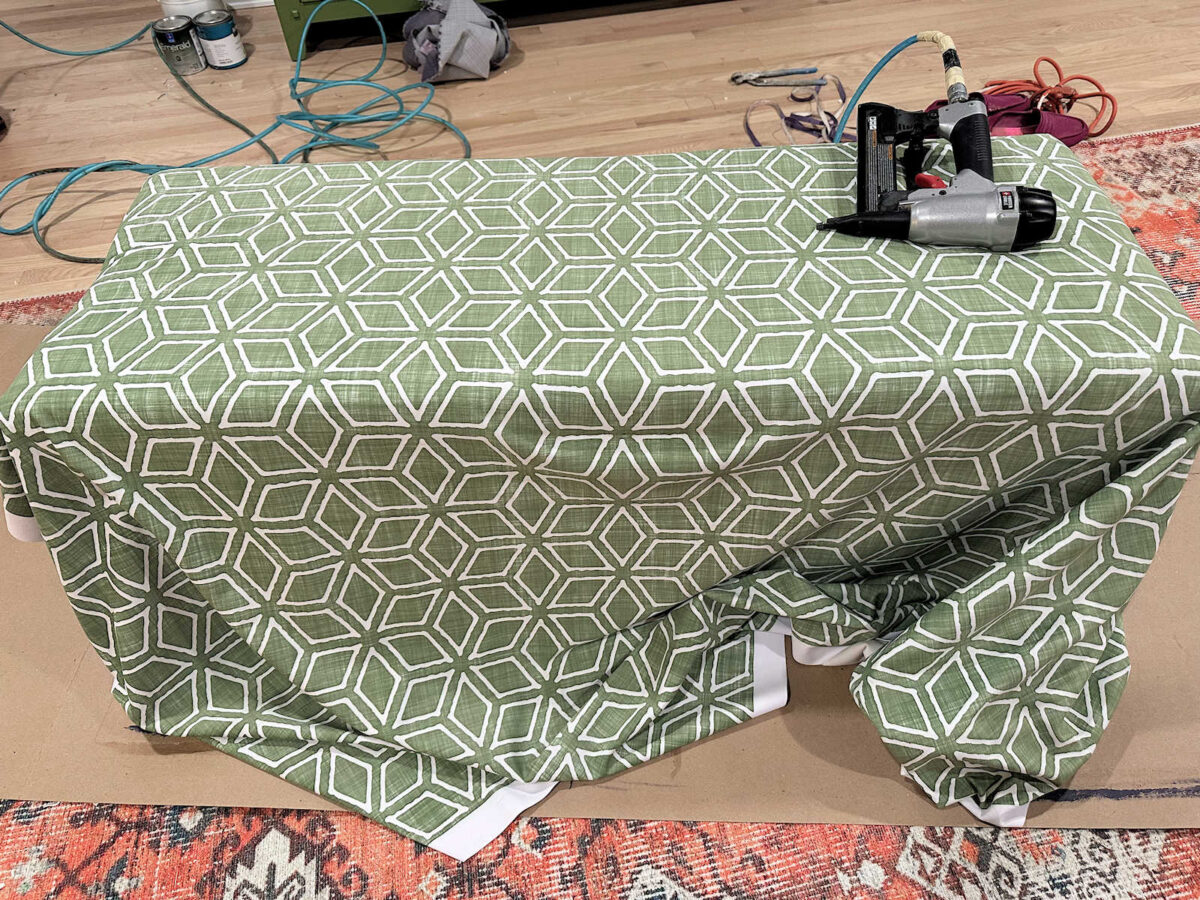
After the paint had time to dry, I started on the upholstering. This was a quick and easy project. It’s pretty much a wrap-and-staple upholstering process except that the fabric doesn’t wrap underneath the padded top. Instead, I stapled it along the sides (because the plywood is glued to the base), and then I covered over the staples with green trim.
I started stapling in the middle of one of the long sides, right in the middle. I used about five staples to hold the fabric in place.
And then I pulled the fabric taut and stapled the opposite side in the middle.
And then I pulled the fabric taut on one end and put a few staples in the middle.
And then repeated that on the other end.
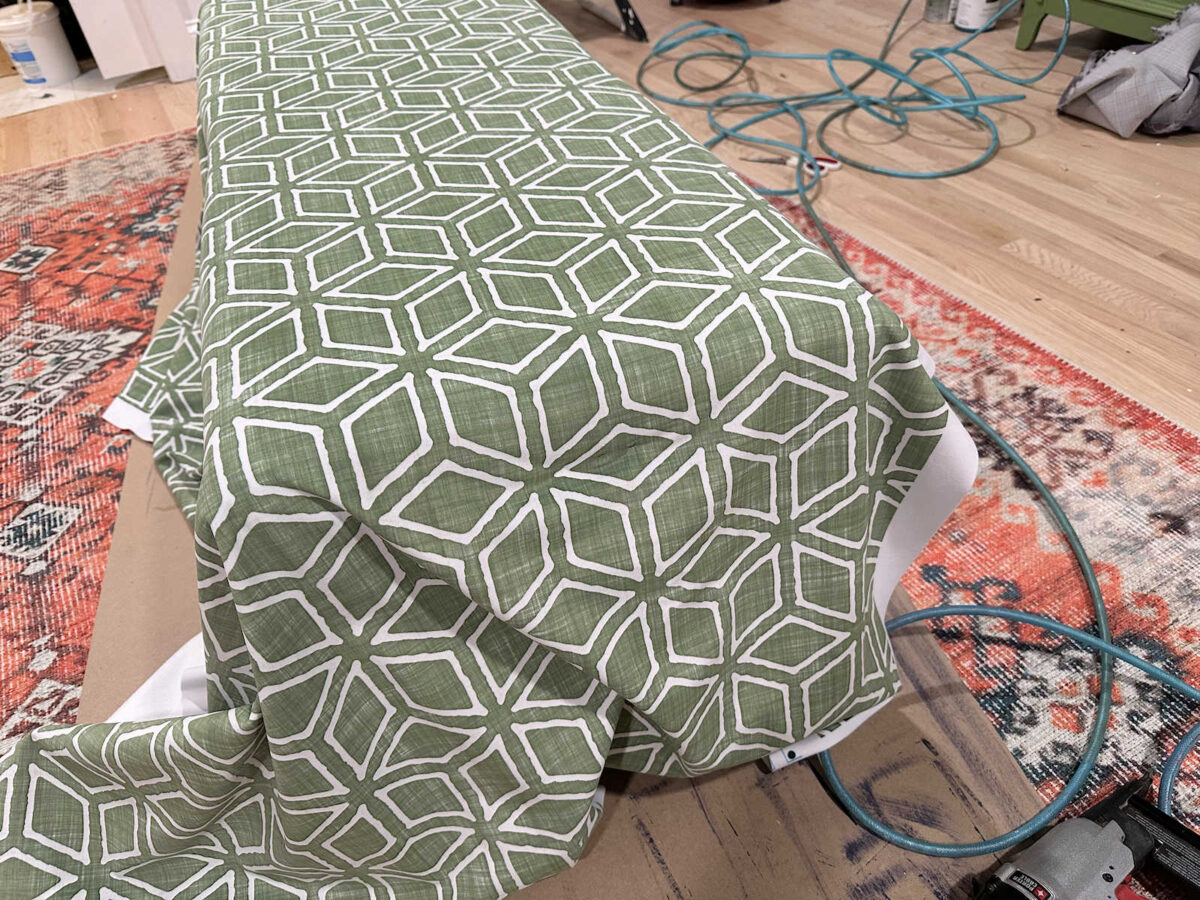
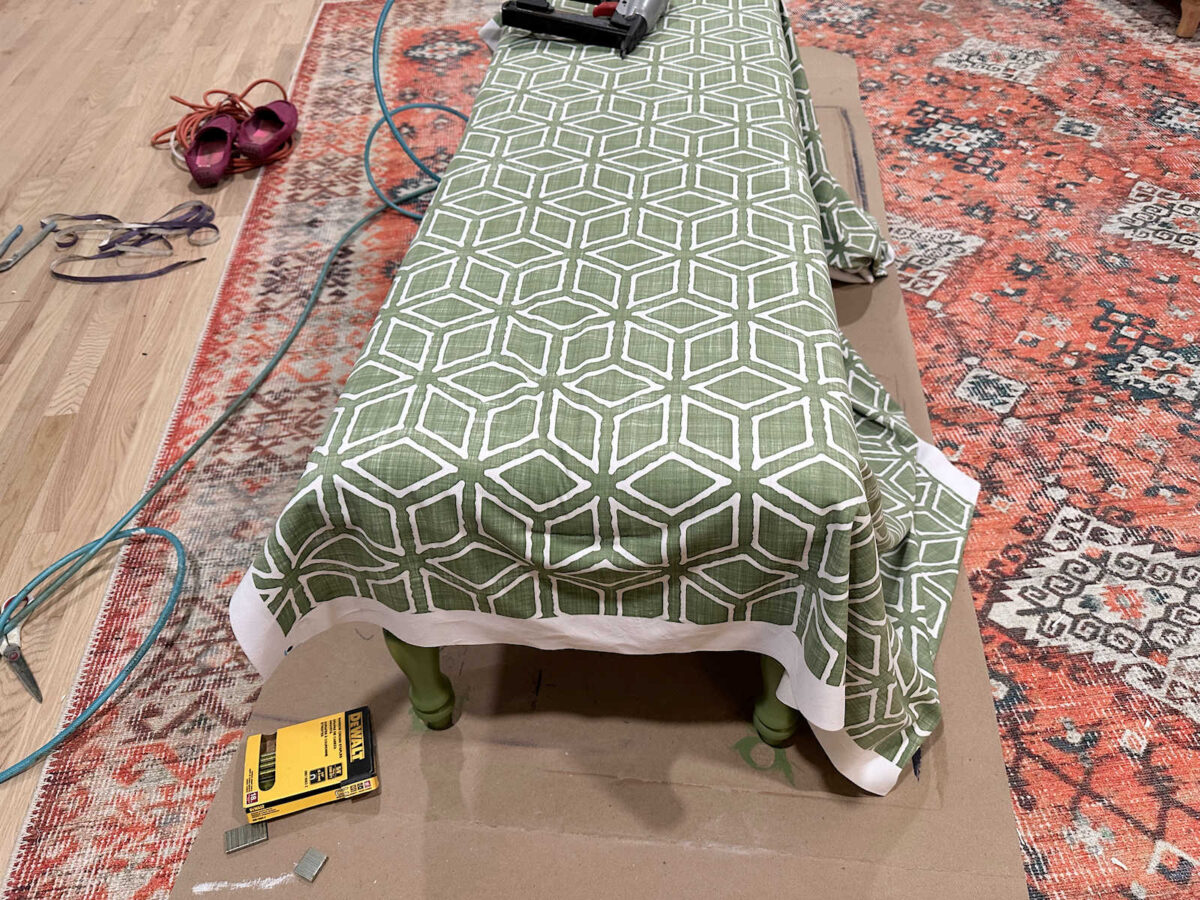
And then I went back and stapled the rest, working out from the center to the corners on each side of the bench. On the corners, I folded the extra fabric from the long sides over to the end, and then folded the fabric on the end on top of that and stapled it into place.
Once it was all stapled on, I used a razor blade (or several) to cut away the excess fabric.
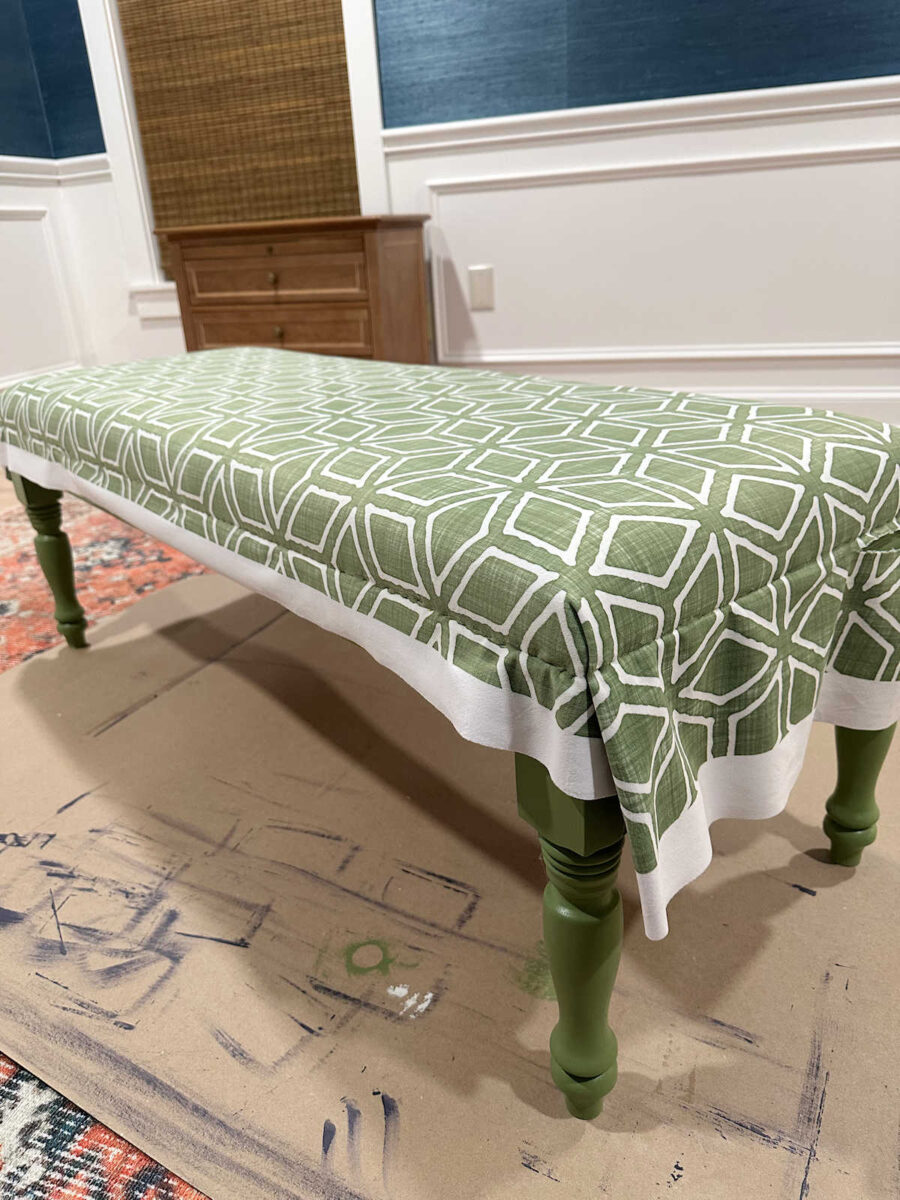
And then I used my hot glue gun to glue green trim over the staples to finish it up.
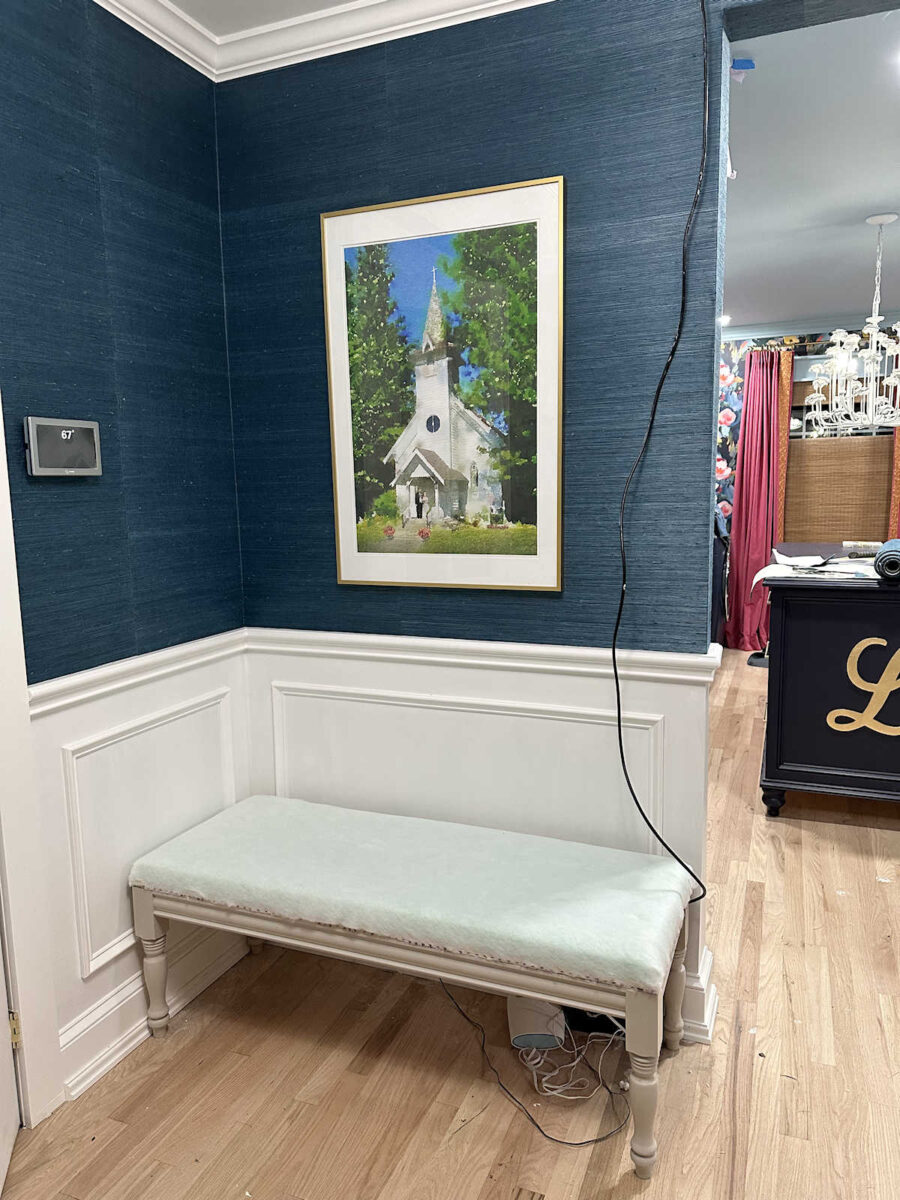
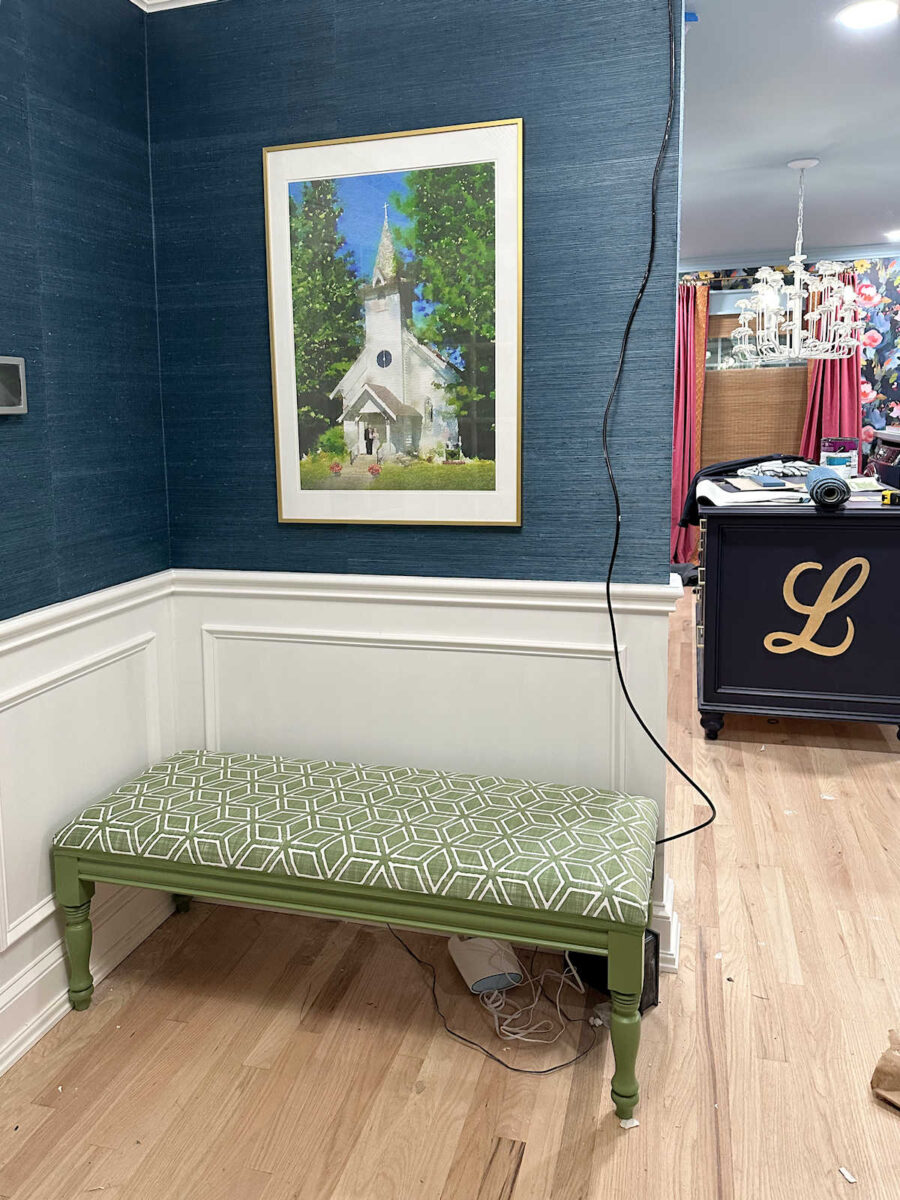
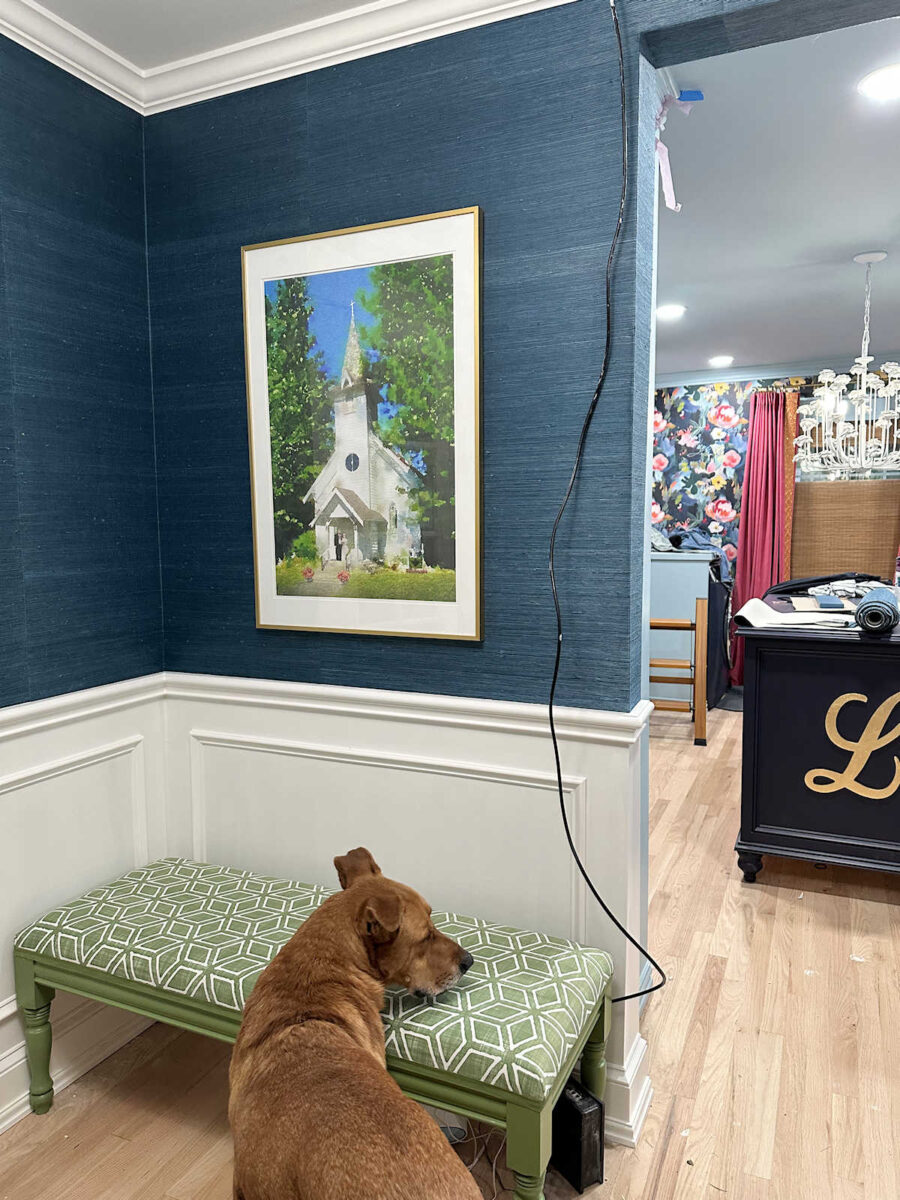
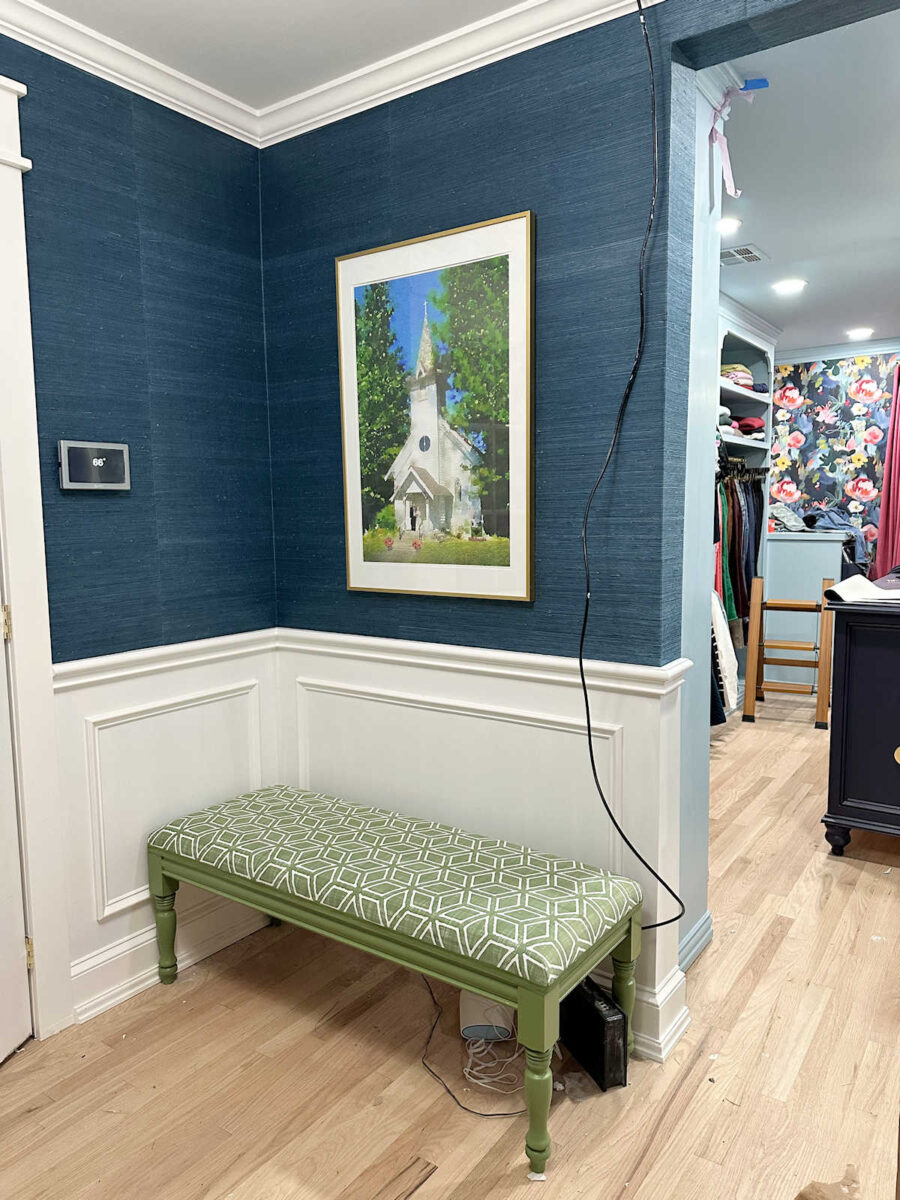
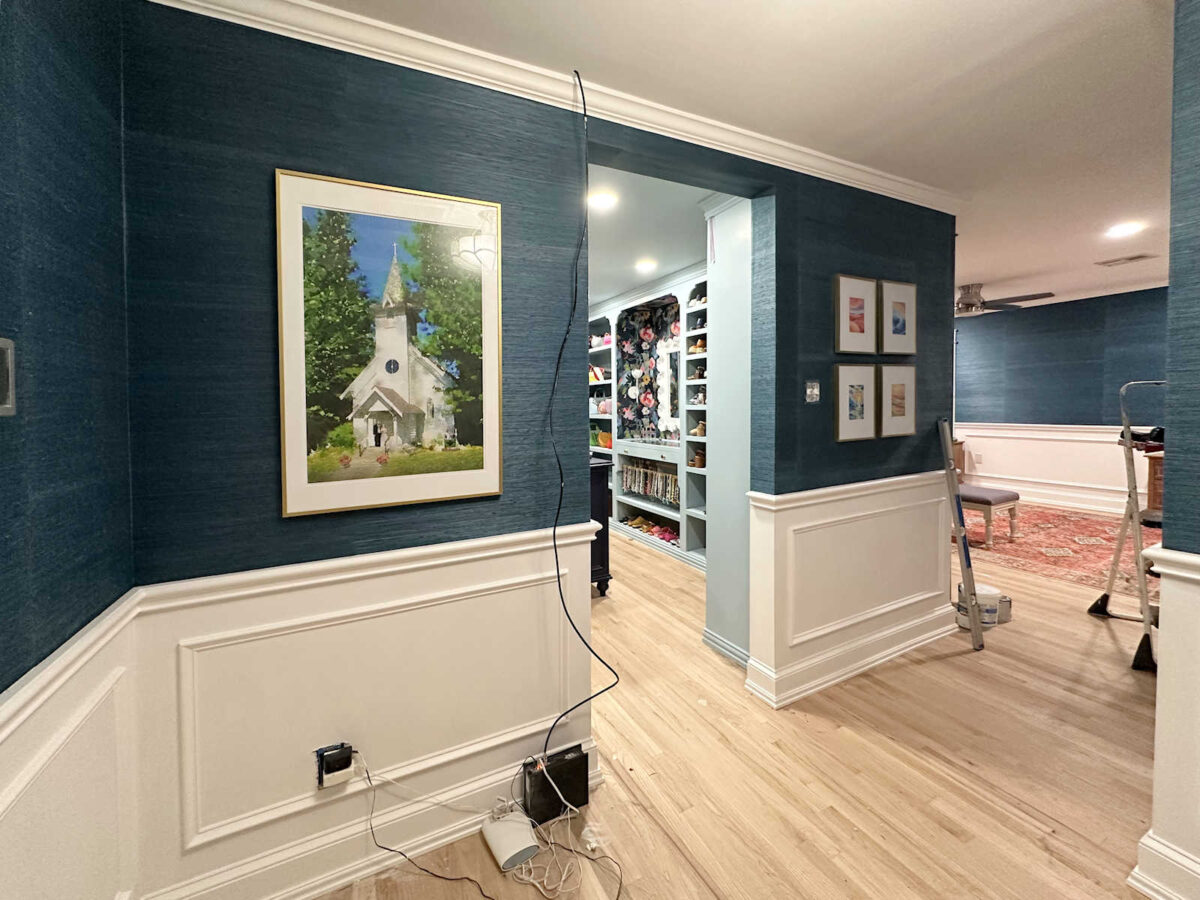
And here’s the bench in place in the foyer, along with the watercolor chapel picture that I finally hung on the wall. I know I still need to get that cable relocated. It’s pretty distracting, and I’ll get to it soon enough. So you’ll have to look past it for now.
The new bench seems to be Cooper-approved. And I love how it turned out as well.
I wasn’t sure about the base being green, but in the end, I really like it. I think it adds just the right amount of color to this corner.
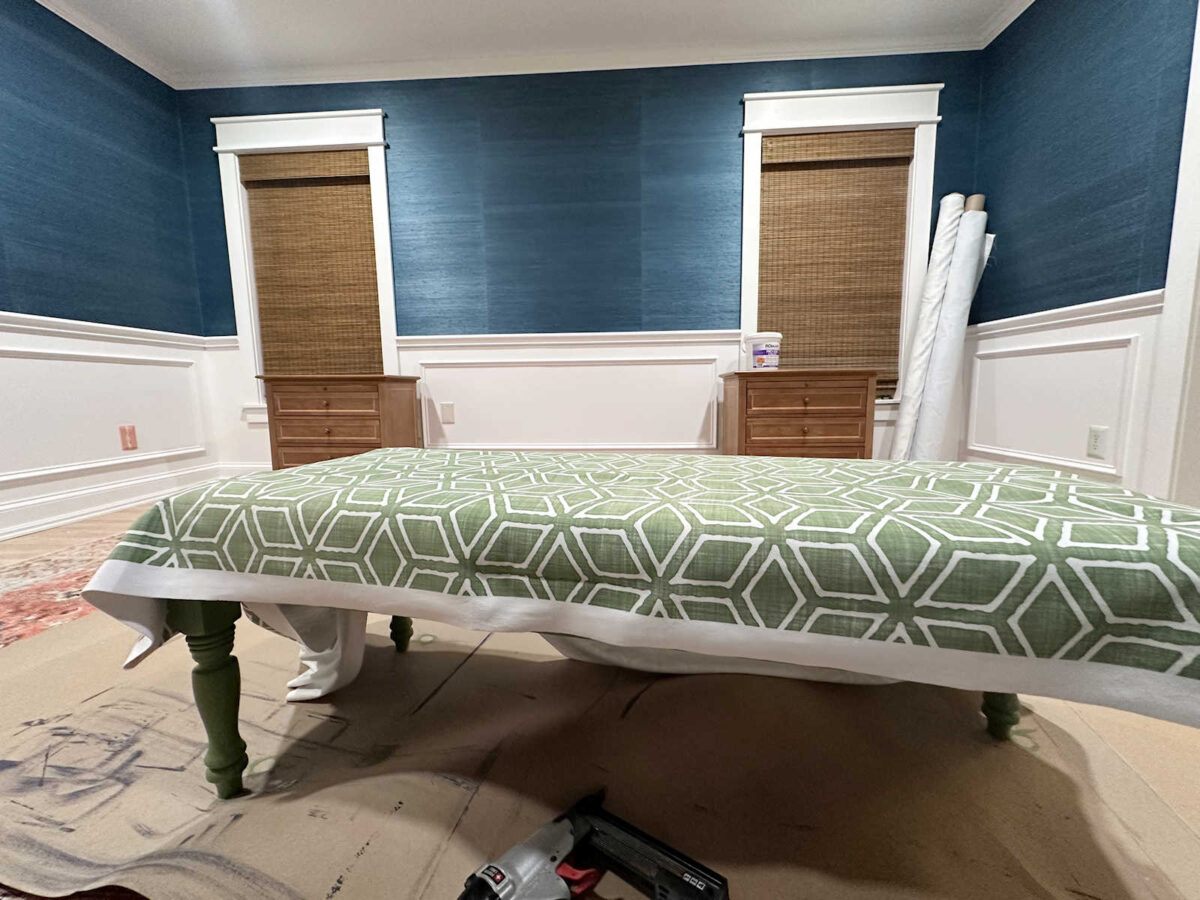
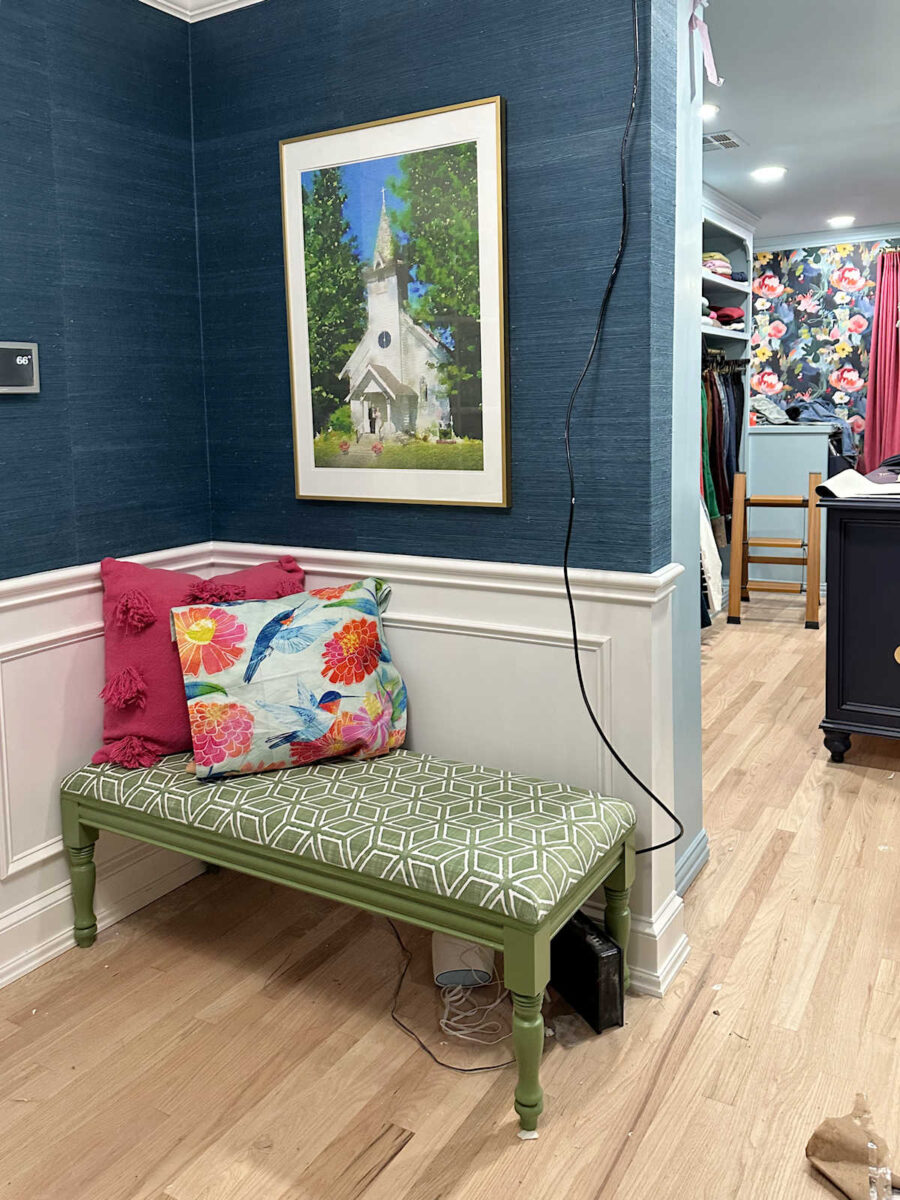
I also didn’t have time to sew my bird pillow yet, but here’s a glimpse of the bench with the pillows/pillow fabric.
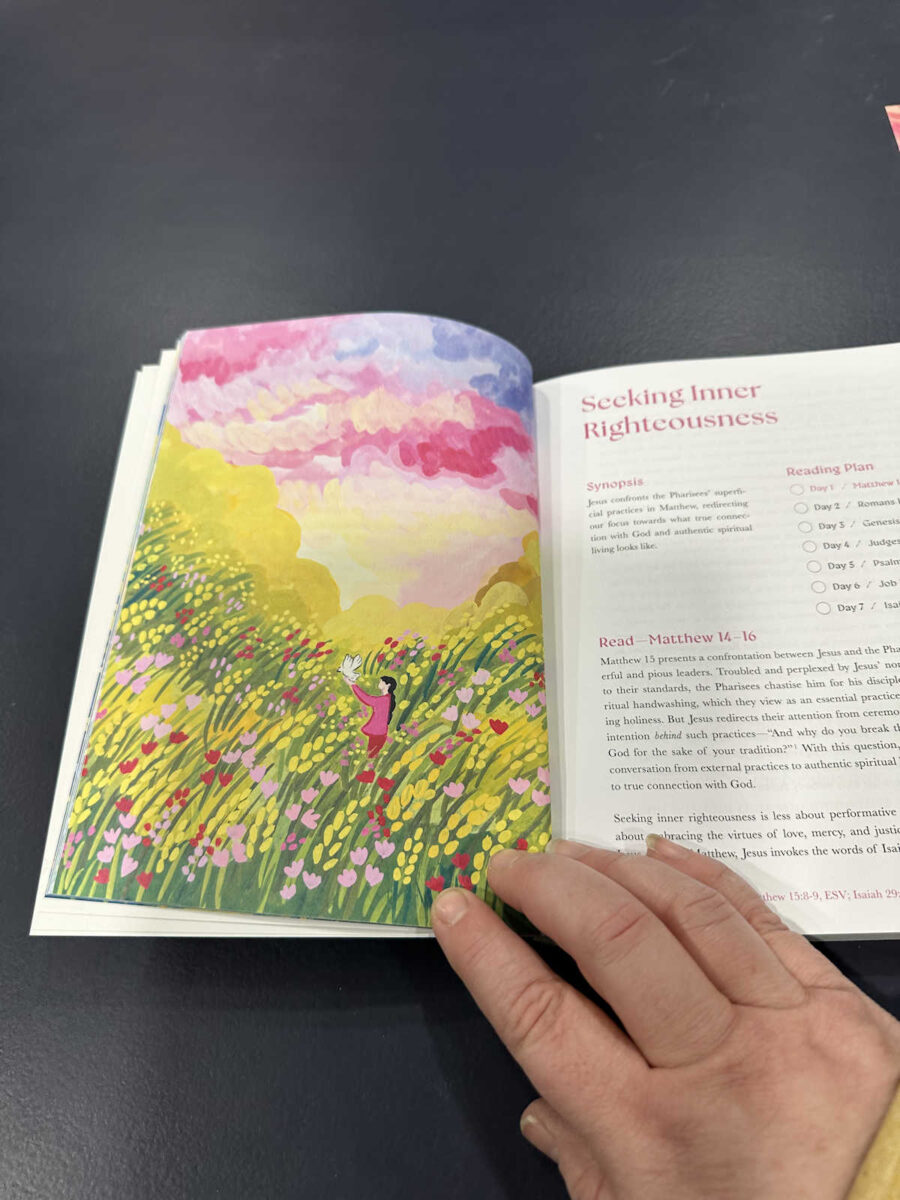
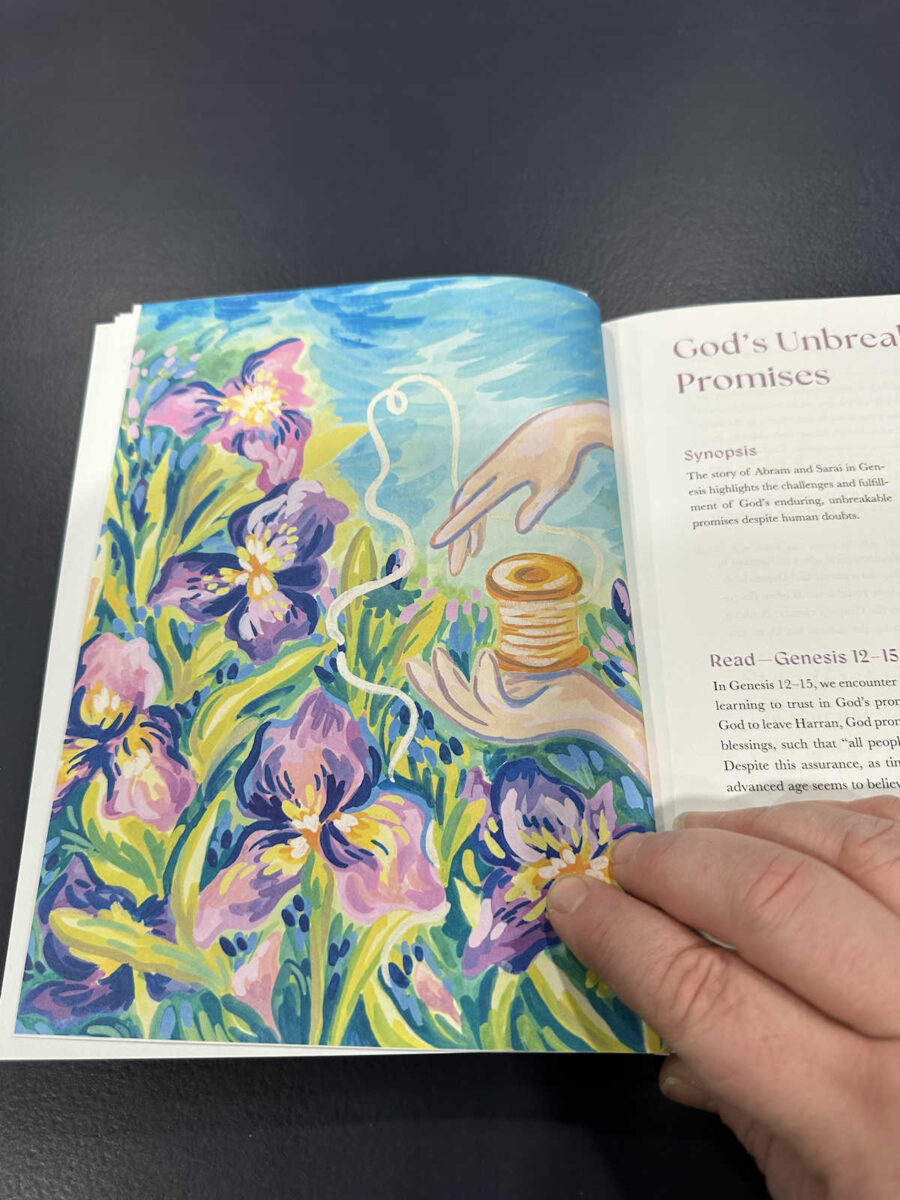
I also added some other artwork to the foyer. I bought this Bible study book a long time ago, but I bought it specifically for the pictures.

I can’t remember the name of the artist, but there are 52 colorful pictures in the book that look similar to this…
I didn’t like all of them. A few of them had hands and people featured pretty prominently in the pictures, and I didn’t like any of those. For example, this is one that I didn’t like because of the hands.
And another one that I didn’t like because of the hand featured prominently. You get the idea. There were about five of these, I think. I didn’t want to use any of those.
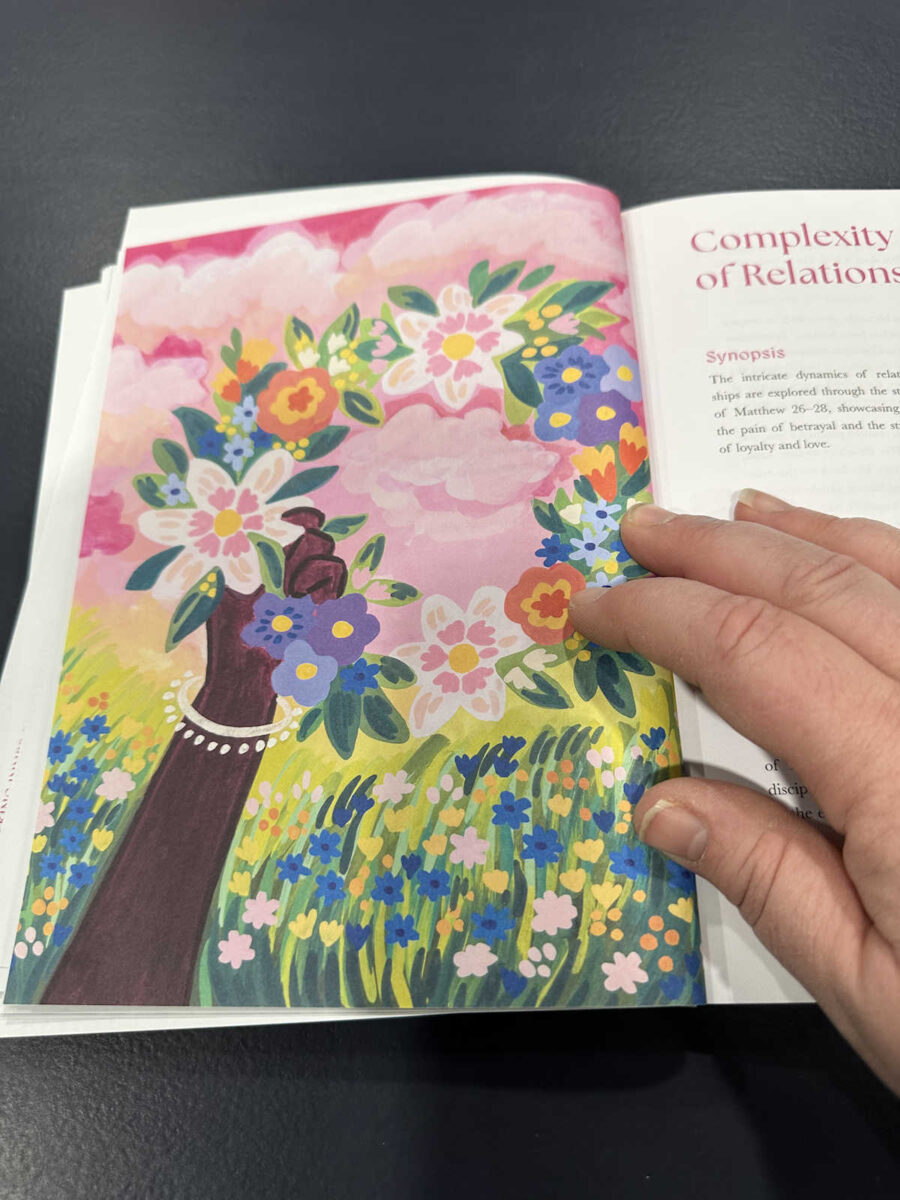
And then there were a couple of them with a person featured prominently in the picture. I didn’t like these.
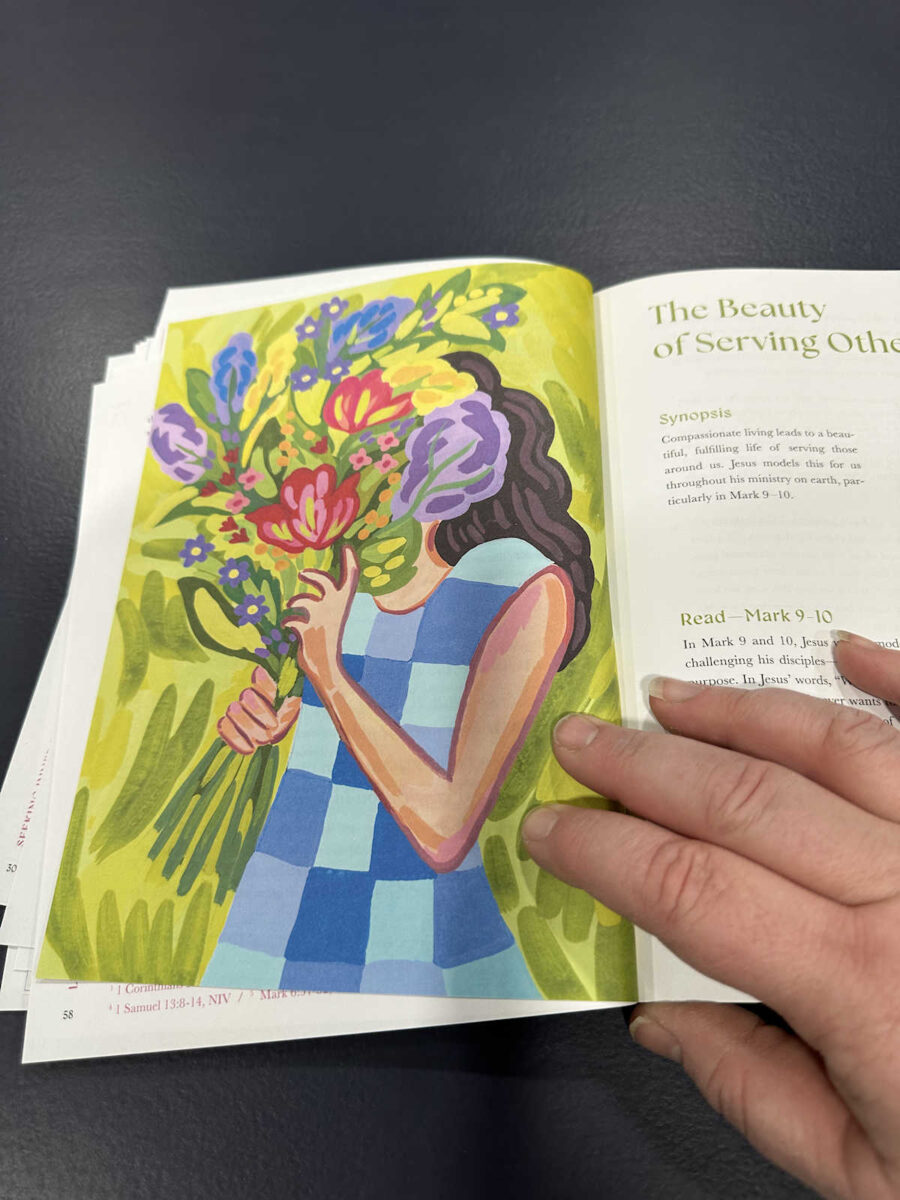
There were also a few that had people in them, but they weren’t huge and weren’t the main focus of the picture. I did like these.
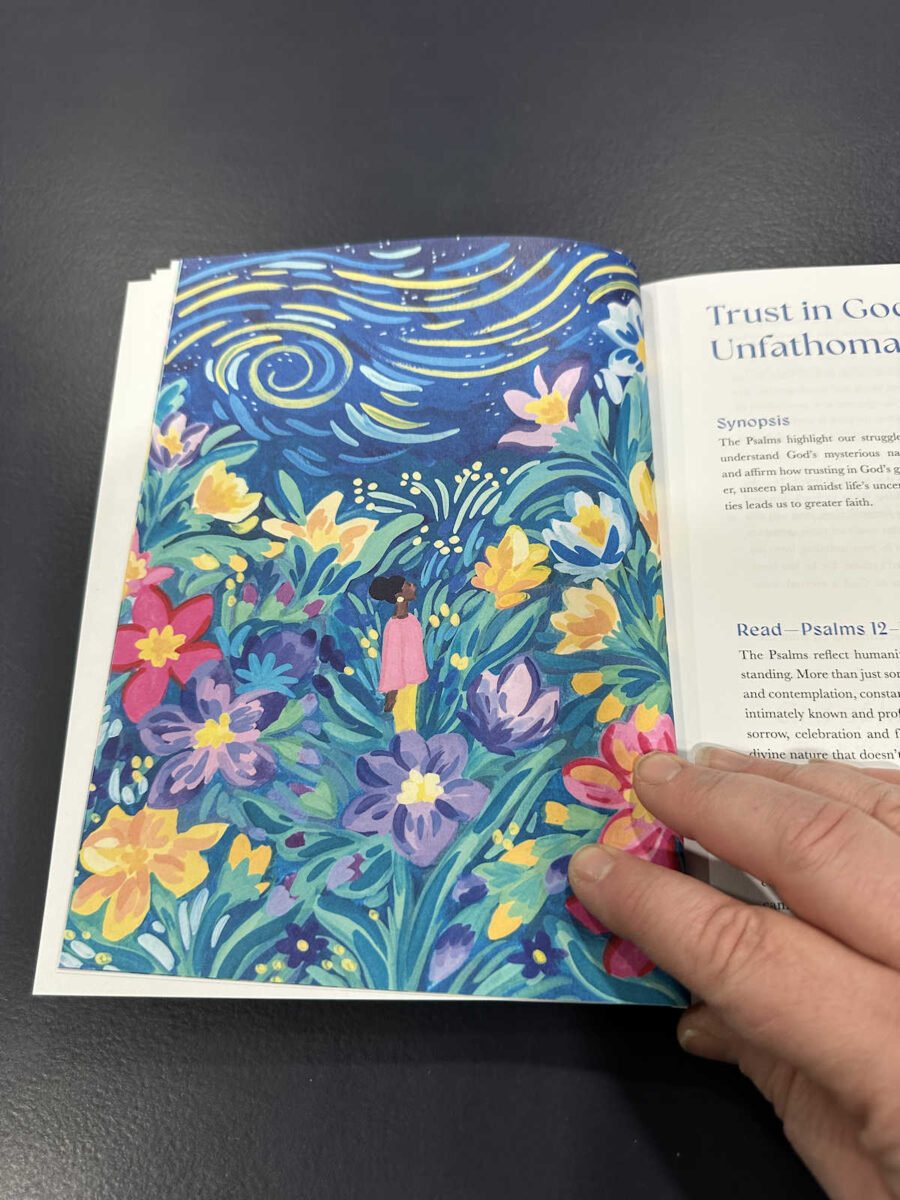
So I cut out all of the ones I liked, and I ended up with sixteen.
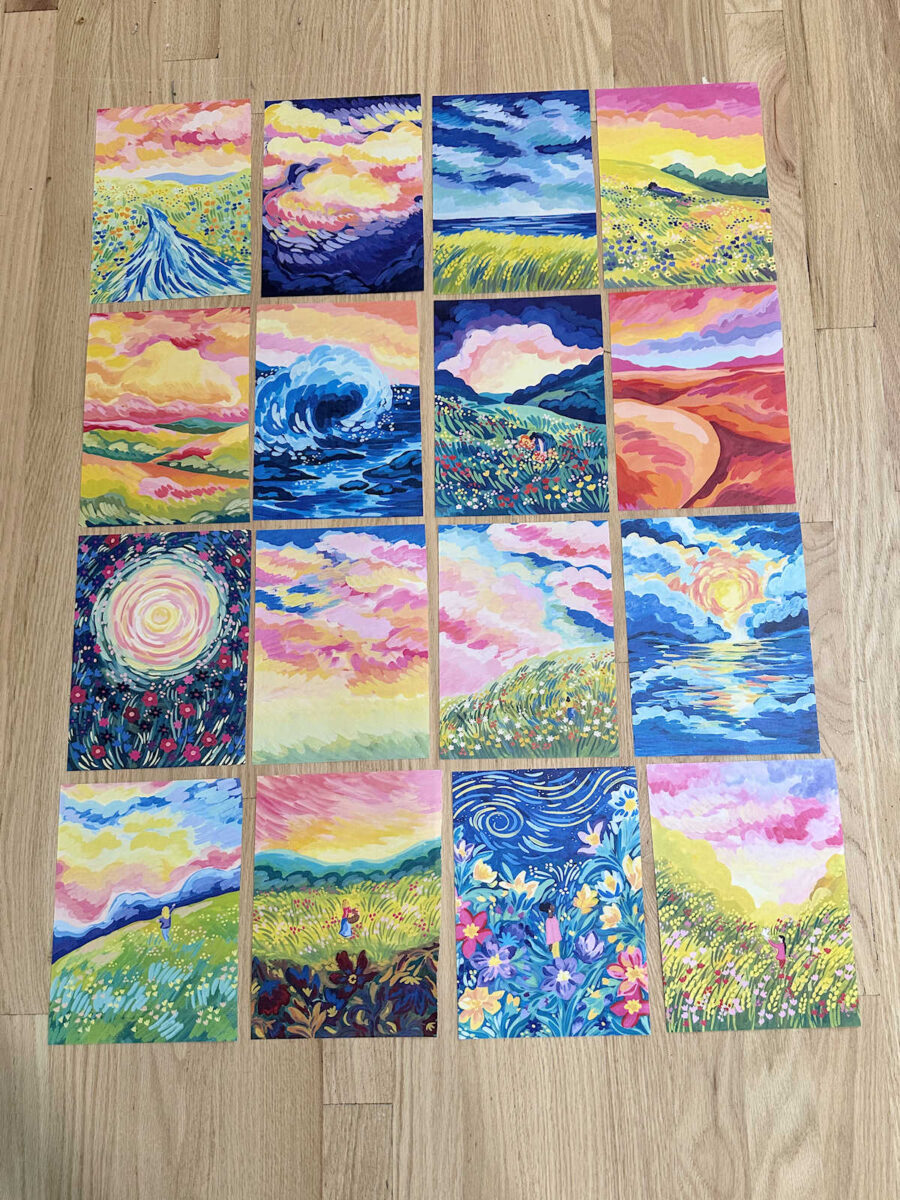
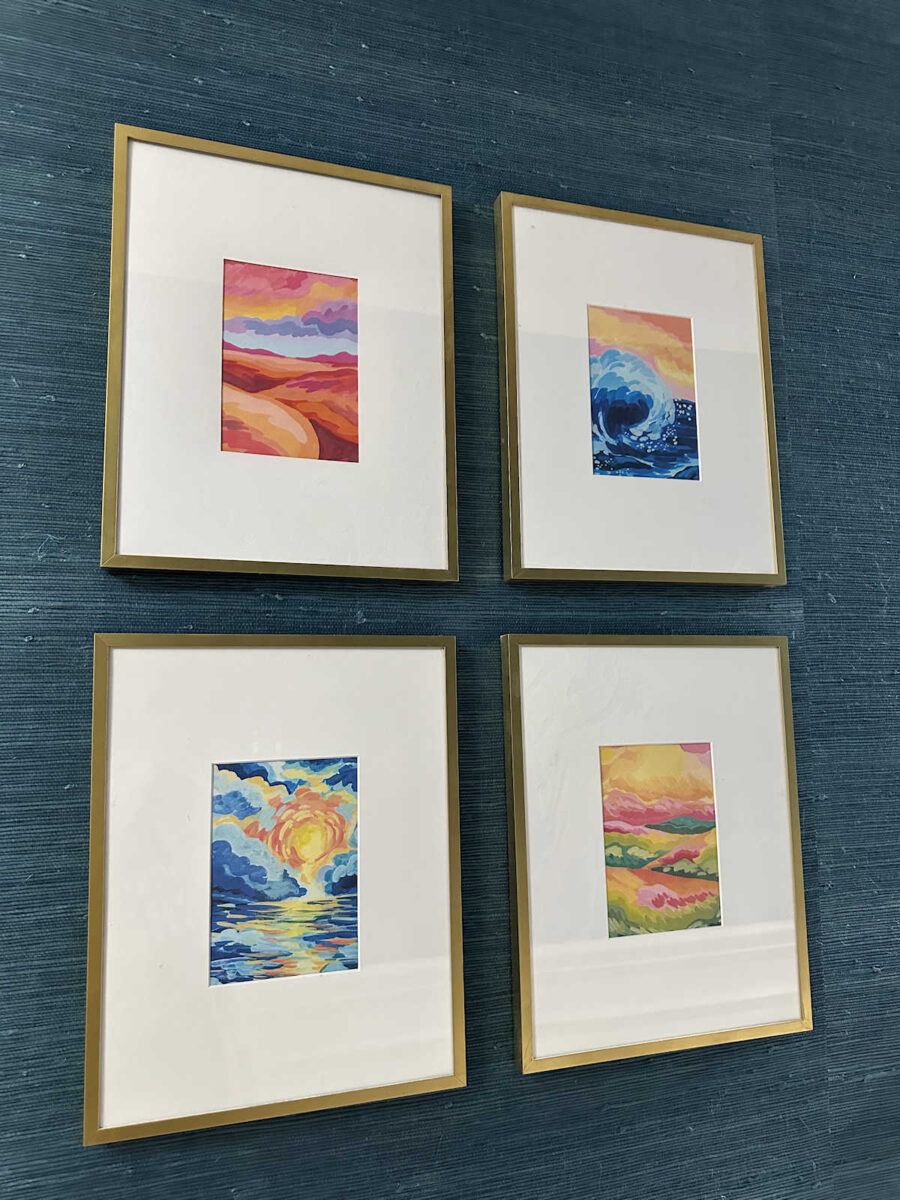
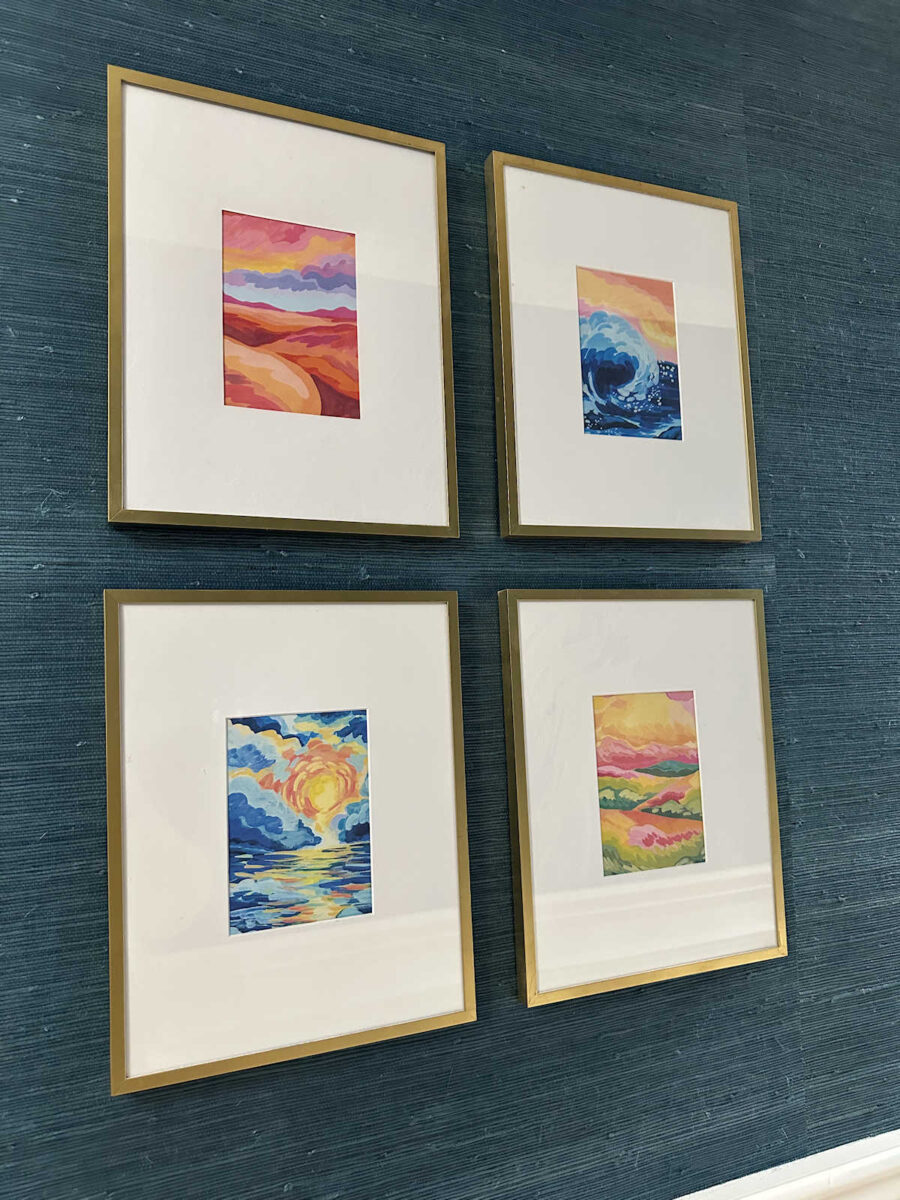
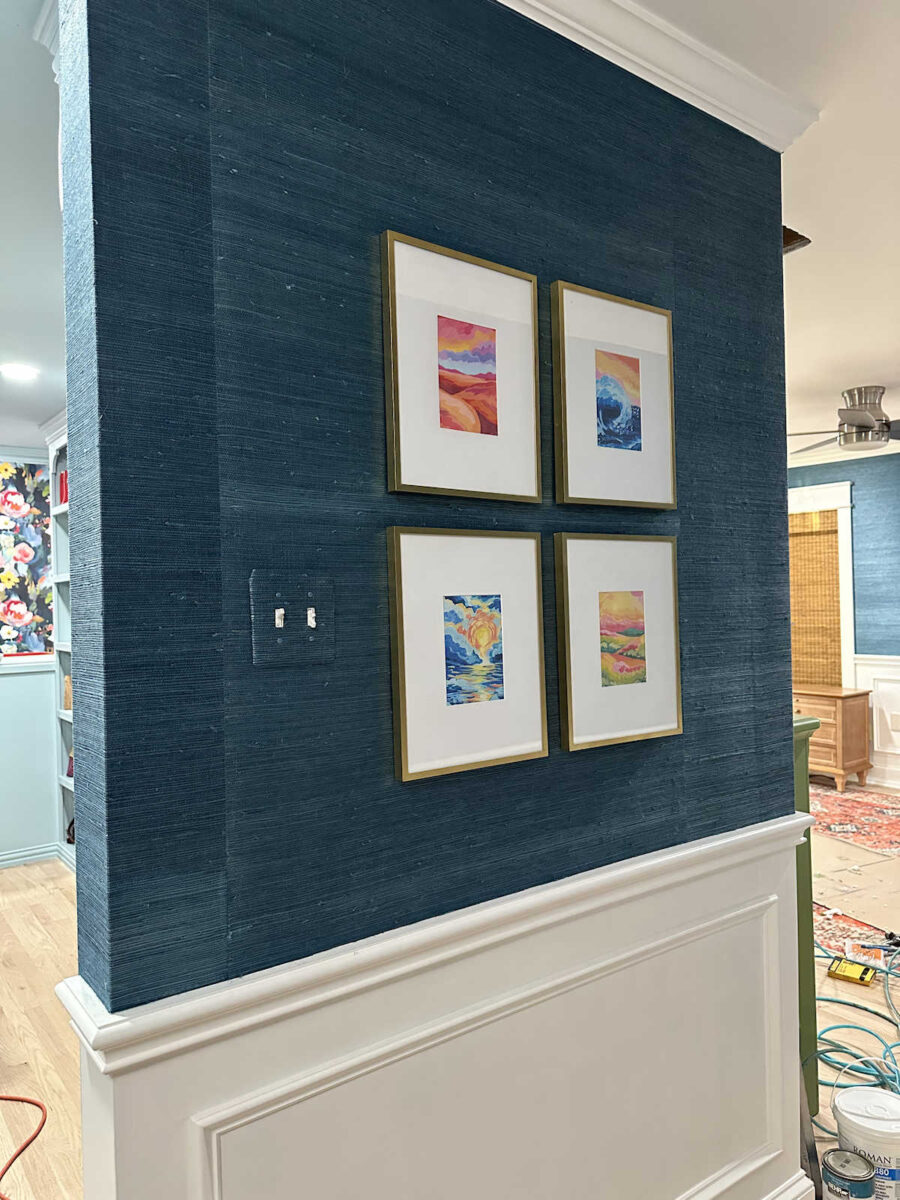
And then I selected the four that had the most orange in them, and put them in the frames that I had previously used in this foyer to the left of the main doorway.
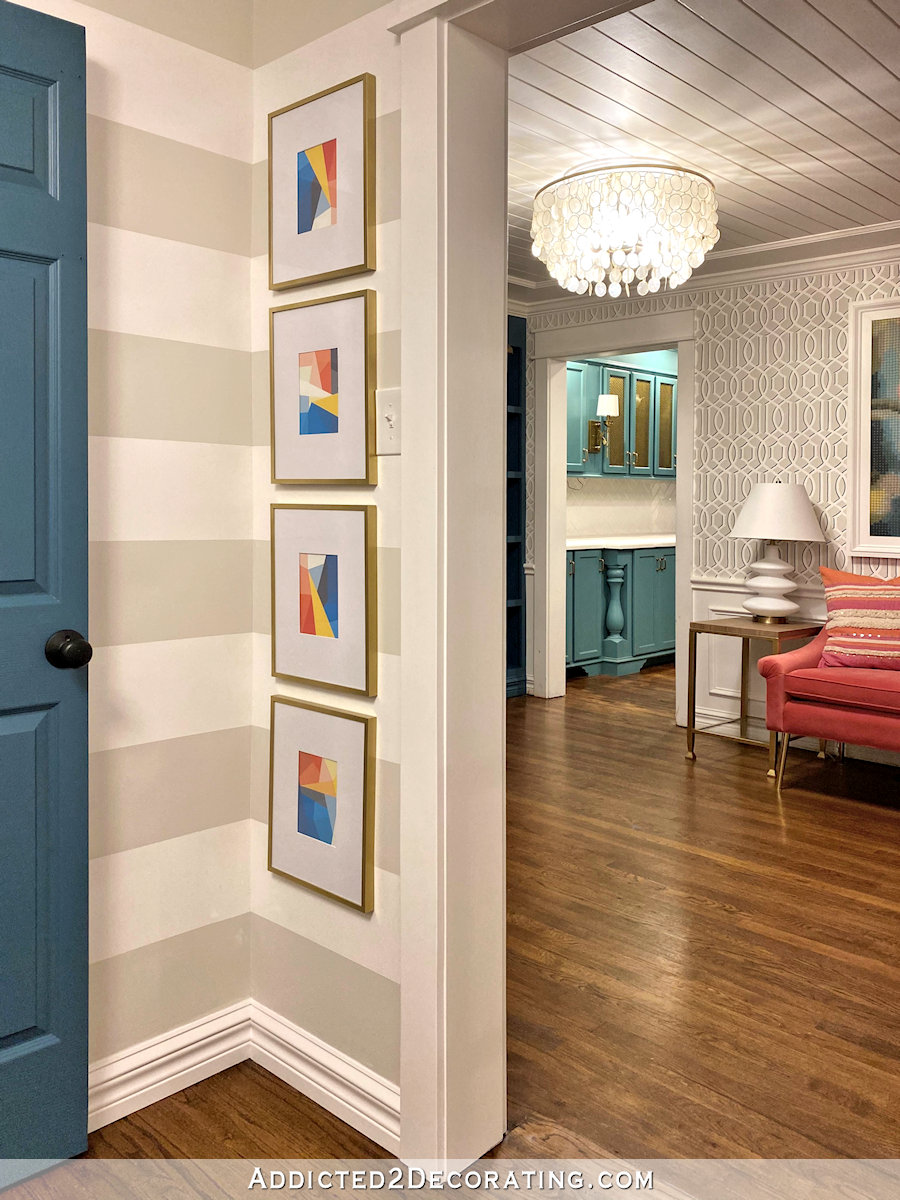
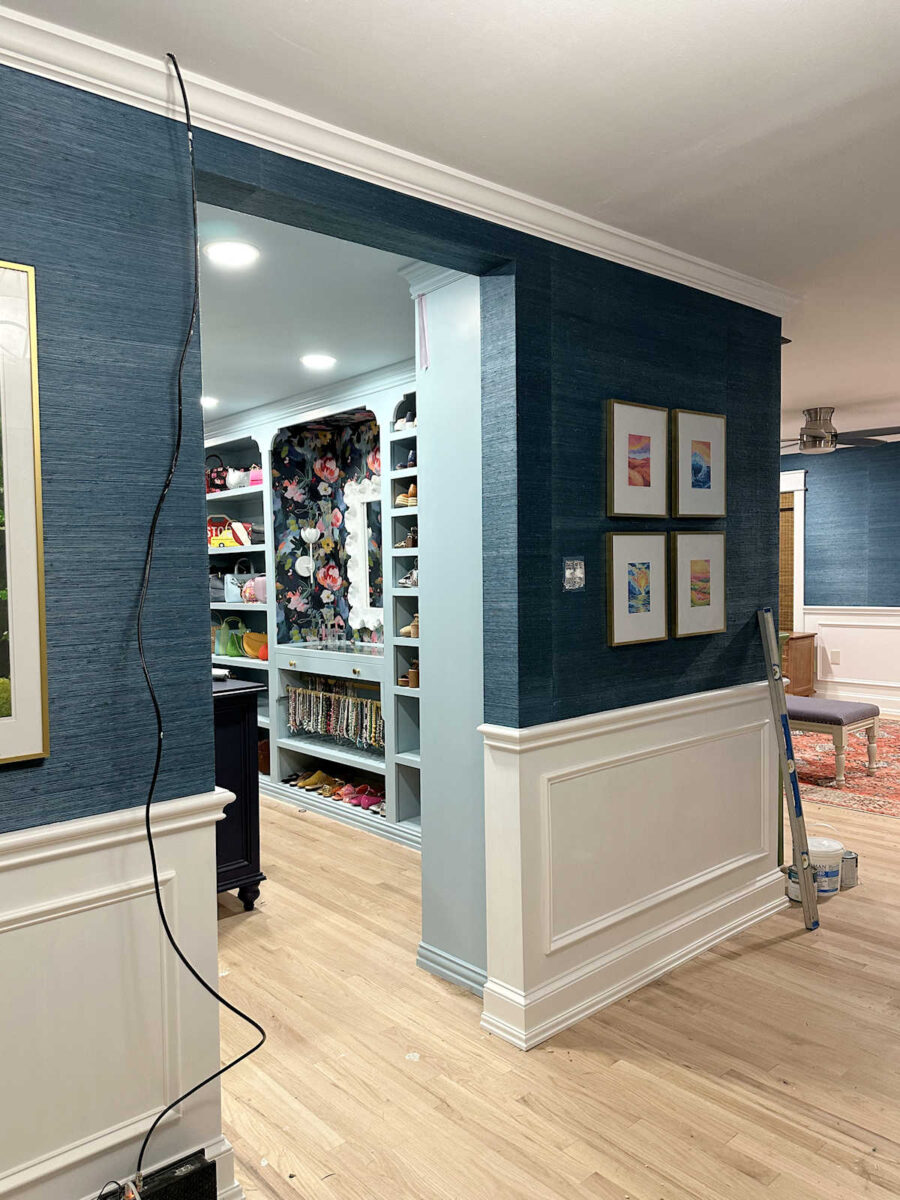
And then I hung these on the wall to the right of the closet doorway.
I love the color that this little grouping of pictures adds to that wall. And I have to tell you, I’m really loving this whole “shop my house” thing and finding things that I can reuse and repurpose for these areas.
Here’s a wider view before I put the bench in place.
So these are only four of the sixteen that I selected from that book. I have twelve more that I can use somewhere, and the twelve that remain would make a beautiful gallery wall if I can find a place for them. But I think these four are perfect for this wall since they all have orange in them. They help to bridge the pinks in the closet and foyer with the oranges that will play so prominently in the bedroom.
I have some other things that I’m working on in the foyer. I still have two light switch covers to wallpaper. I have a total of three light switches, and I’ve already covered two of them, but one will have to be redone as soon as I decide which one I like better. On one of them, I used a plastic cover, and on the other, I used a metal cover. Here is the metal cover…
And here’s the one with the plastic cover. The problem with the plastic cover is that in order to get the screws tight enough to hold the bulky cover close enough to the wall around the edges, it pulls the plastic too tight in the middle making it slightly concave. And since the wallpaper has a bit of a sheen to it, it’s noticeable. But I like the corners on the plastic covers better than the rounded corners on the metal covers.
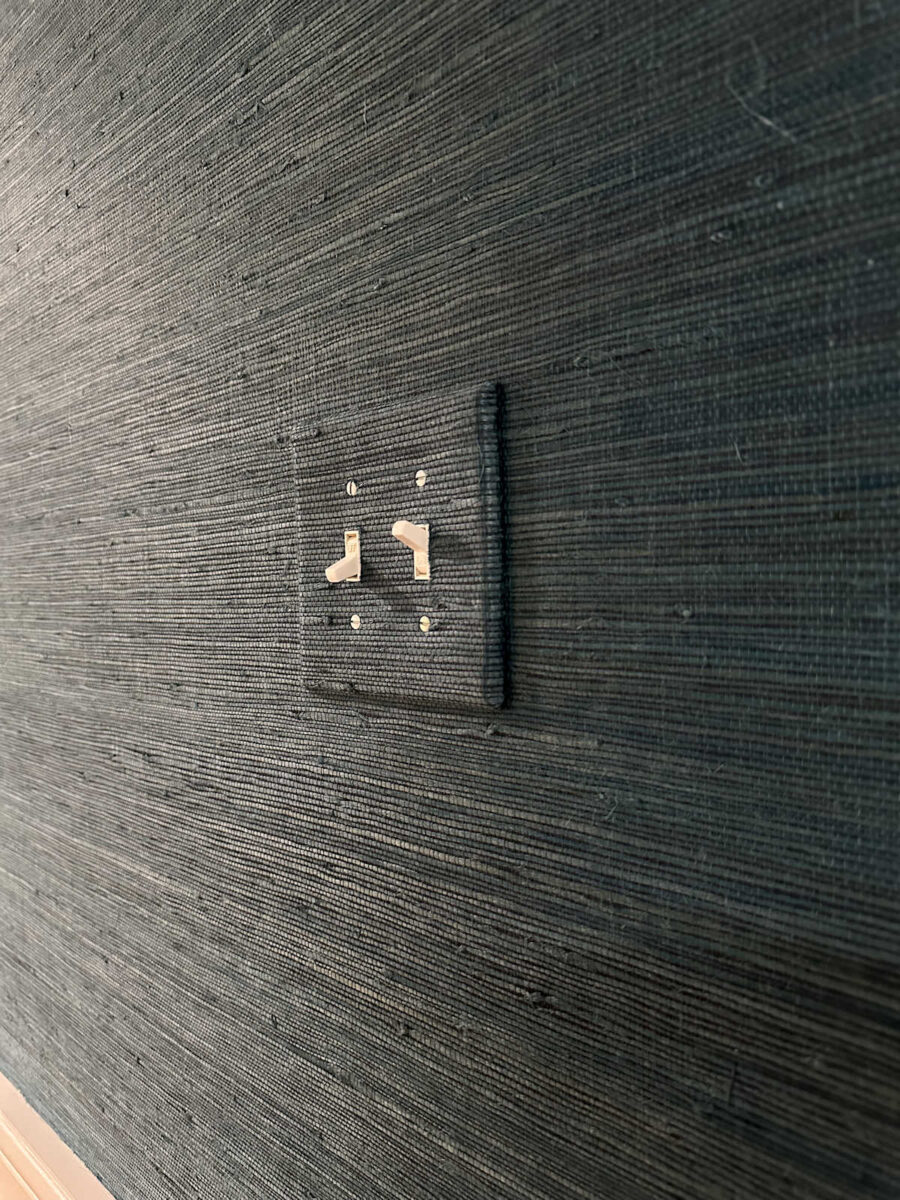
I know that’s one of those details that literally no one else cares about or will even pay attention to, but I notice it, and I care about it. 🙂 So one of those will have to be replaced. I think I’m going to go with the metal plates just because they’re more durable and easier to cover, and I’ll just deal with the rounded corners.
And then I hope to get the mirror hung on the wall today. It’s a bit of a challenge since the walls have a thick chair rail, but I think I’ve come up with a plan for that. And since it’s going to stand out from the wall a bit, I’ve decided to try out adding lights to the back of the mirror instead of adding sconces on either side of the mirror. I looked for sconces, and I just wasn’t loving anything that I found. And sconces seemed too predictable to me. So I’m going to try lighting the back of the mirror instead. I have no idea if it’ll look good or now, but it’ll be fun to try out that idea.
And then I’m waiting on a few things that I’ve ordered for the foyer, and they won’t be here until tomorrow. But hopefully I can get this little area finished pretty quickly. I’m aiming to have it done by the end of the weekend, so we’ll see how that goes. It’ll feel great to have another area finished along with the closet, and then that will just leave the bedroom.
More About Our Bedroom Suite Foyer
see all Bedroom Suite
Foyer diy projects

read all Bedroom Suite
Foyer blog posts

Addicted 2 Decorating is where I share my DIY and decorating journey as I remodel and decorate the 1948 fixer upper that my husband, Matt, and I bought in 2013. Matt has M.S. and is unable to do physical work, so I do the majority of the work on the house by myself. You can learn more about me here.