
The upholstered headboard for the bedroom is finished! I’m so excited to finally have this project finished. It was one of the biggest projects left on my “to do” list for the bedroom, so with this done, I feel like I’ve cleared a pretty big hurdle. The other two big projects remaining are (1) finishing the curtains, and (2) finishing the upholstered bed base. But for now, let me show you how I made this DIY upholstered headboard with piping.
Building The Frame For The Upholstered Headboard
This process ended up being a bit more involved than I thought it would be, but it wasn’t particularly difficult. I started out with a rough sketch of how I wanted my headboard to look.
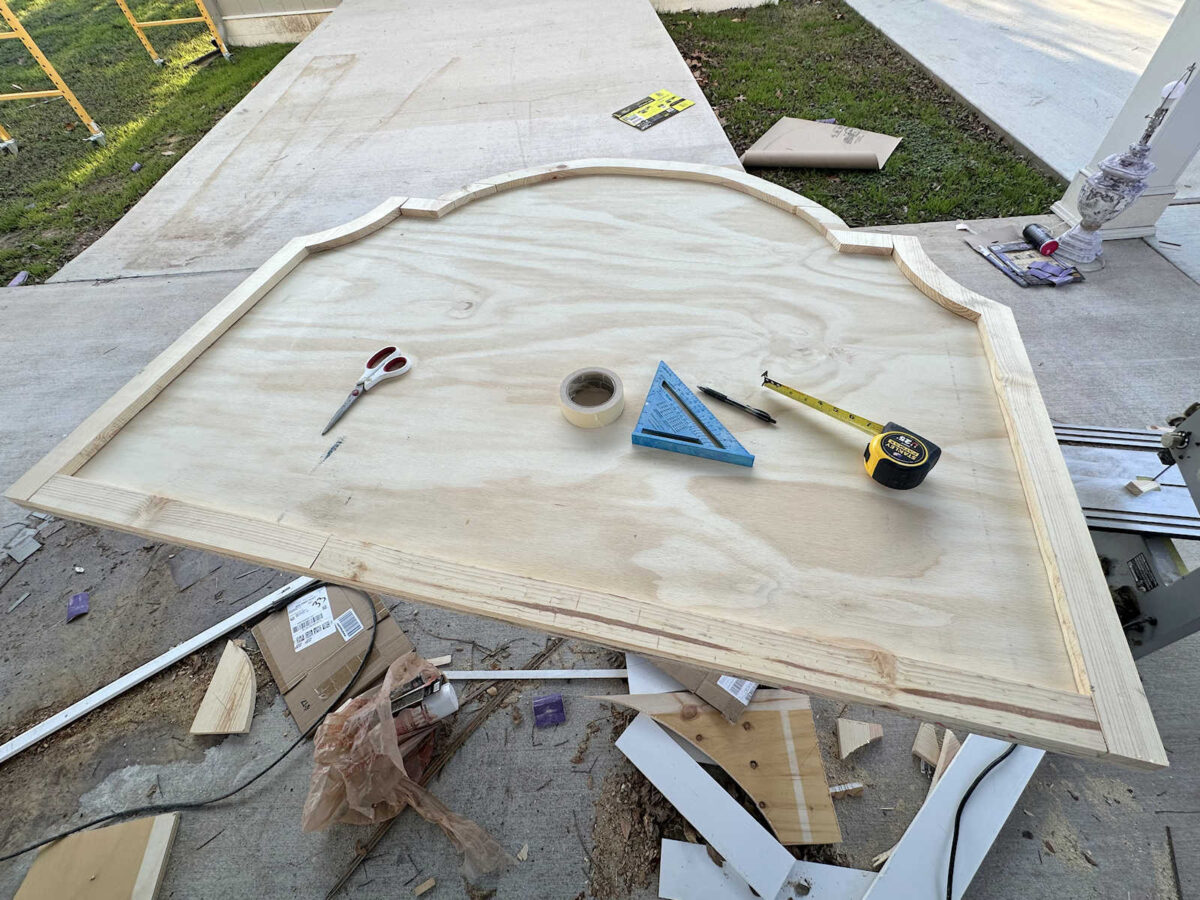
I cut a piece of 3/4″ plywood to the overall size of the headboard (48″ high and 58″ wide). And then I cut a piece of brown paper to half the width of the headboard and taped it onto the left half of the headboard.
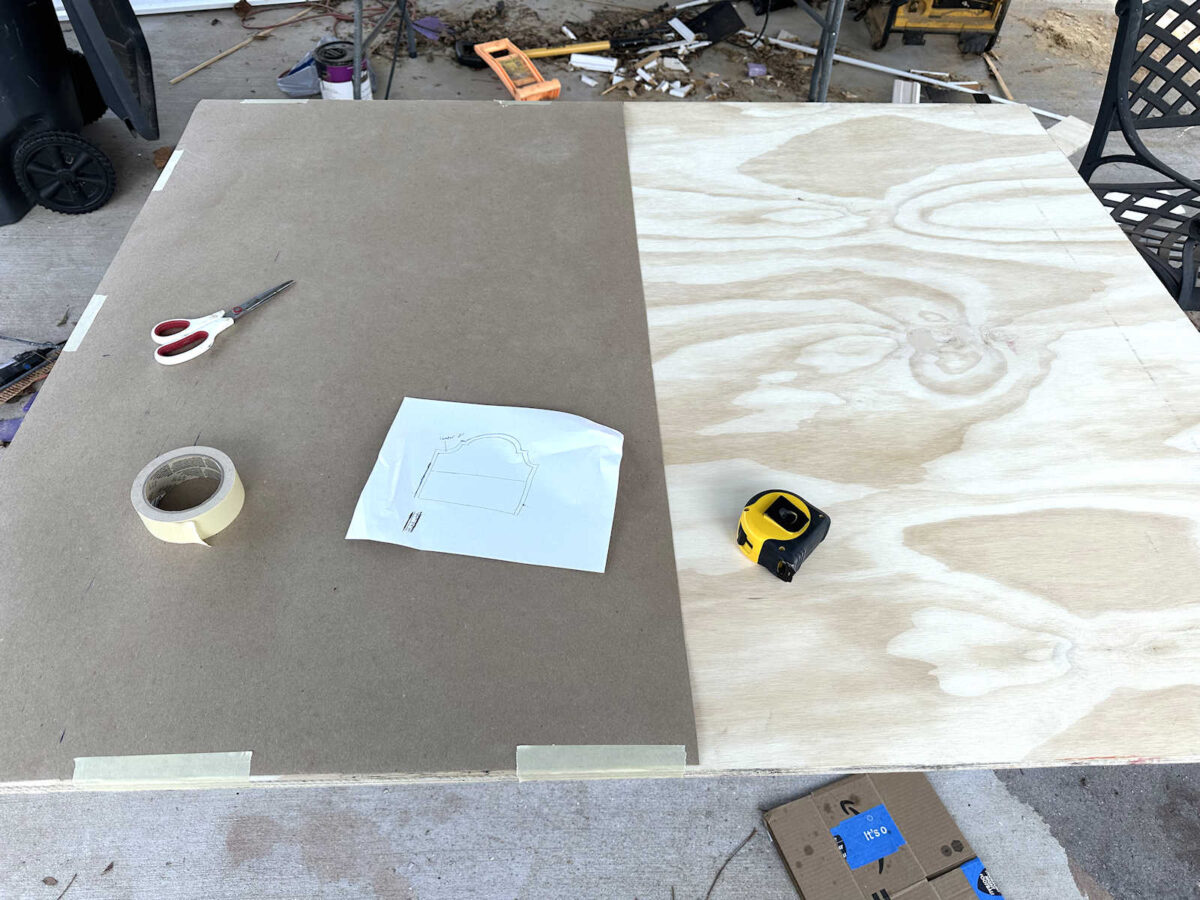
And then I drew my pattern onto the brown paper. I just eyeballed the design and freehanded most of it, but I did use my speed square and a straight edge to make sure that the one straight line in the design was a perfect 90-degrees to the left side of the plywood.
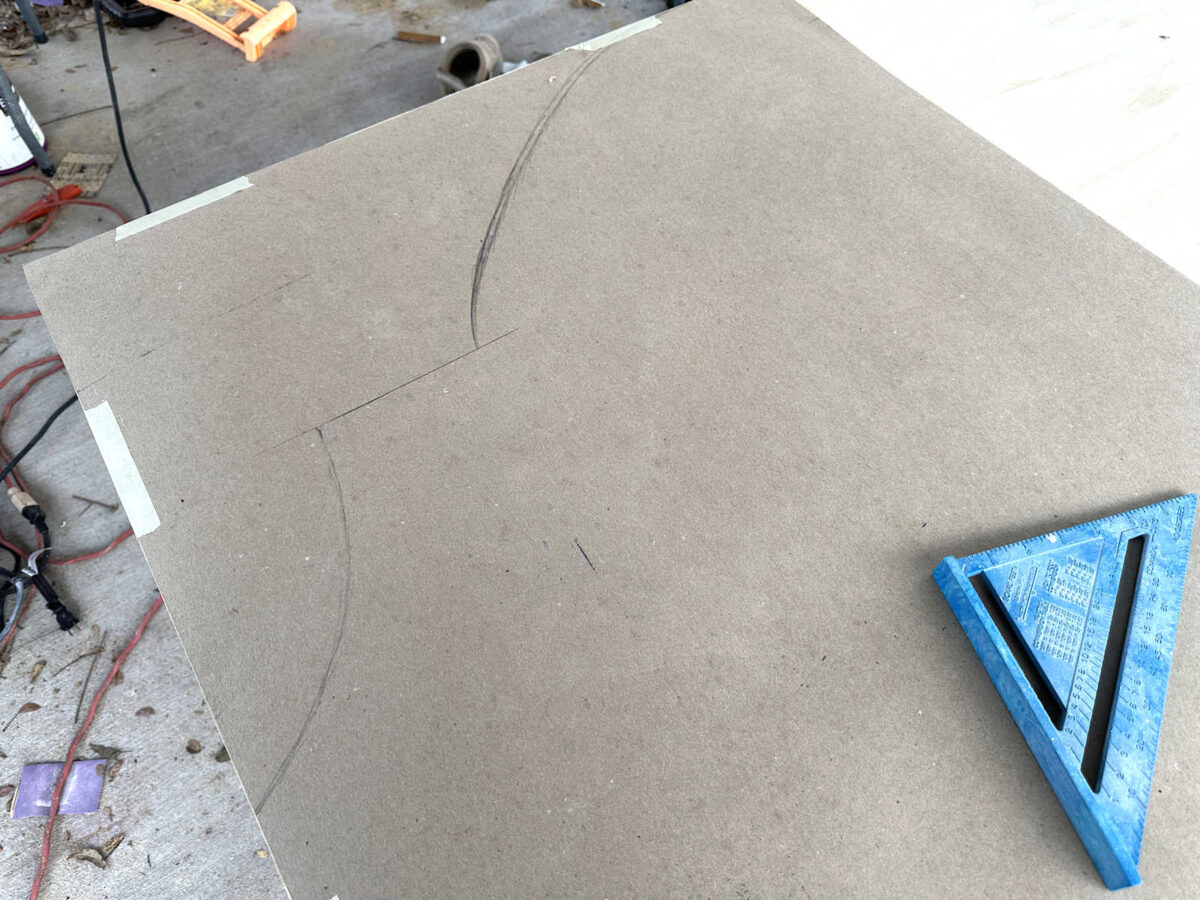
Once I got the design how I wanted it, I cut it out and then used it as a pattern to trace the design onto the plywood.

And then I flipped the pattern over to the right side of the plywood and traced the design again. The paper kept wanting to curl so I used various items to weigh it down before tracing.
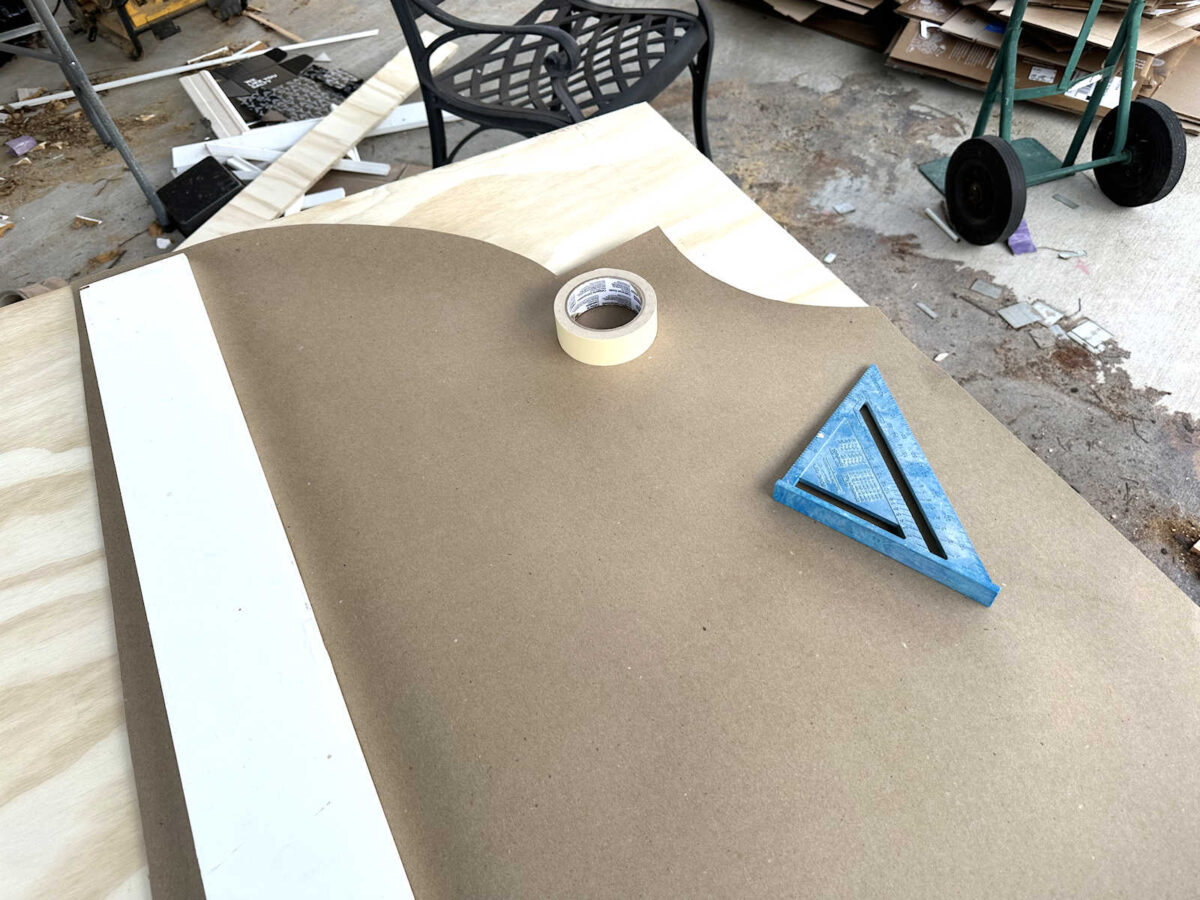
Once the whole design was traced onto the plywood, I used my jigsaw to cut out the design.
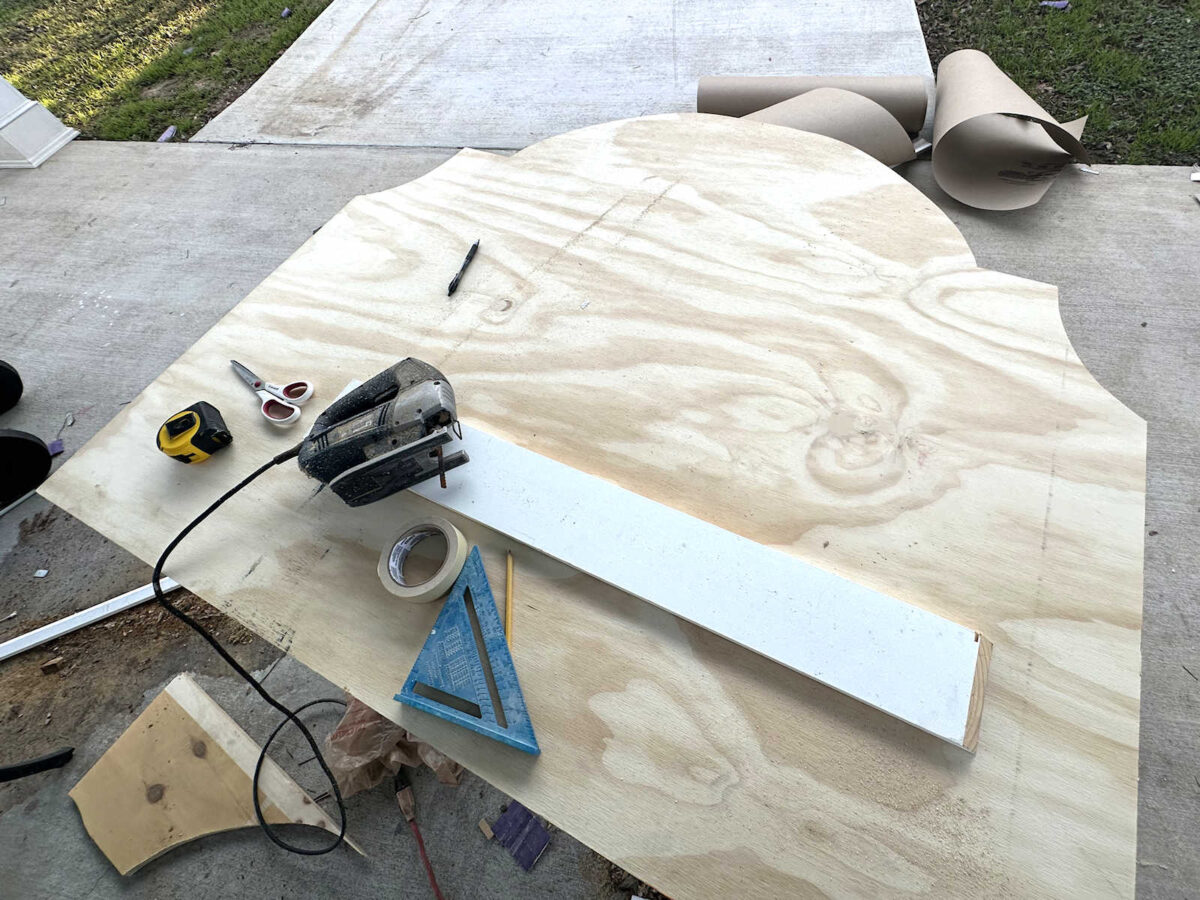
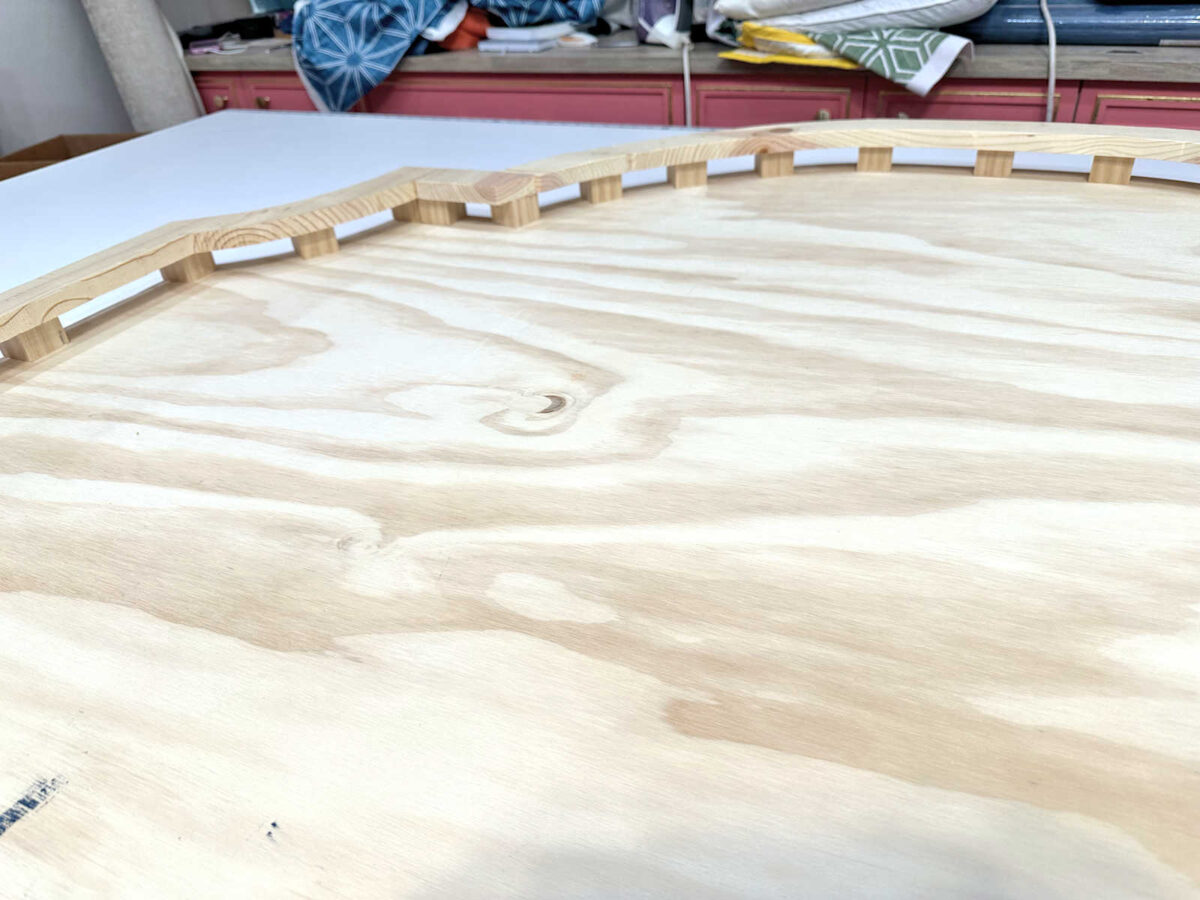
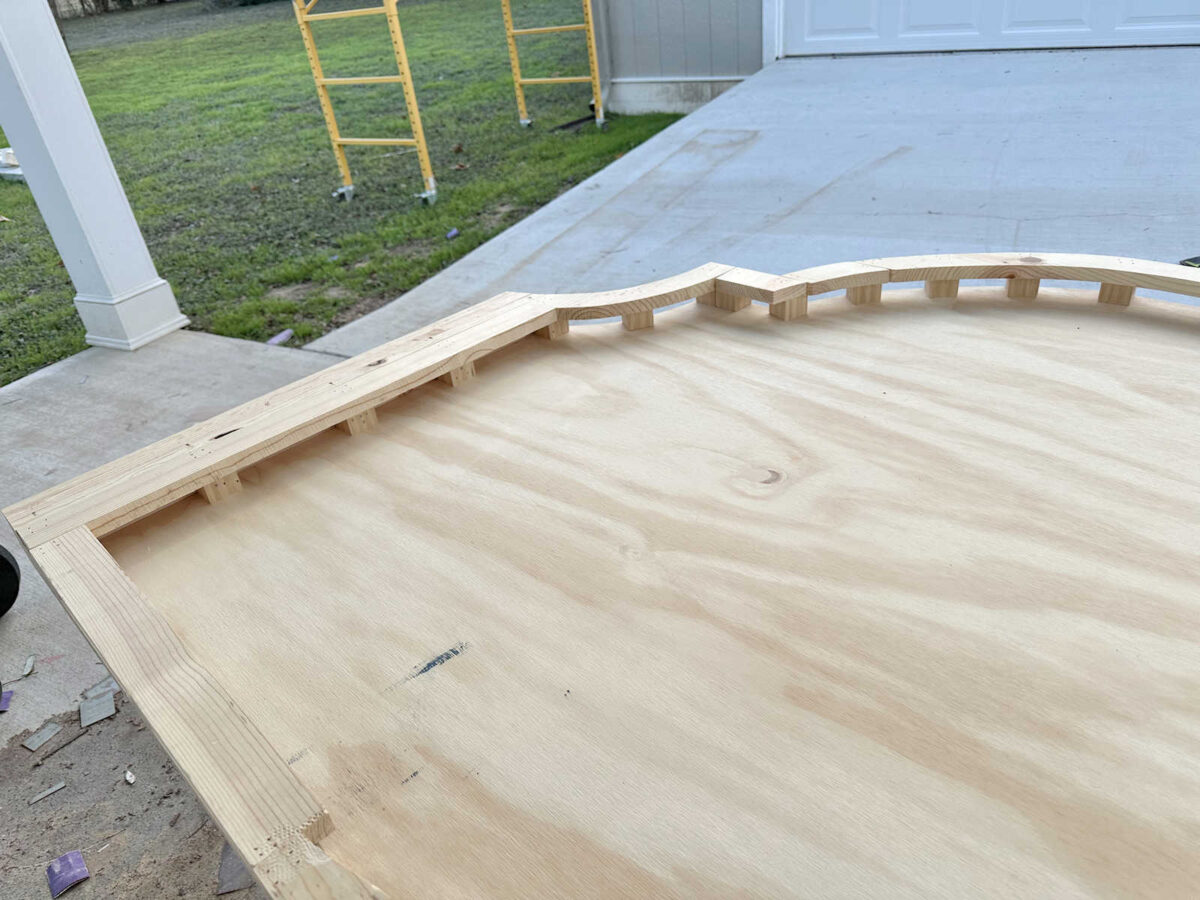
This was the part that got a little tricky, but it’s really not difficult. I just had to think through how to achieve what I wanted. Basically, I needed to make a frame around the edges of the plywood backing that my 2-inch foam would sit inside. If I were doing a simple wrap-and-staple headboard, this frame wouldn’t have been needed. But I wanted to add piping to this headboard, and I needed something to staple the piping onto, so I needed a wood frame. I made this frame out of several pieces of scrap wood and a combination of my jigsaw (to cut the curves), table saw (to rip the straight pieces to 2″ wide), and miter saw (to cut the pieces to the correct length). Once I had all of the pieces cut to create a frame all the way around the headboard, it looked like this. Note that I didn’t attach these pieces yet.
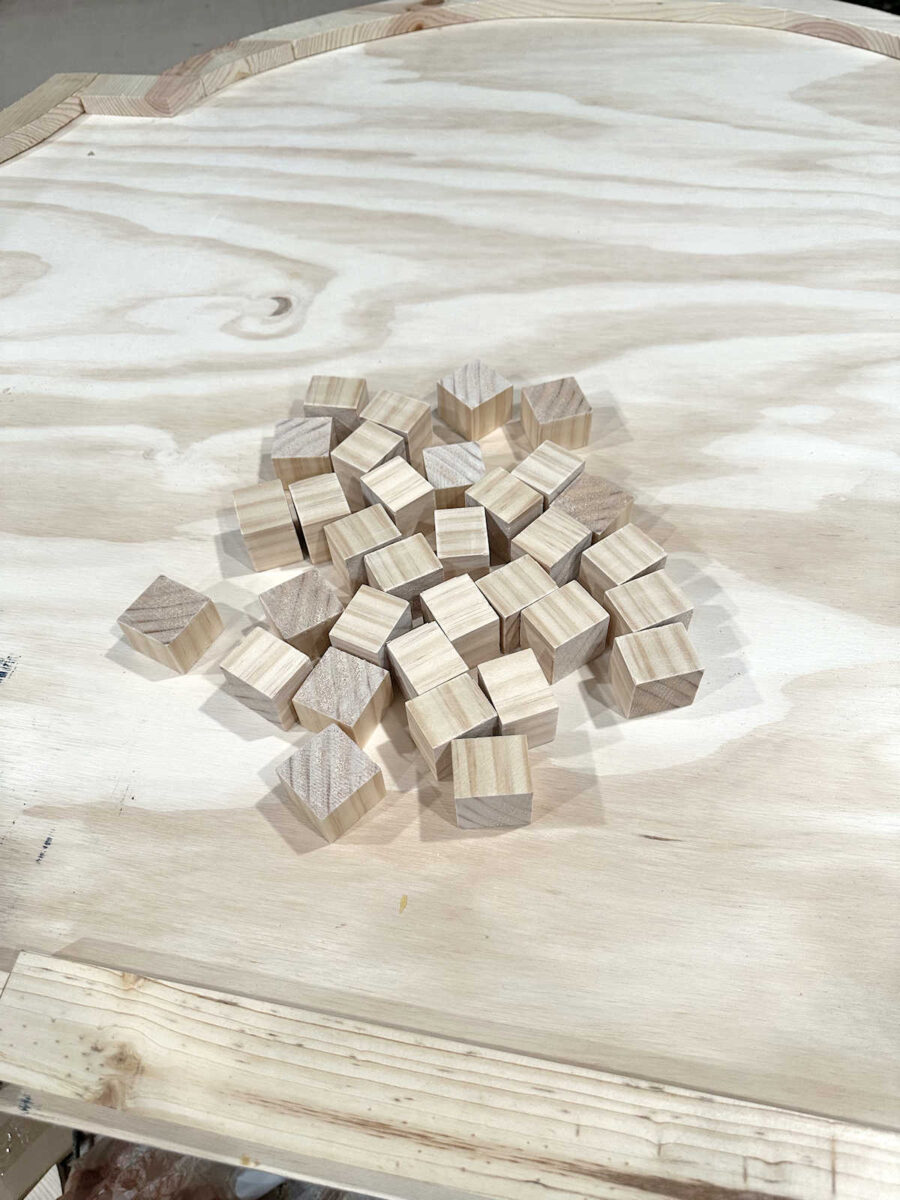
As I mentioned, the foam that I was using was 2 inches thick, so I needed to build that frame up on the edges to create a 2-inch-deep “well” in the middle. I did this by cutting a piece of 2″ x 2″ x 8′ lumber into blocks to give me the added height needed to make up the difference between the 3/4″ thickness of the frame and the 2″ depth that I needed. So I cut these blocks to 1 1/4″ thick using my miter saw.
I spaced these blocks around the edges of the plywood and nailed them into place using 1.25″ 16-guage nails in my nail gun. I nailed them on through the back of the plywood and into the back of the blocks. These also could have been attached with wood glue, but that would have taken longer waiting for the glue to dry.
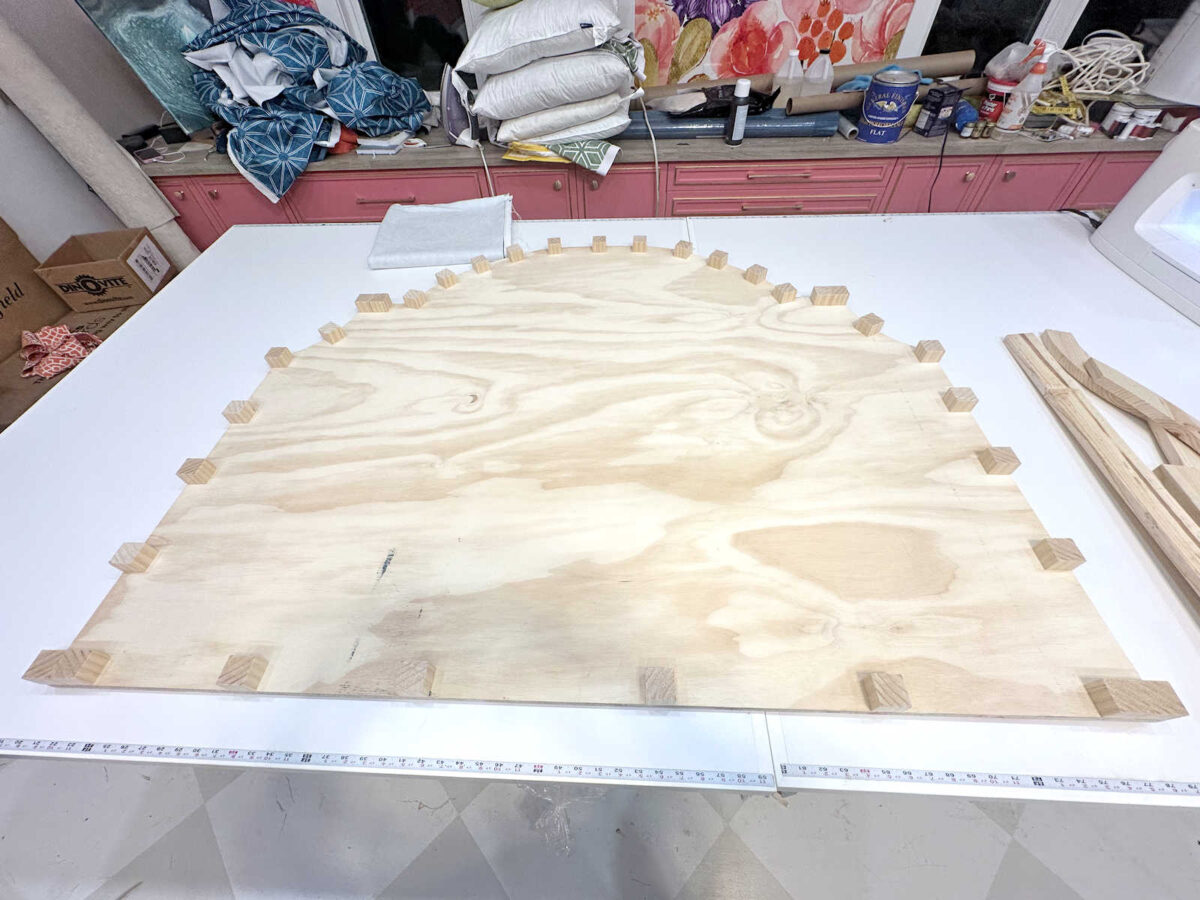
And then I placed the frame pieces on top of the blocks and nailed them onto the blocks.
You can see how those blocks raised up the frame pieces and gave me the needed 2-inches of depth for my 2-inch foam to fit into.
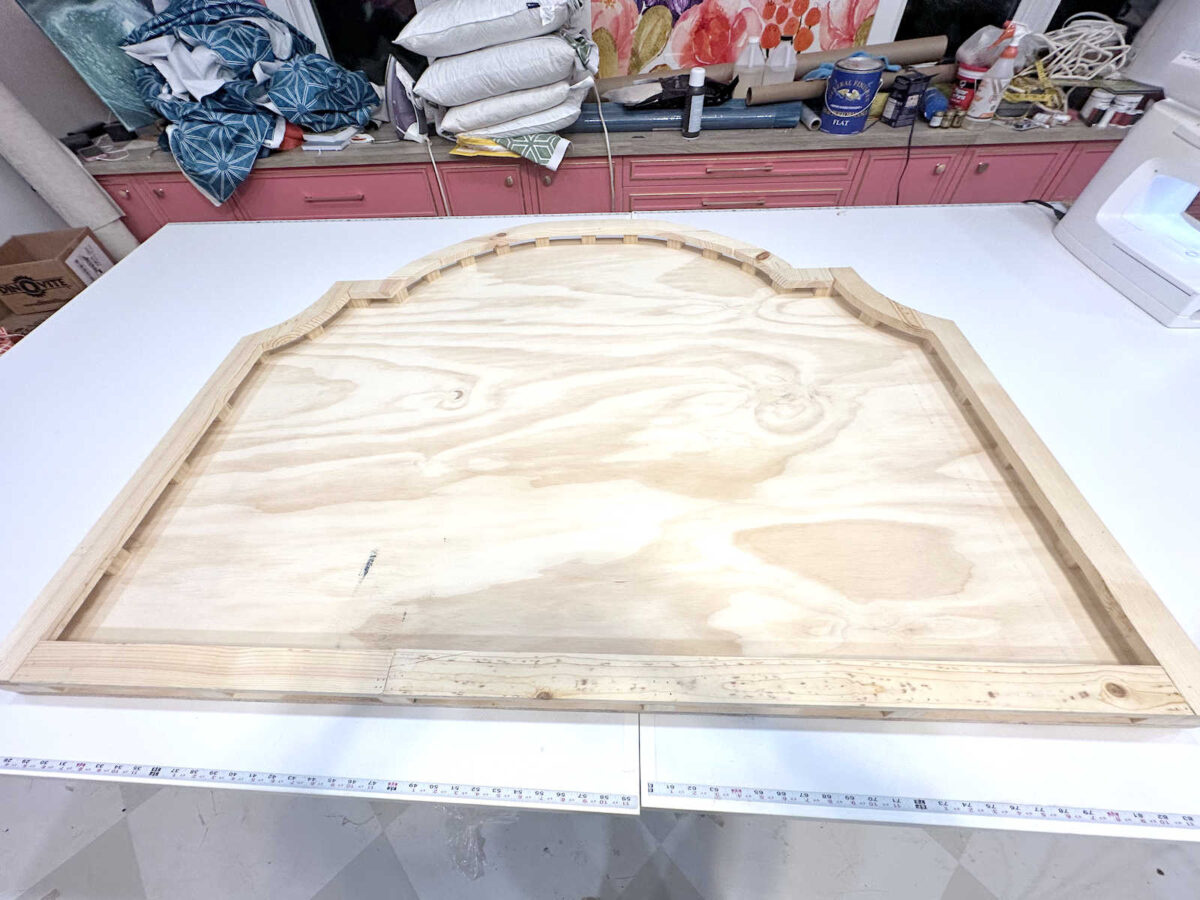
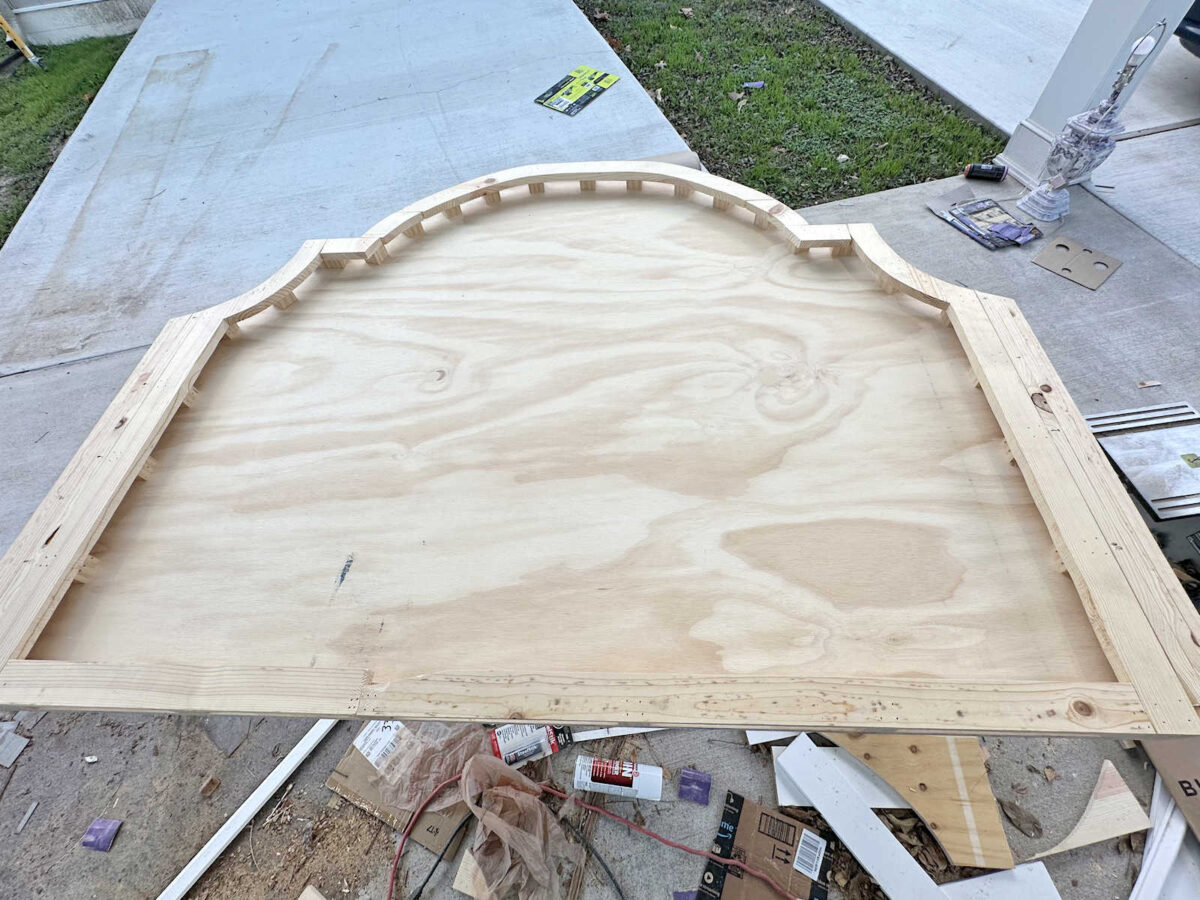
And here’s what the upholstered headboard wood frame looked like at this point.
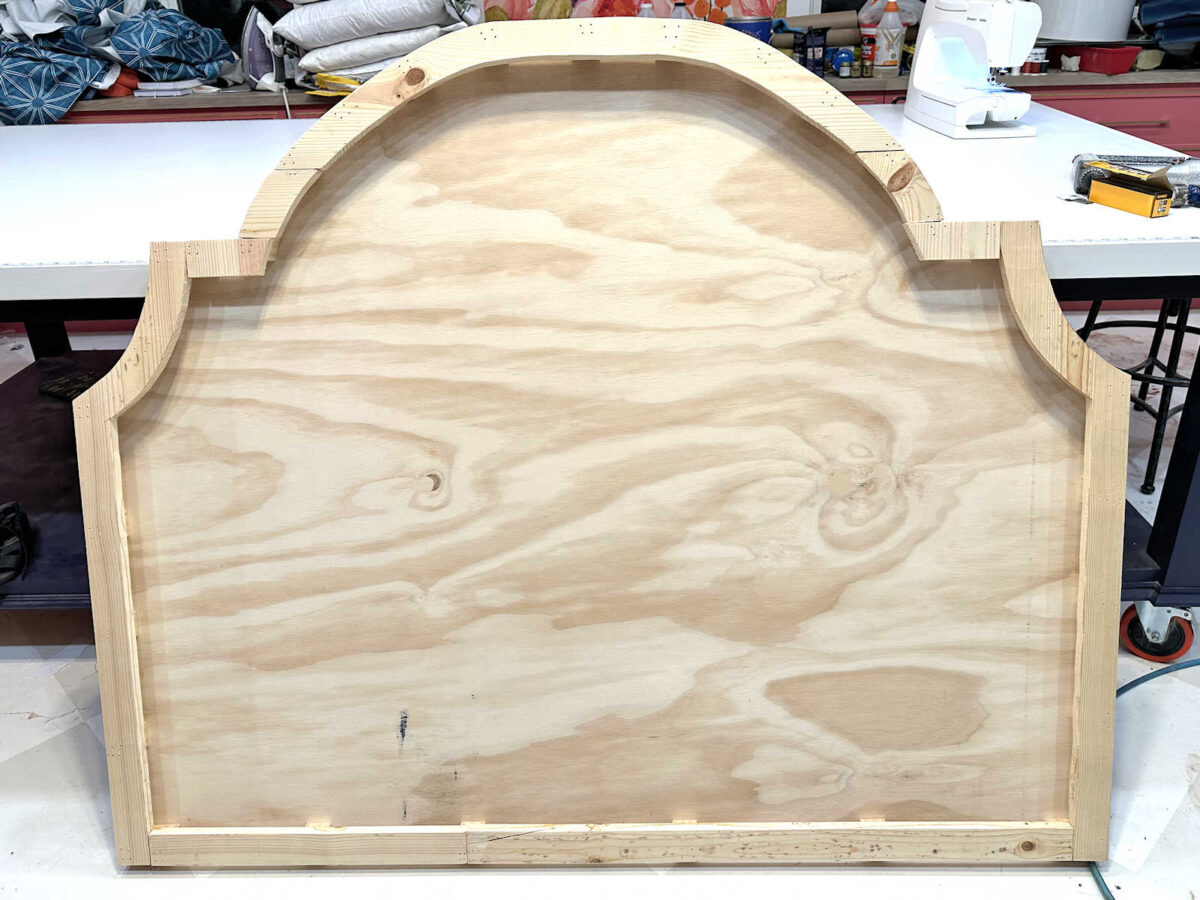
It was at this point that I changed my mind about the rest of the bed. I had planned to use a bedskirt on the bed base, but just before I went any further on the headboard, I changed my mind and decided that I wanted an upholstered bed base instead. That would require the headboard to be wider by about five inches, so before I moved to the next step, I needed to add some width to my headboard. I ripped a few pieces of wood to the thickness of the headboard and then stacked and nailed together three pieces together for each side to make up for that extra width that I’d need to match the width of an upholstered bed base.
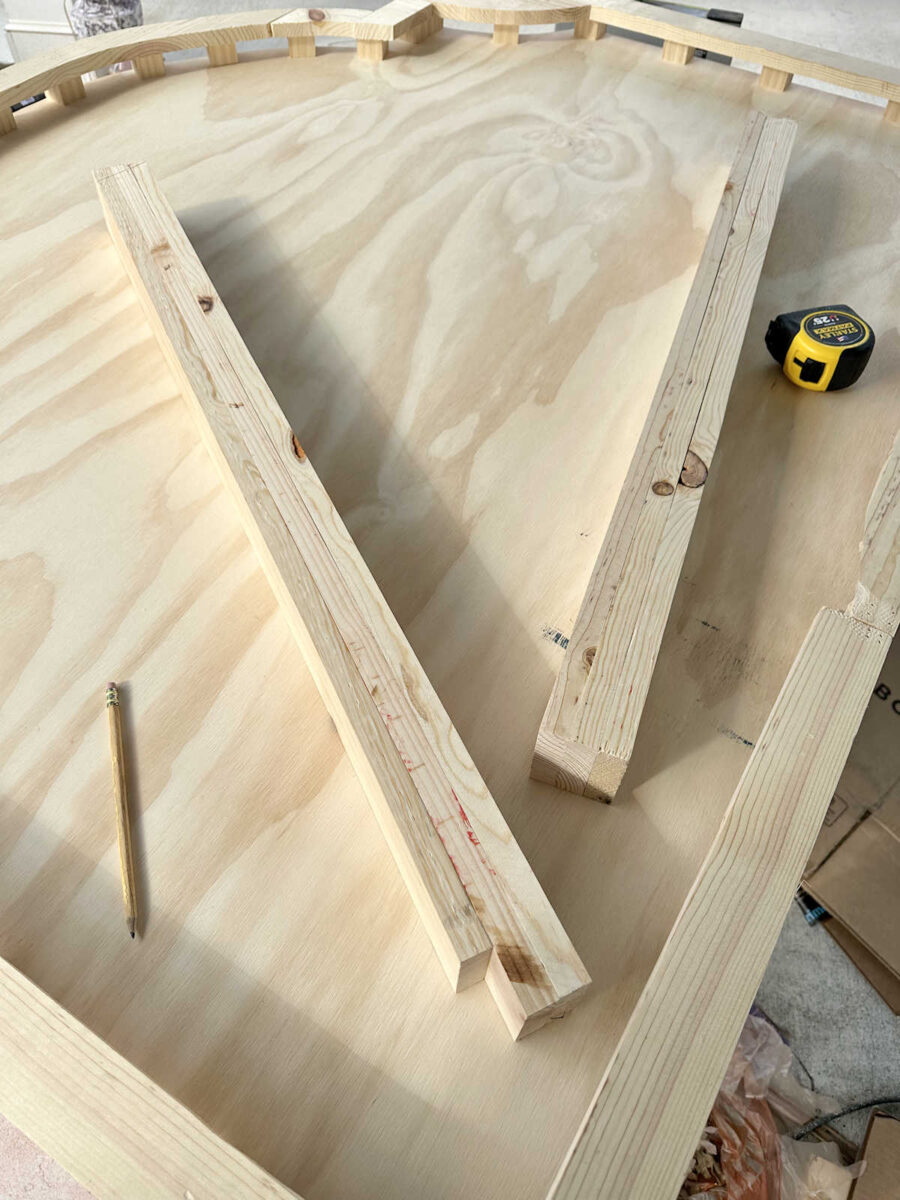
I held the piece to the side, continued the curved design onto the extension and then cut out that curve using my band saw before nailing the extension to the side.

I repeated that process on the other side, and then my headboard was the correct width to match the upholstered bed base. This was extra work that I created for myself because I changed plans mid-project. Had I planned for an upholstered base from the start, I would have made the original headboard frame the correct width and that would have saved me these extra steps. But it just goes to show that there’s always a way to fix a problem. You just have to get creative and figure it out.
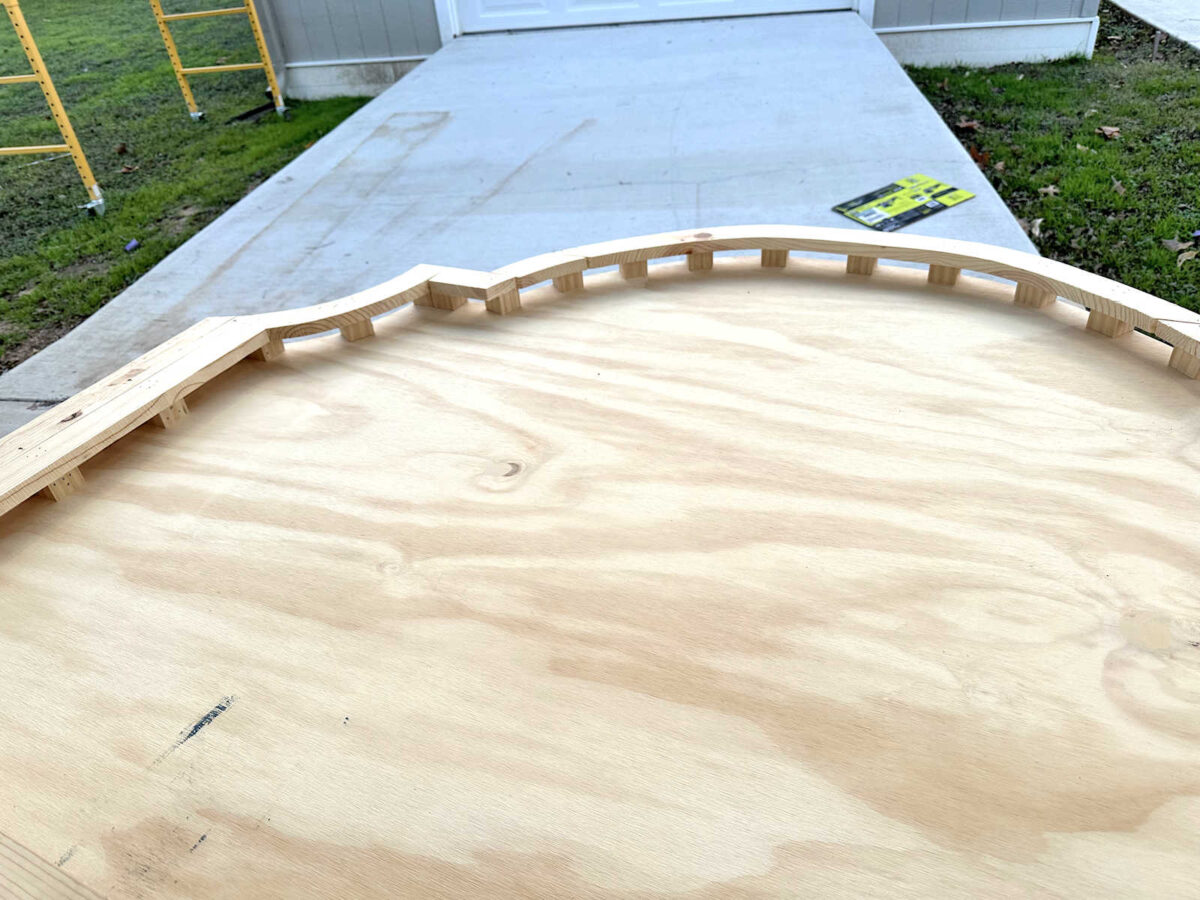
So here’s what the headboard frame looks like with the extended sides.
Adding The Foam And Batting
With the frame finished, I was ready to add my 2-inch foam to the “well” created by those perimeter frame pieces.
I used this spray adhesive and coated the plywood with the adhesive.

I also coated the back of the foam with the spray adhesive, waited a couple of minutes for all of the adhesive to get tacky, and then placed the foam onto the plywood. I used my electric knife to cut the foam and make it fit inside the perimeter frame.
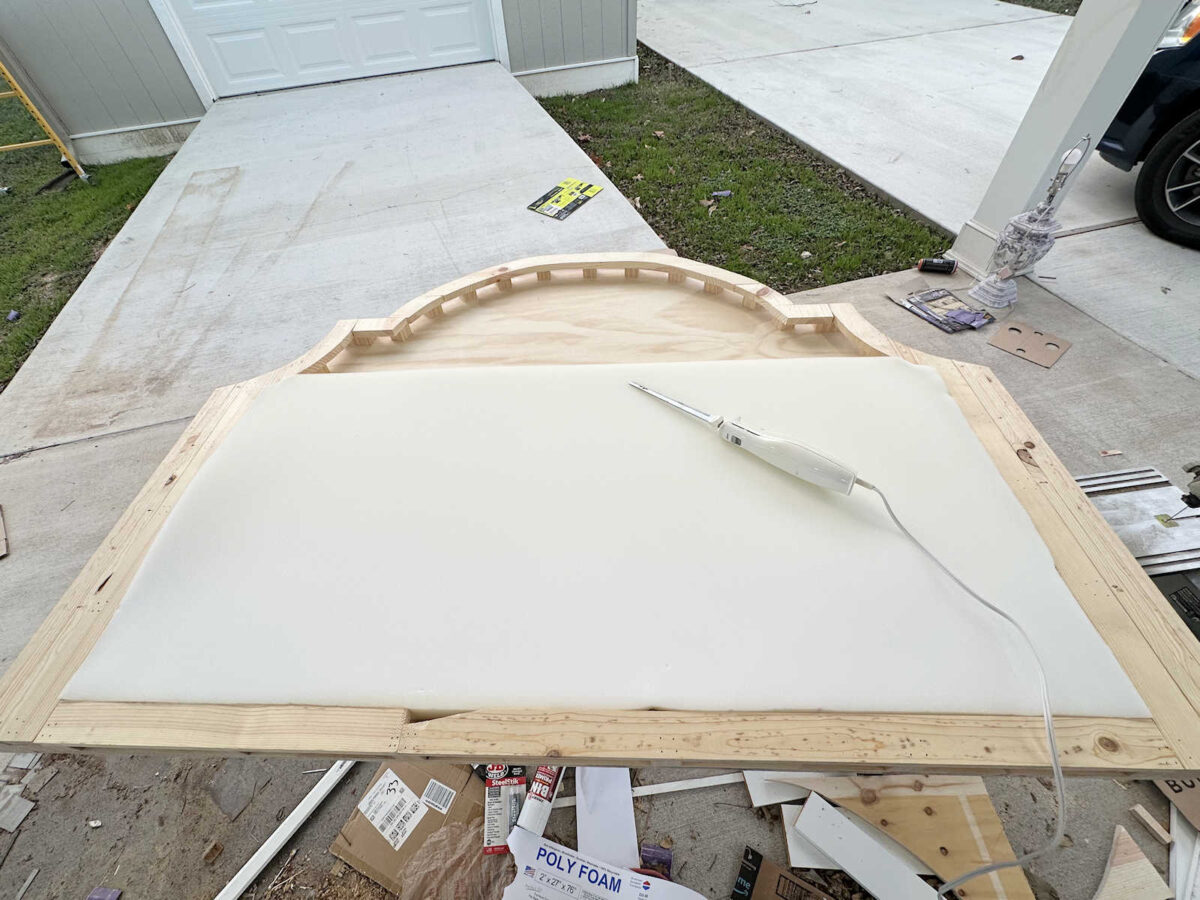
It took two pieces of foam to cover the entire headboard. When I have two pieces of foam that meet on an upholstery project, I not only adhere them on the back, but I also make sure to adhere them to each other on the edges where they meet. So I pulled one back a bit, sprayed adhesive on both edges, waited about two minutes, and then stuck them together so that they would be seamless.

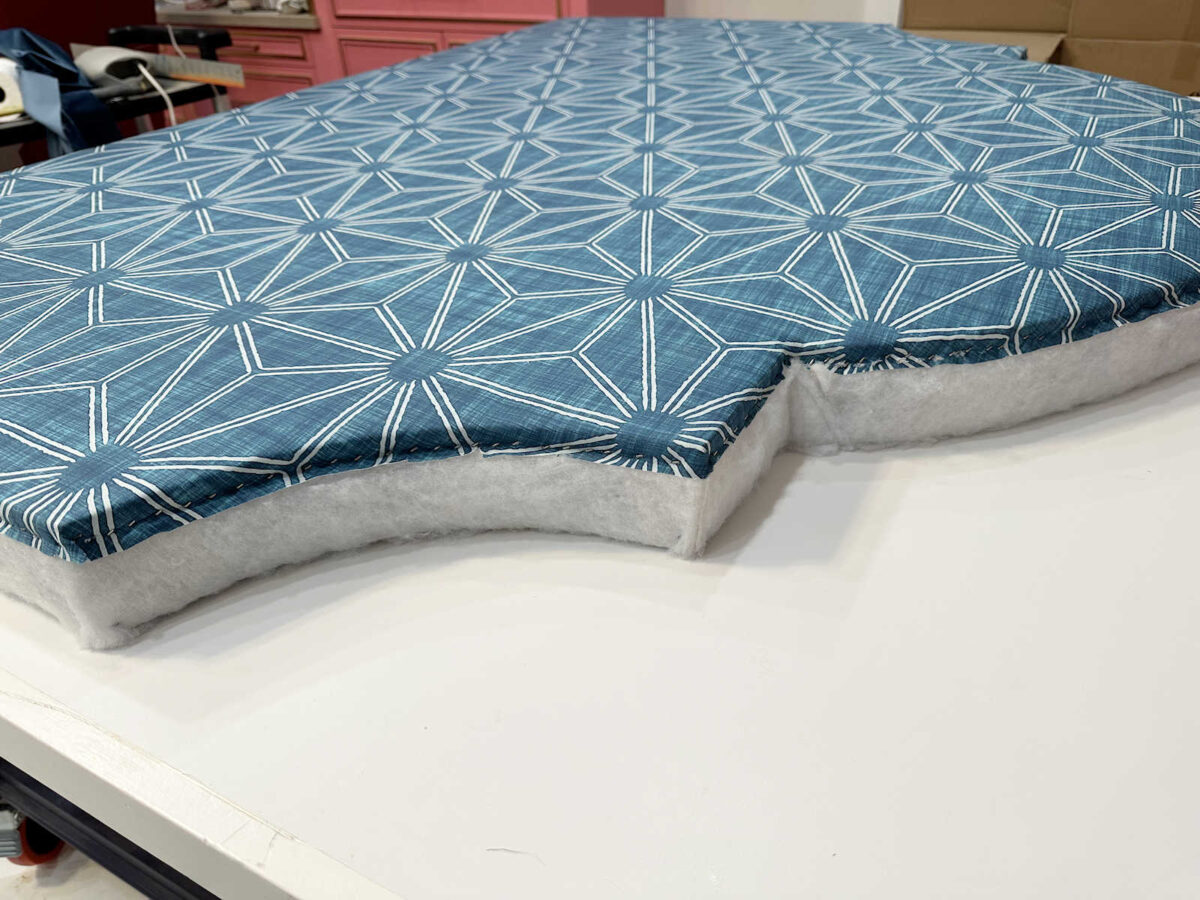
With the foam attached and cut to fit, I was ready to wrap the whole thing with batting.
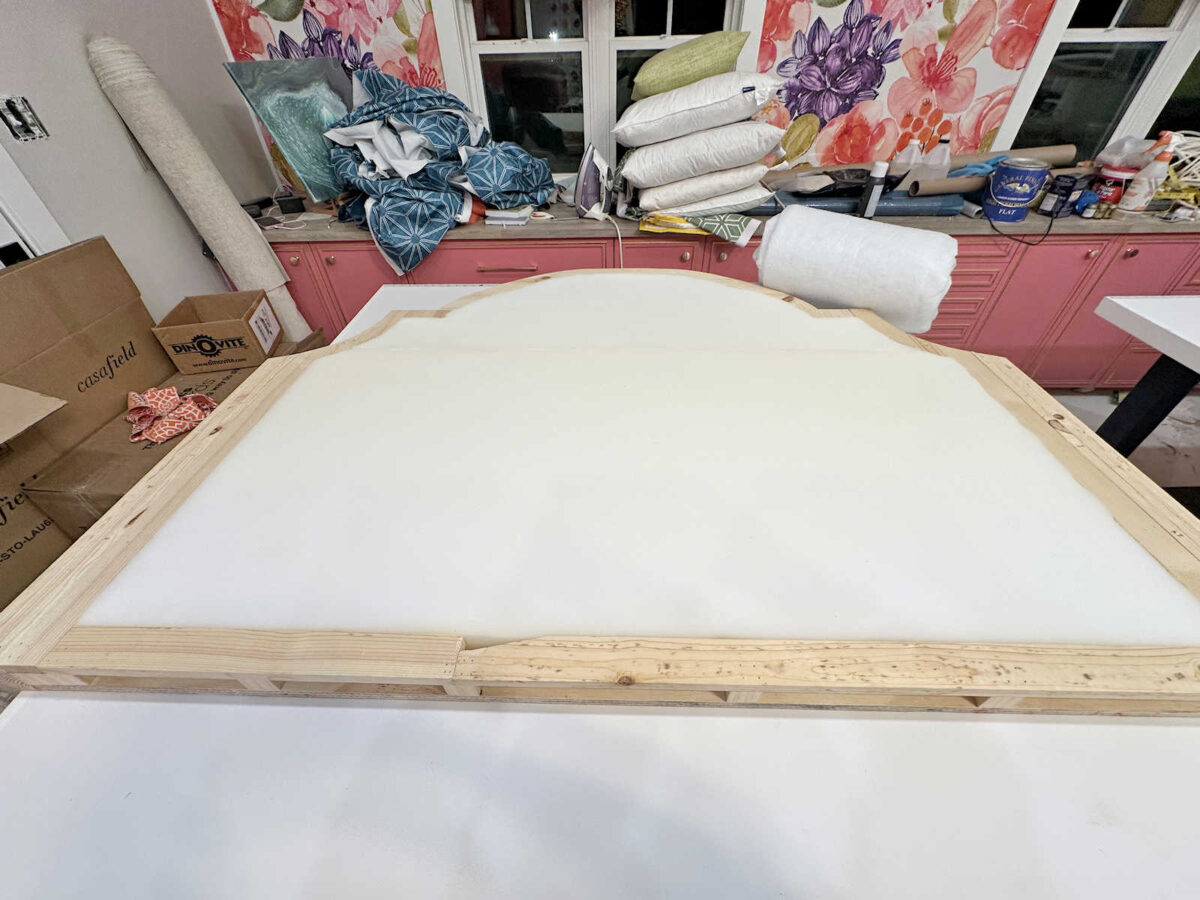
I used two layers of high-loft batting over the whole headboard and did a simple wrap-and-staple, wrapping the batting to the back of the plywood and stapling it into place on the back.
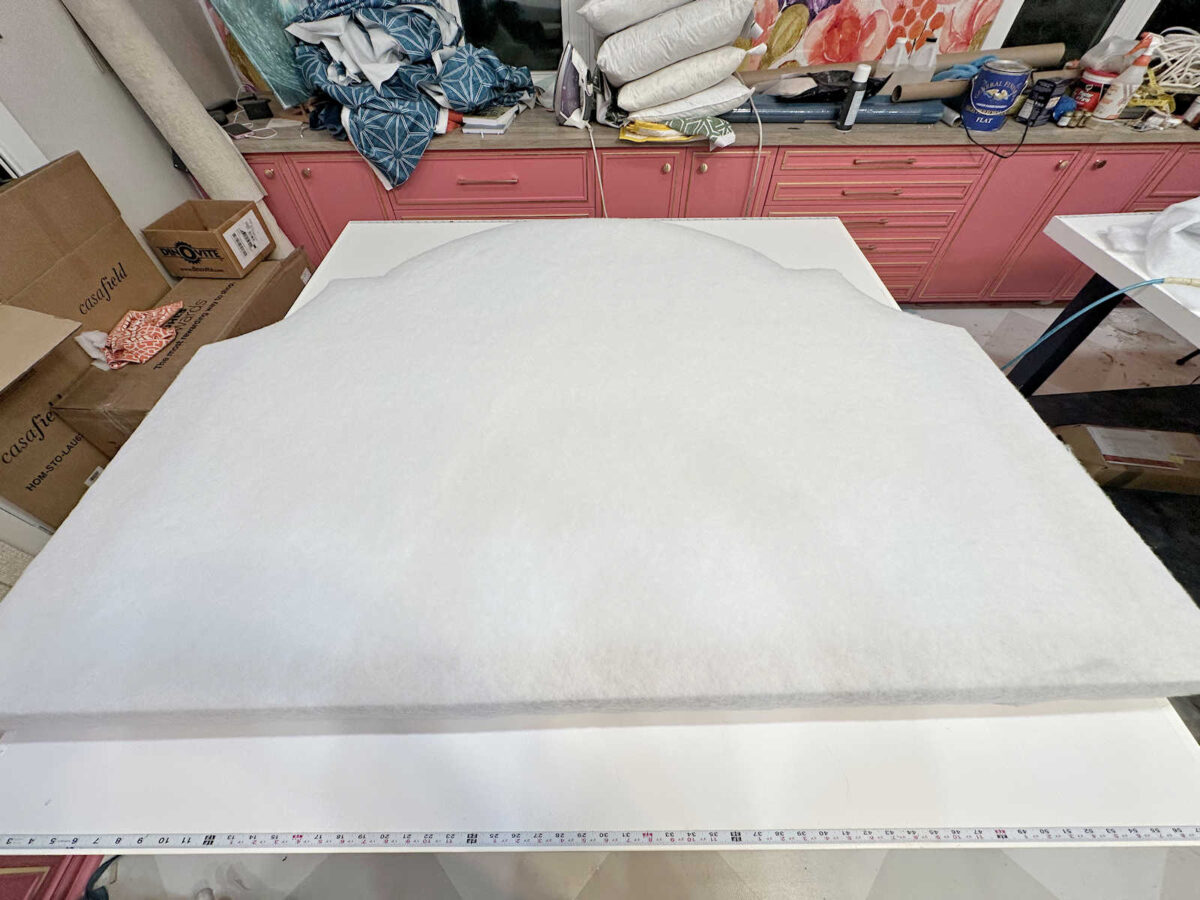
The bottom and straight sides were very simple to wrap and staple.
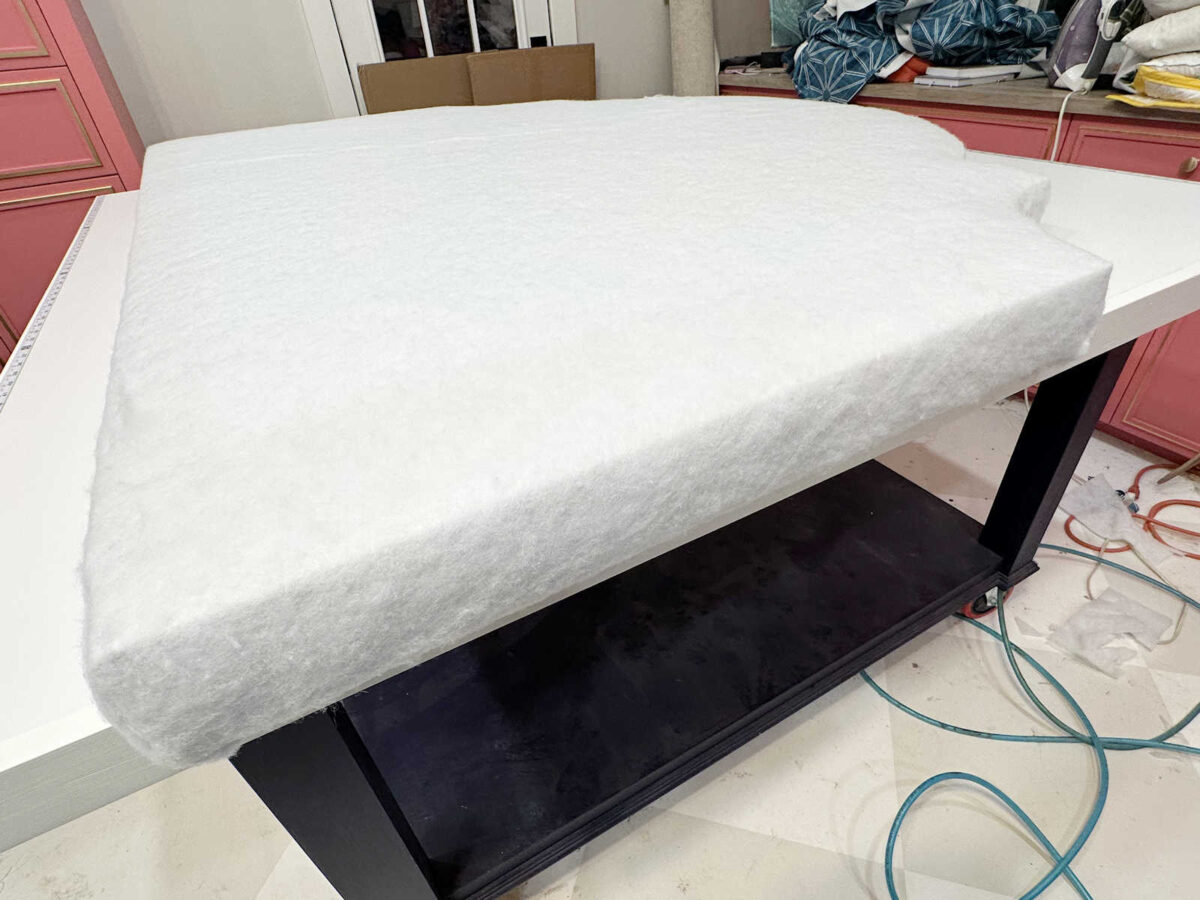
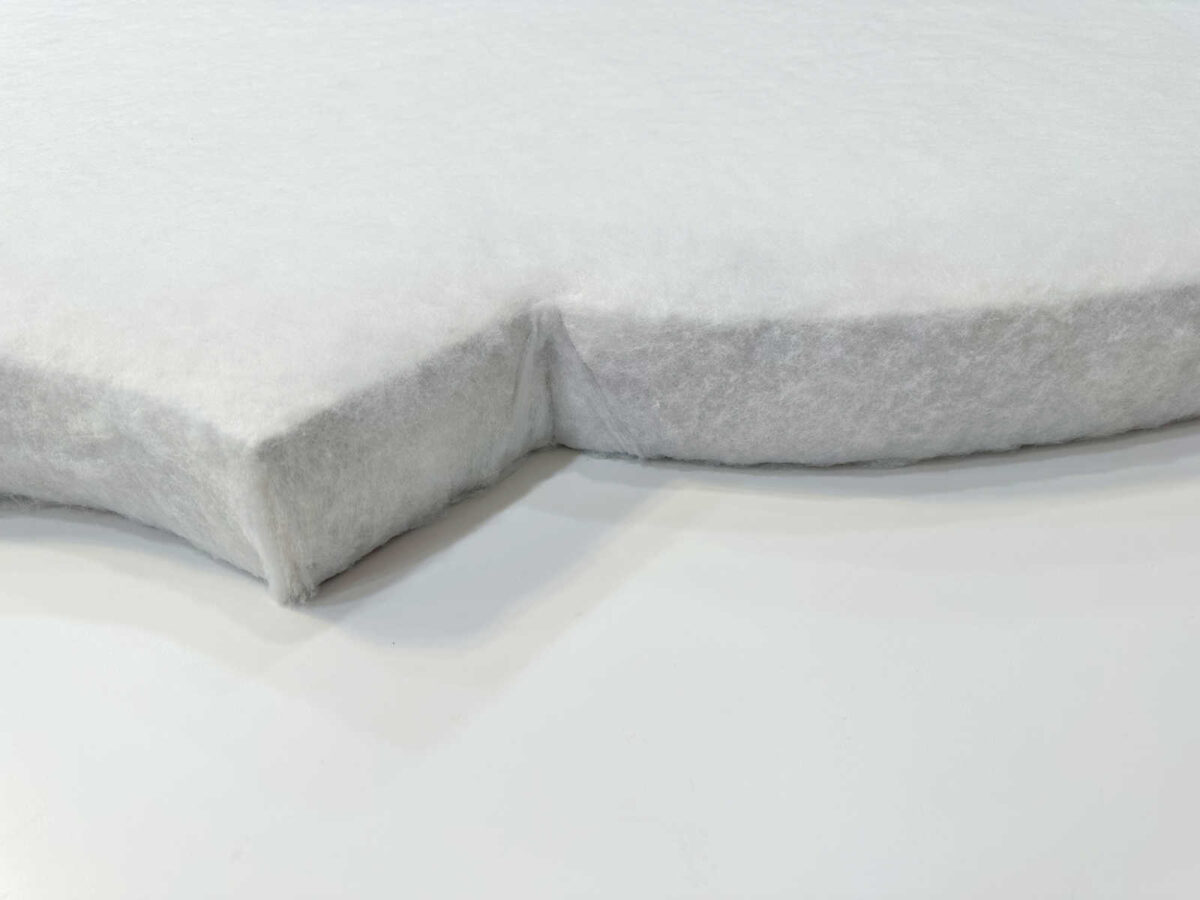
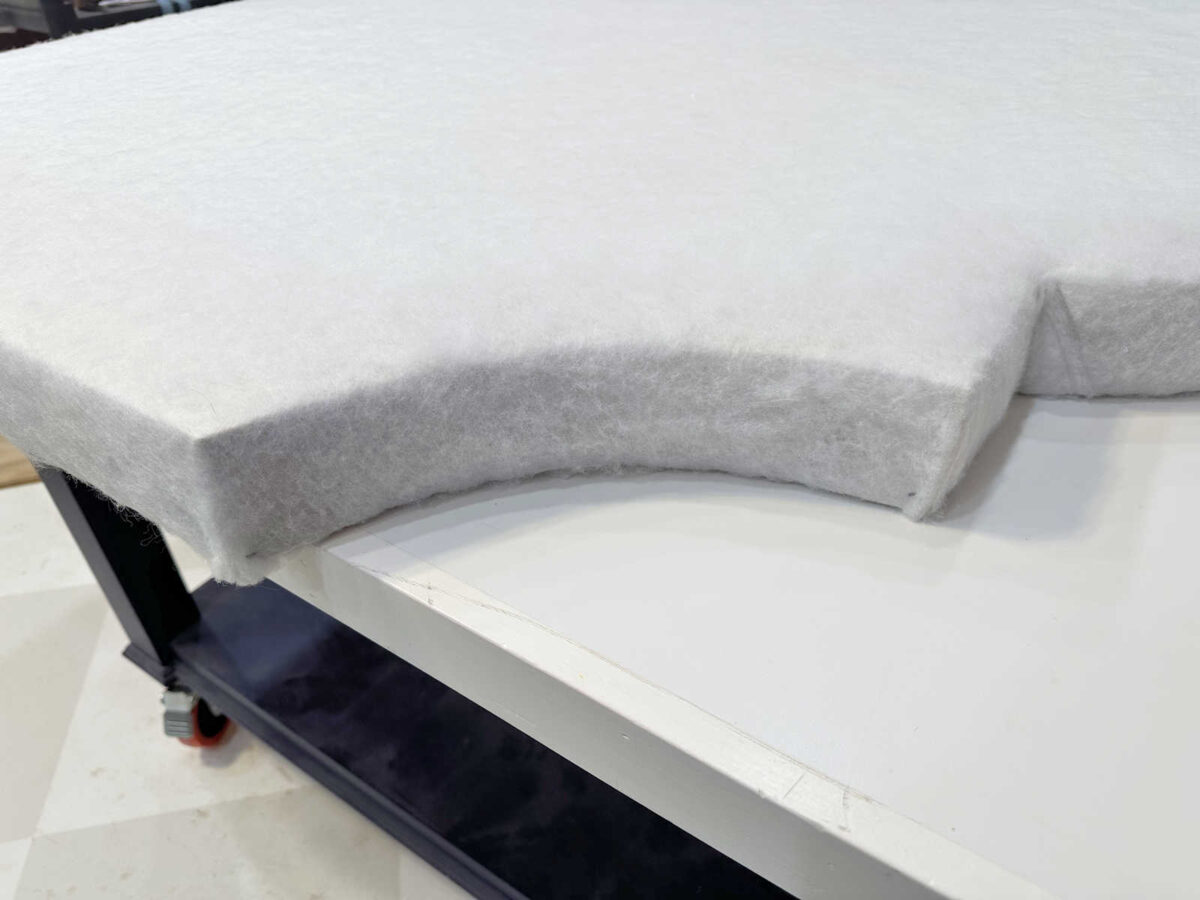
The curve was a bit more challenging, but this inside corner really gave me grief. I ended up having to cut it right to the corner on the front edge and then filling in the corner with a separate small piece of batting.
Here’s how it turned out. I was pretty pleased with this.
Adding The Face Fabric
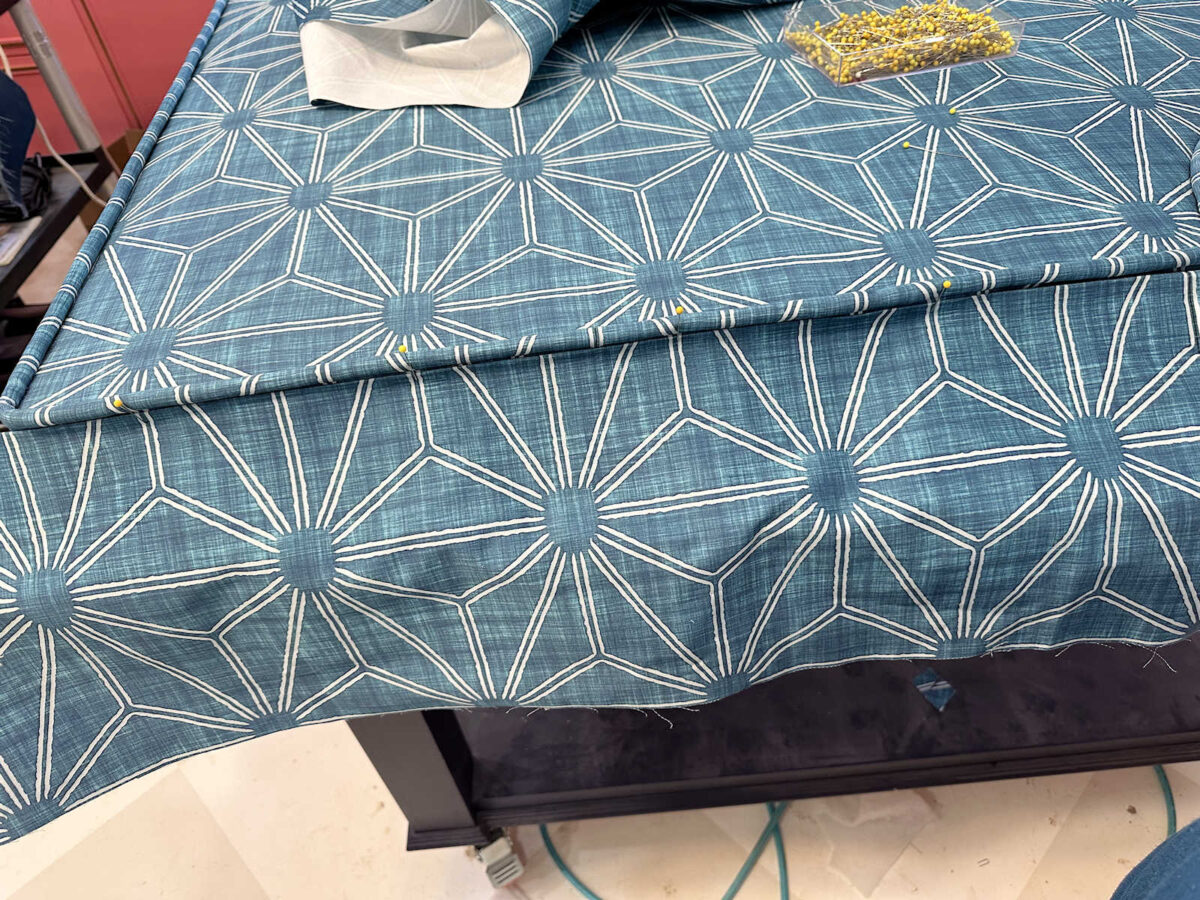
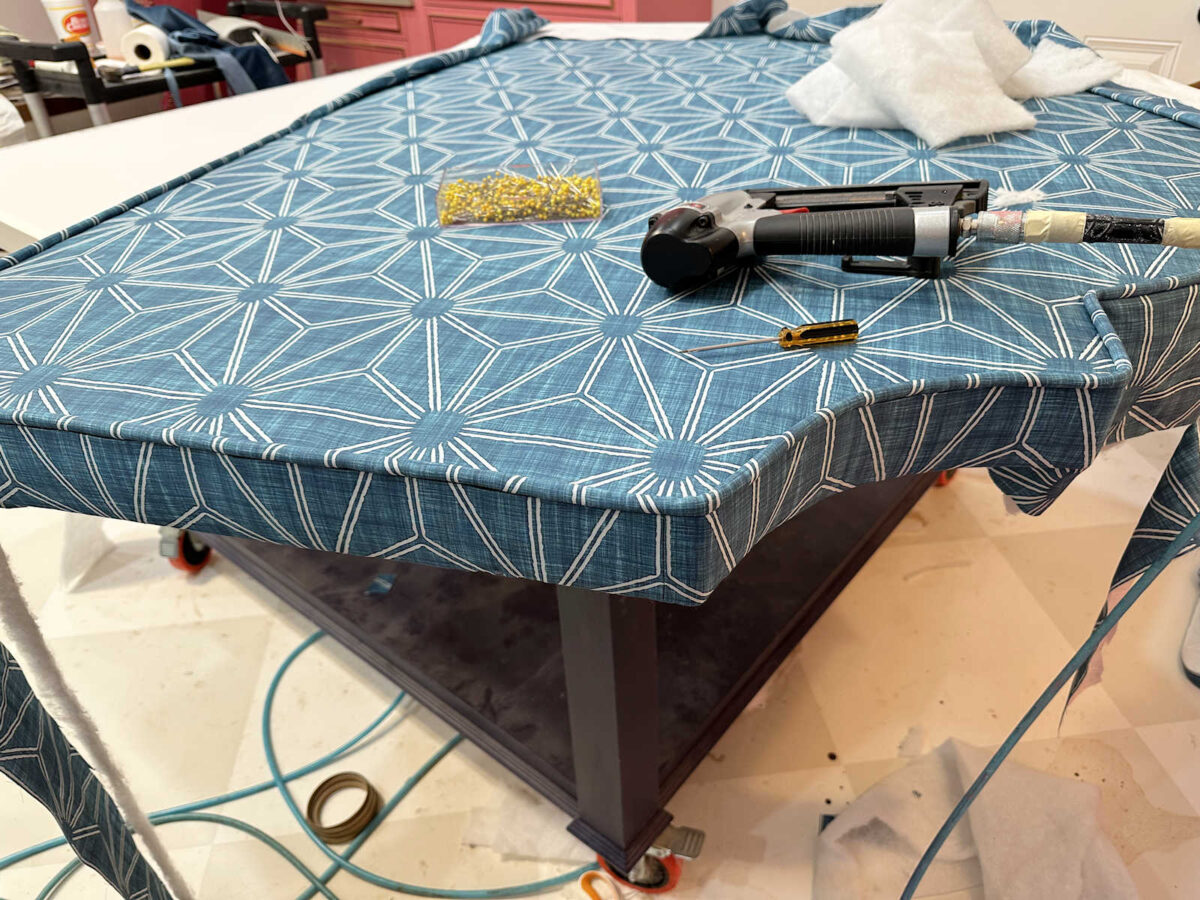
With the batting stapled on, I was finally ready for the fabric. I spread it out and got the design centered, and then started stapling on the bottom edge. I stapled the bottom edge all the way across because it was imperative for me to keep the design straight, and the lines on this pattern made it easy.
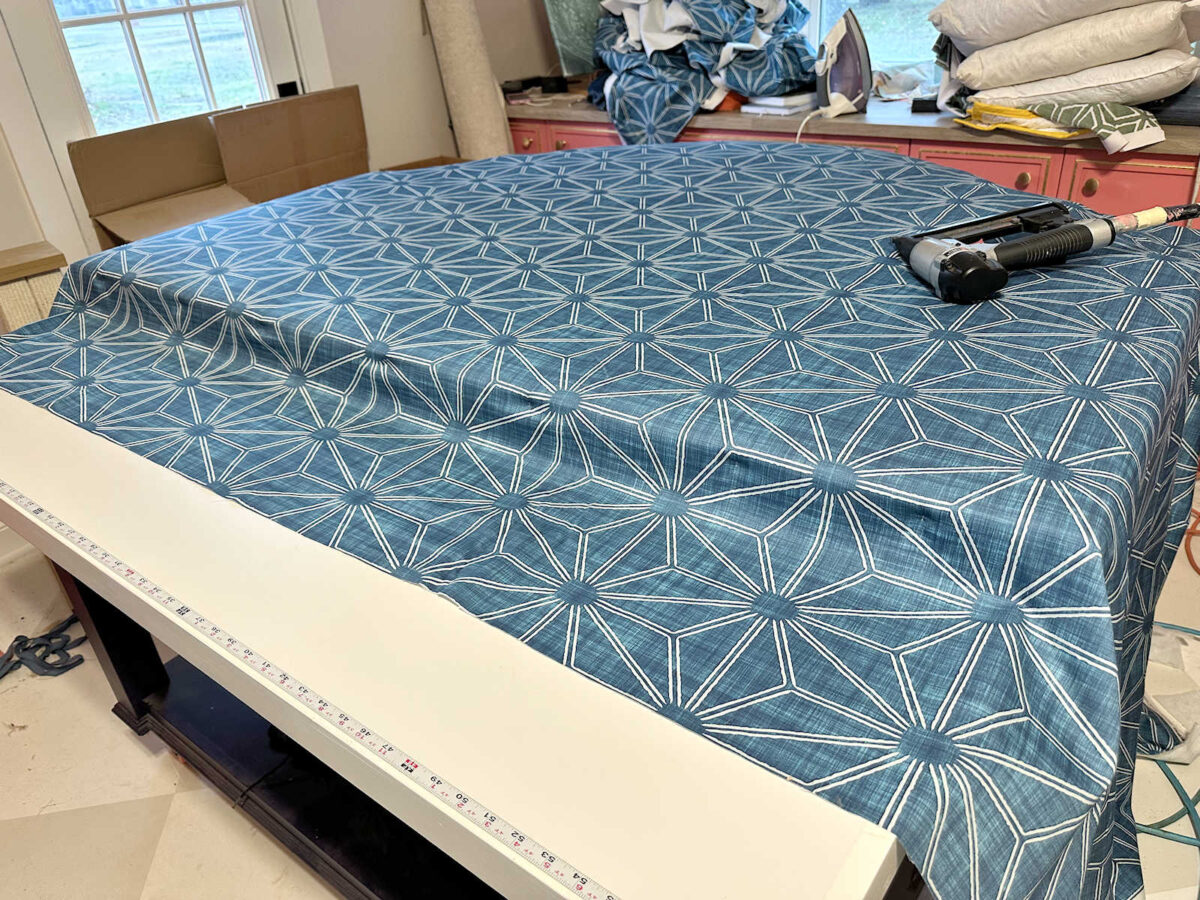
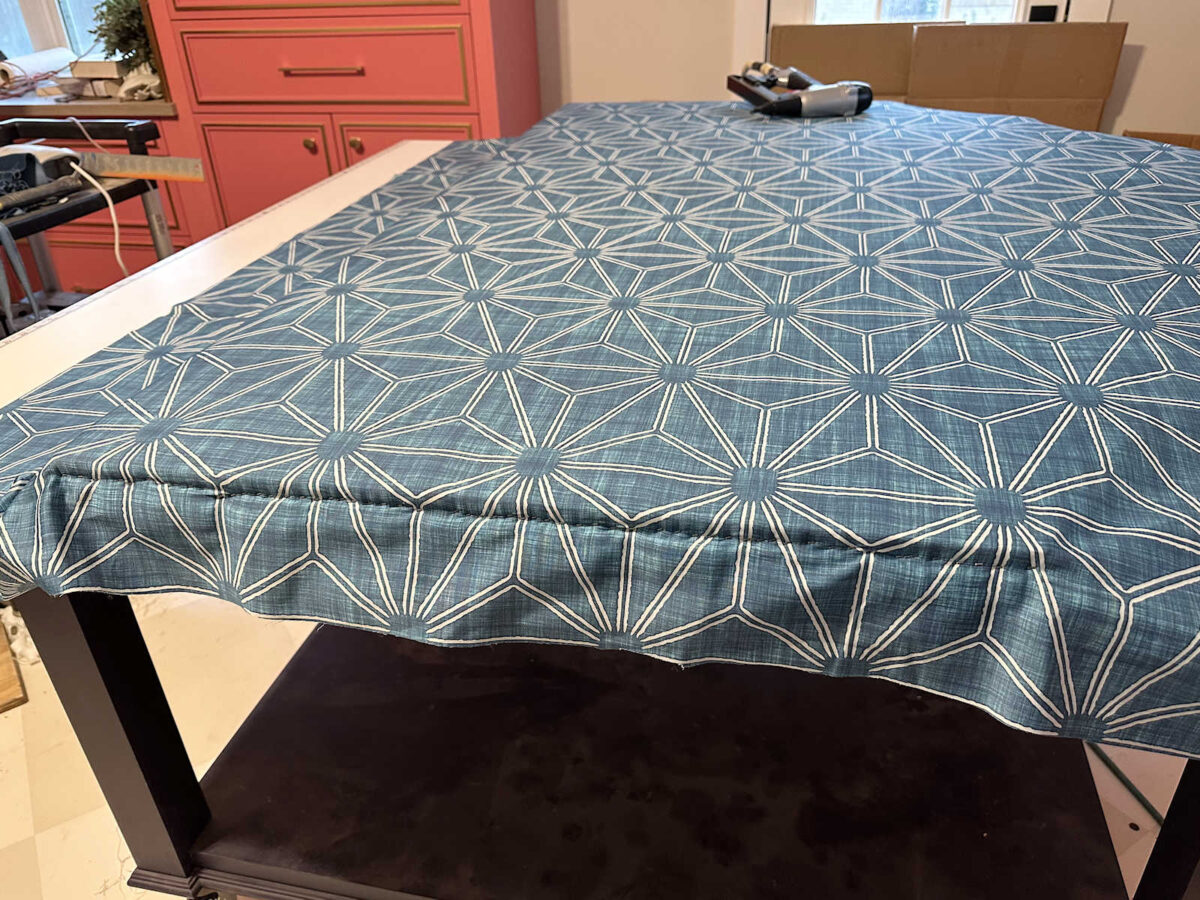
I stapled the face fabric on the edge about 1/2″ down on the side. After stapling all way the across the bottom, I moved to the top curve. Starting in the middle, I worked my way to one side, and then to the other side, making sure that the pattern stayed straight. You can see here (the arrow) how far down I was stapling on the edge of the headboard frame. This is why I needed that wood perimeter frame to give me something to staple into.

After stapling a good portion of the top curve, I moved to the side and stapled the entire length of the straight edge. And then I repeated that on the other side.
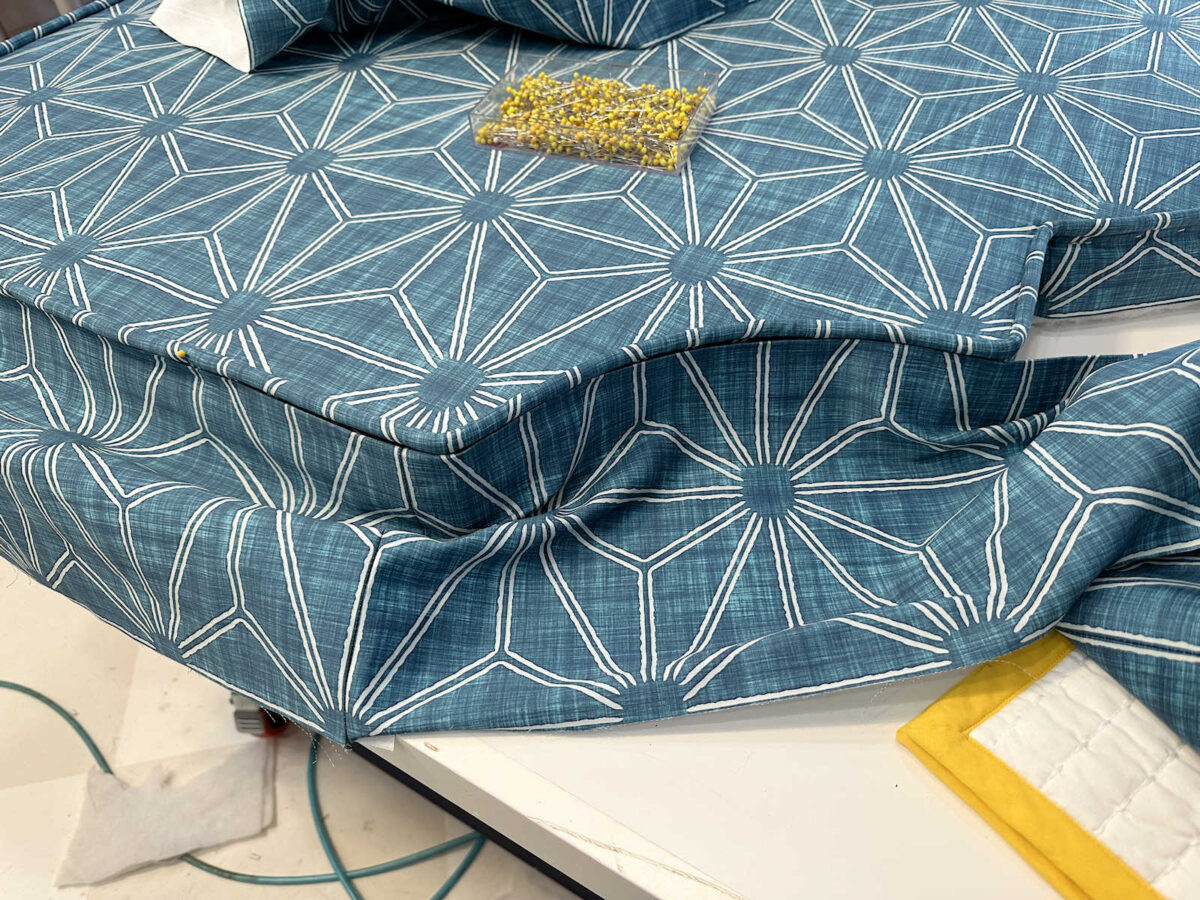
The curve was a bit challenging and required a lot of relief cuts in order to get the fabric to wrap around the curve.
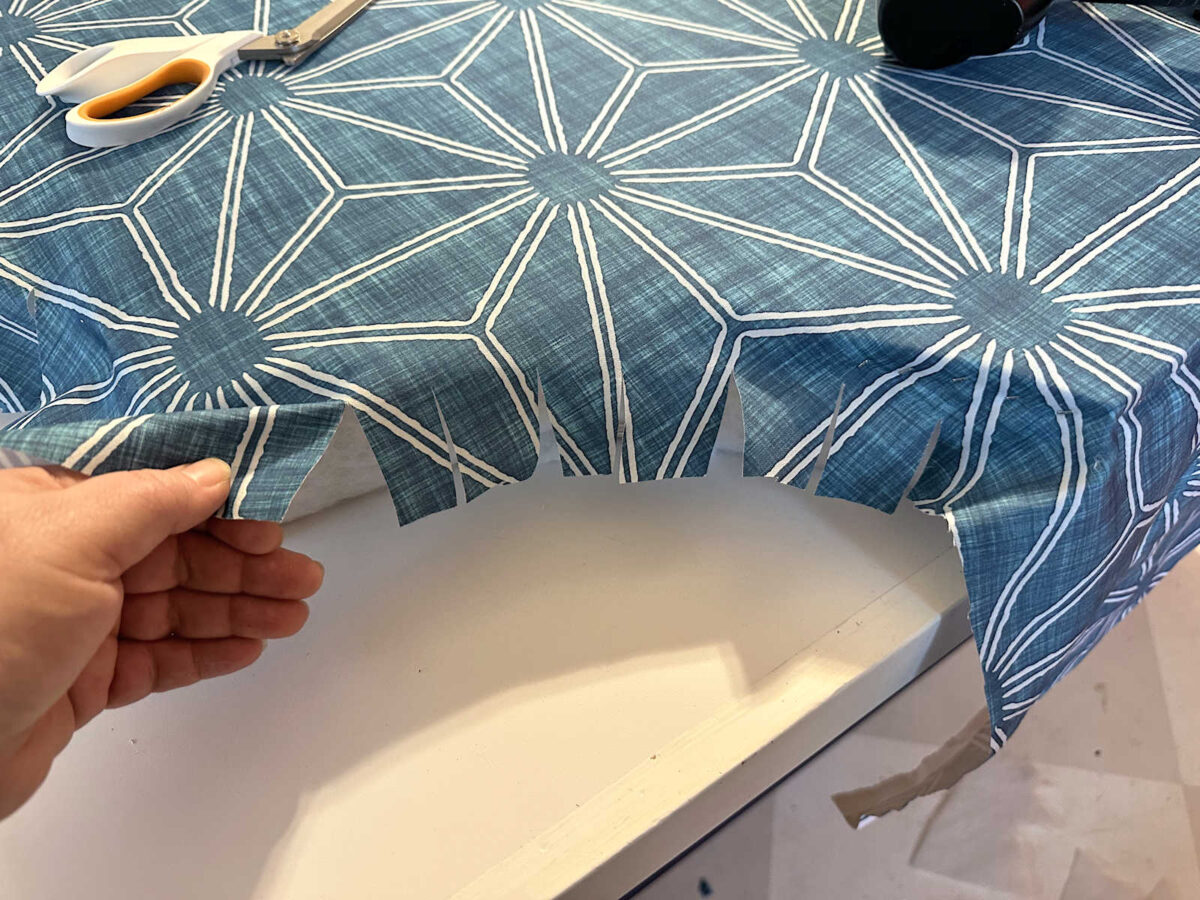
But even that curve was a cake walk compared to this inside corner. It made me so nervous to put a relief cut that far in, but that’s what was required to get the fabric to lie flat with no puckers.

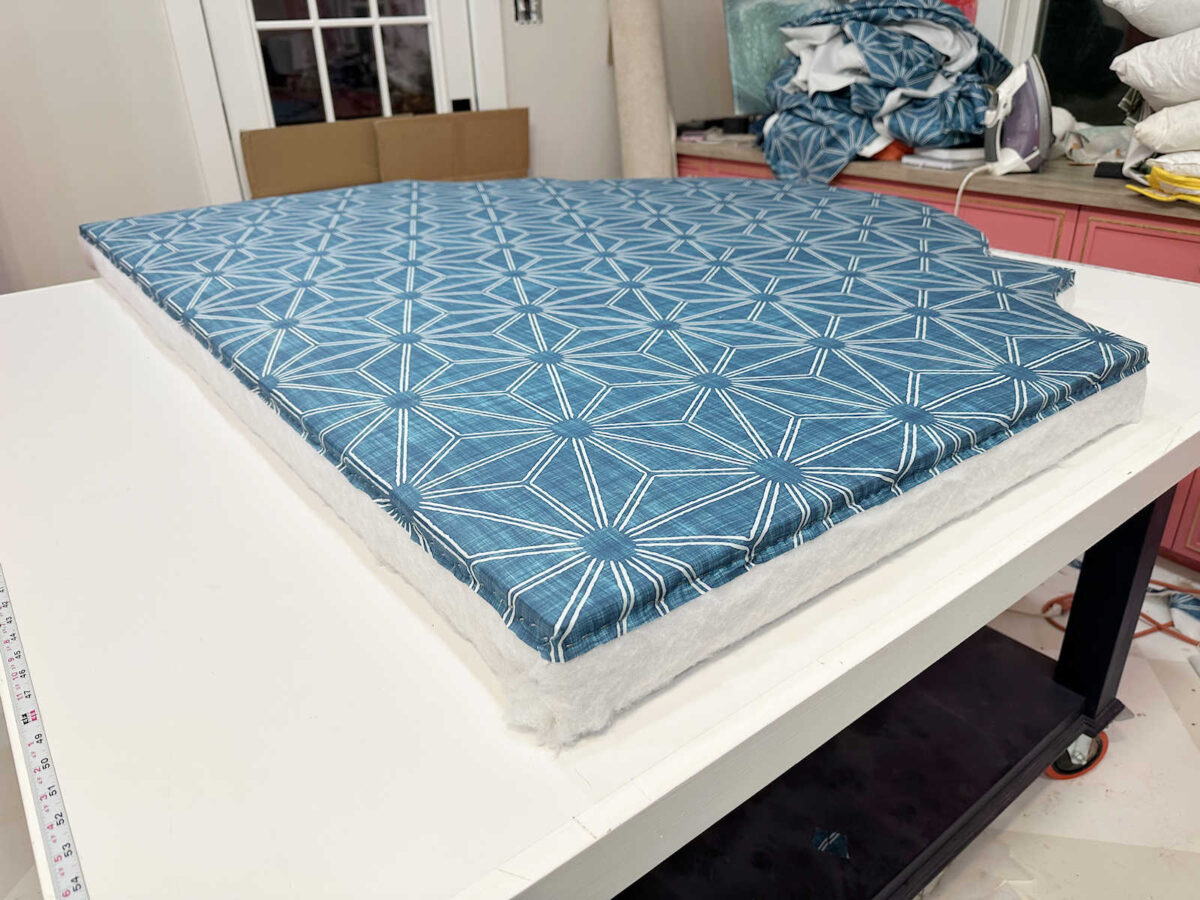
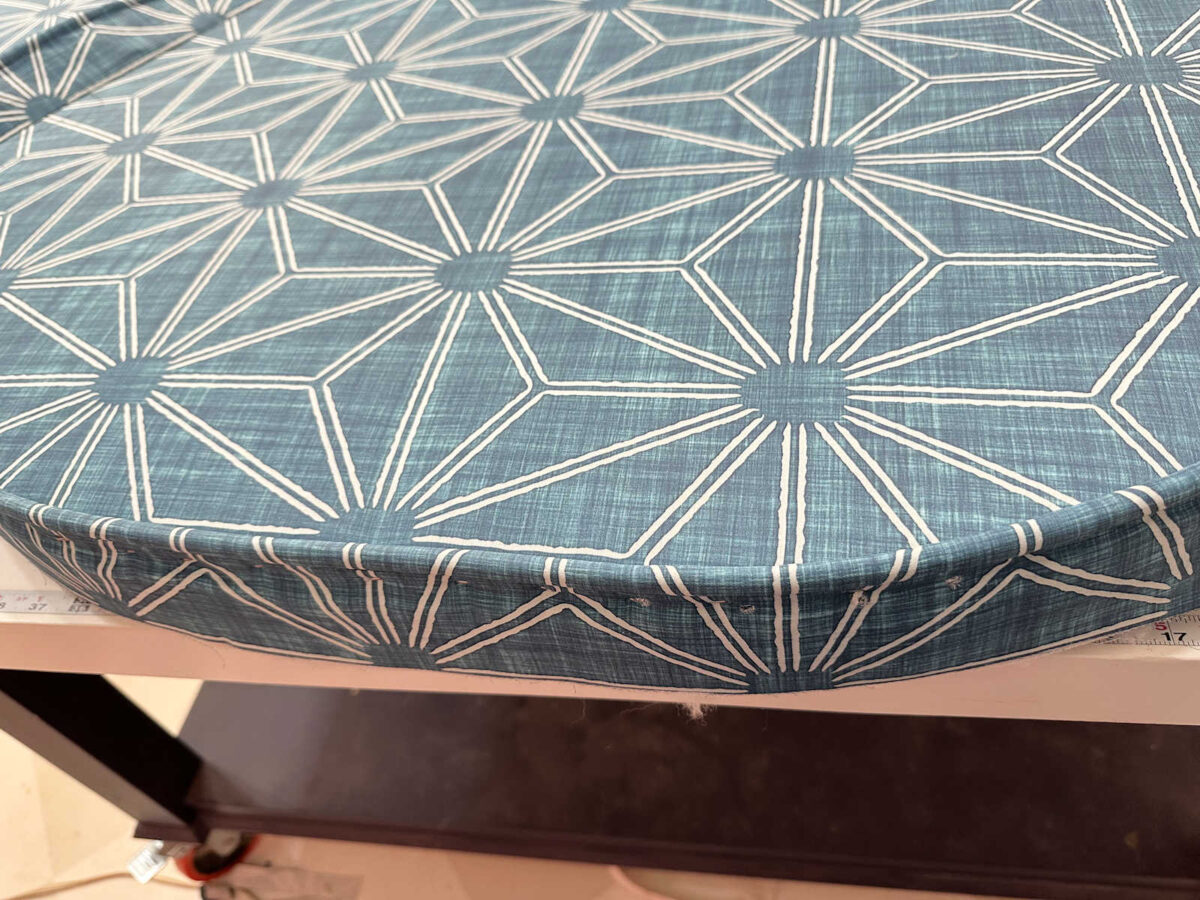
Once the face fabric was stapled all the way around, I cut off the extra fabric. Here’s what it looked like at this stage.
Adding The Piping
The next step was to add the piping. I’m not going to go into detail on how to make piping. There are a thousand videos on YouTube showing this process, and it’s very simple. Once I had my piping covered with my fabric, I was ready to attach it. I do want to show that I left a lot of fabric on my piping. I generally cut off this excess fabric before attaching it, but for this project, I decided to leave it. I wanted to show you that so that you don’t get confused about what you’re seeing in these photos. This excess fabric is not being used to cover the edge of the headboard. It’s just excess fabric that I left on, but it really serves no purpose.

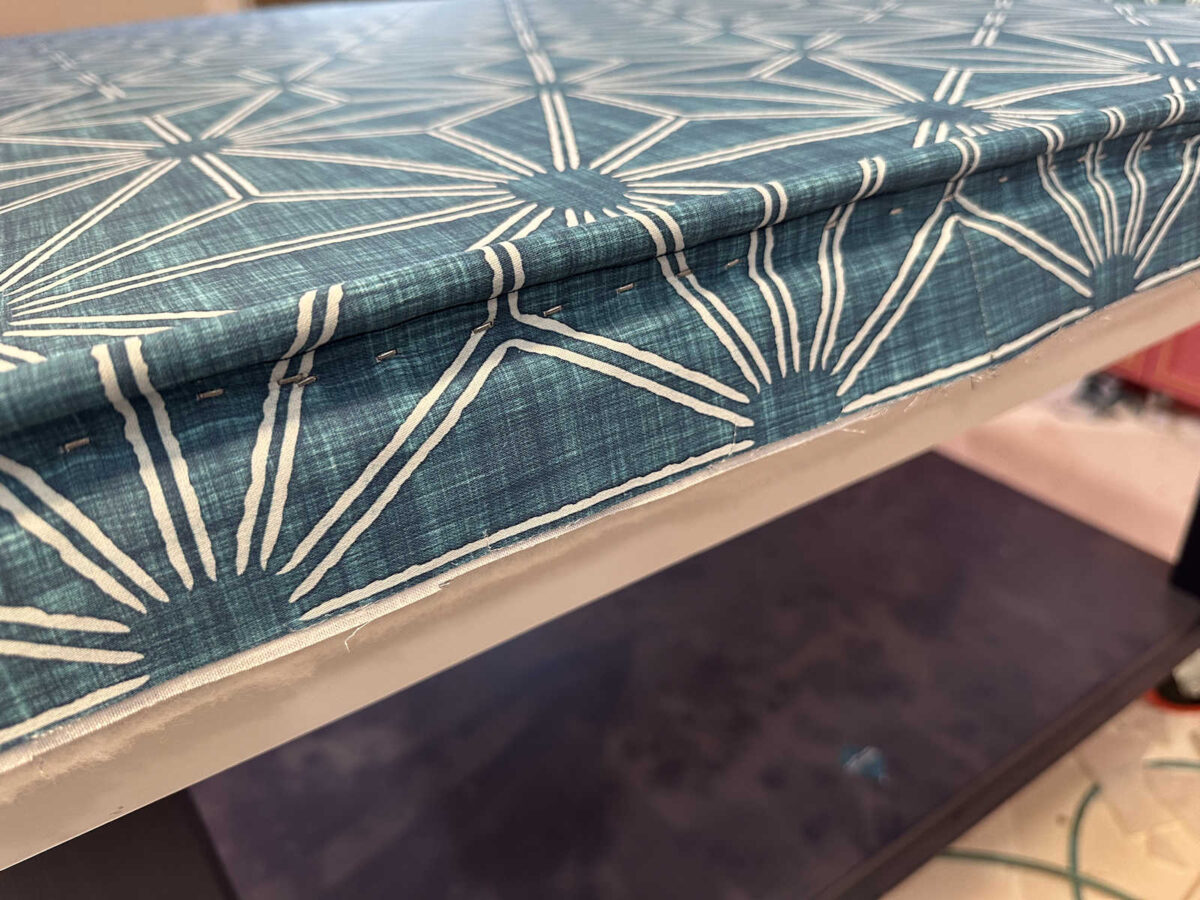
I placed the piping along the top edge of the headboard and stapled it into place all the way around.
Remember that what you’re seeing below the piping is just excess fabric that I didn’t trim. It serves no purpose in the upholstering of the sides.
I clearly didn’t measure correctly because I was a few inches short on my piping. That’s okay, though. That bottom edge won’t show because it’ll be behind the mattress.
And here’s a closer look at where I stapled the piping.
Upholstering The Edges Of The Headboard
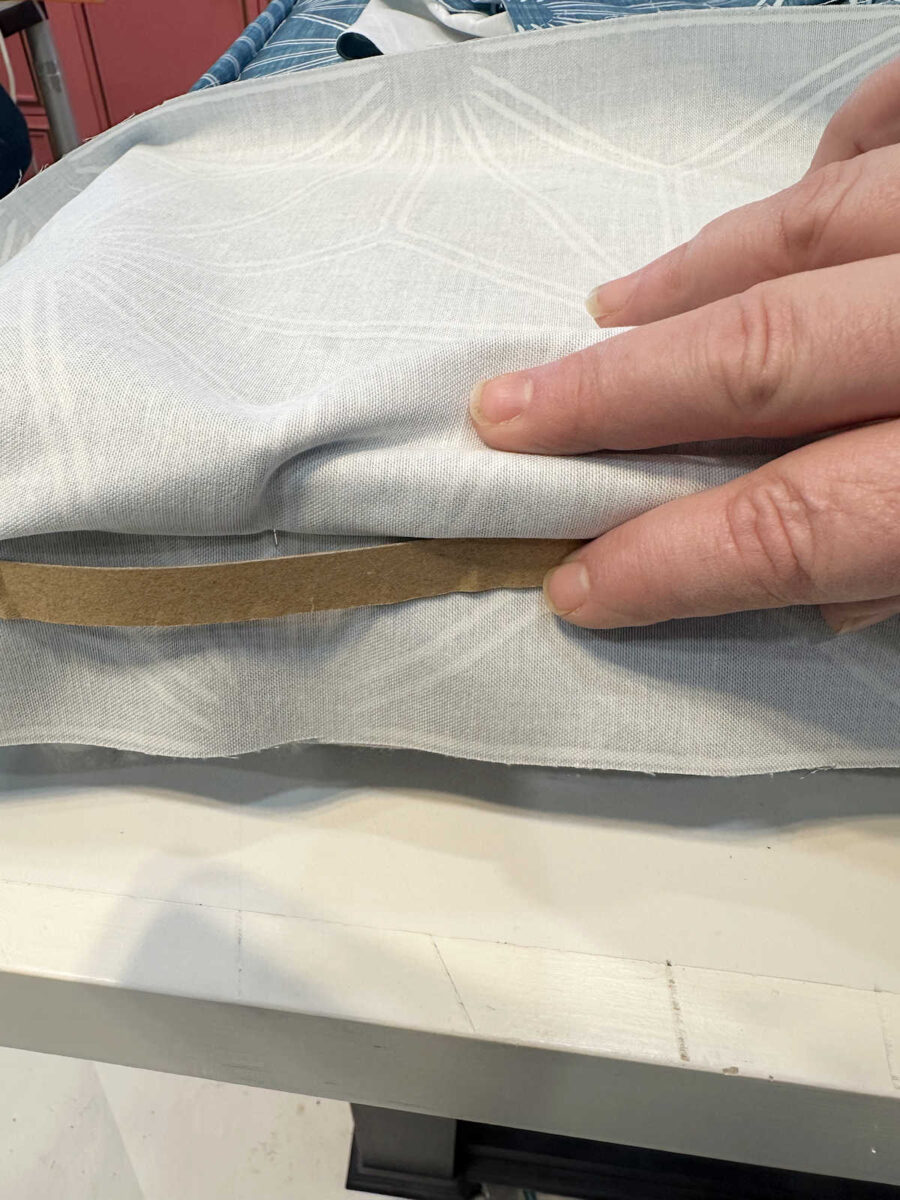
Finally, I needed to cover the sides of the headboard. I cut strips of fabric about eight inches wide and sewed them together so that I had a strip long enough to go all the way around the headboard.
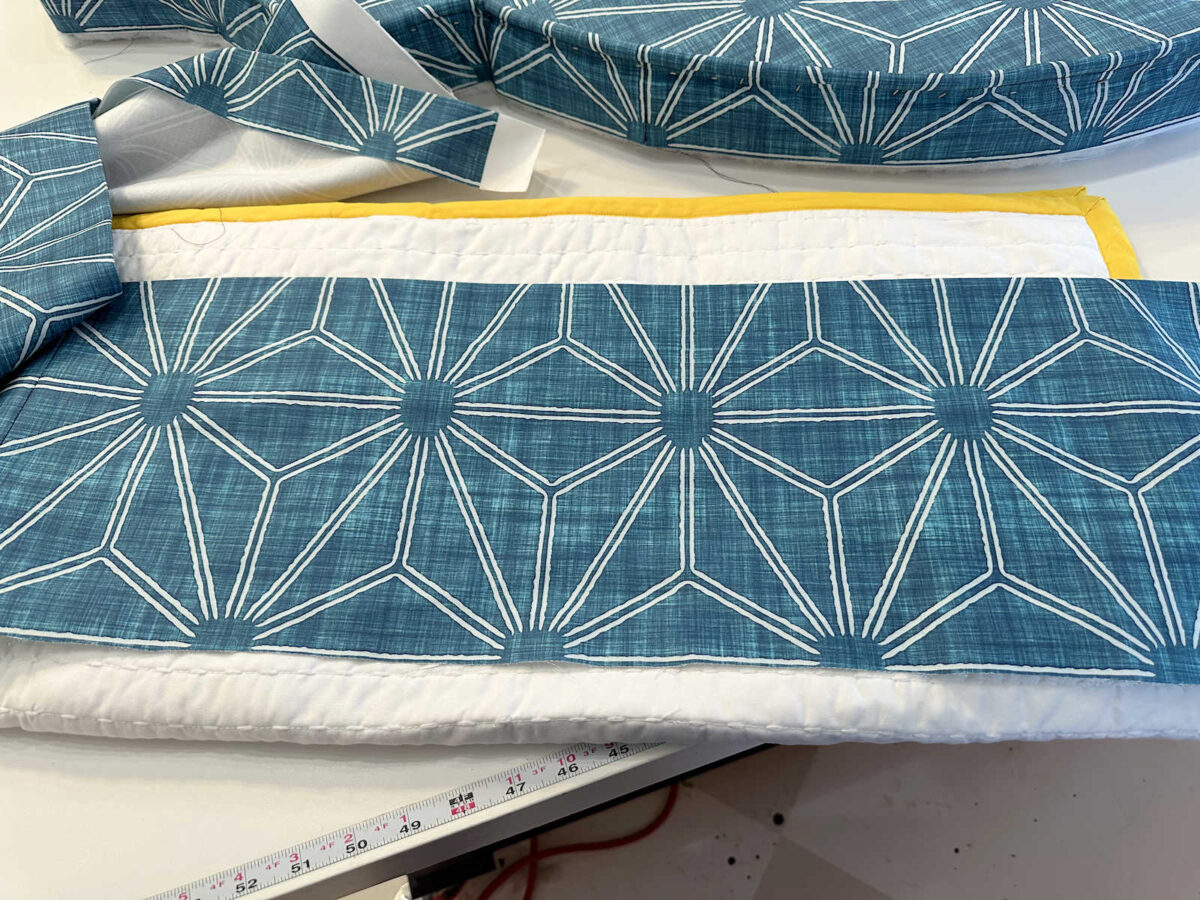
After pressing all of the seams in the long strip of fabric, I folded the top edge down about 1.5 inches and pressed that fold into place with my steam iron.
Here’s what this piece looked like on the back.
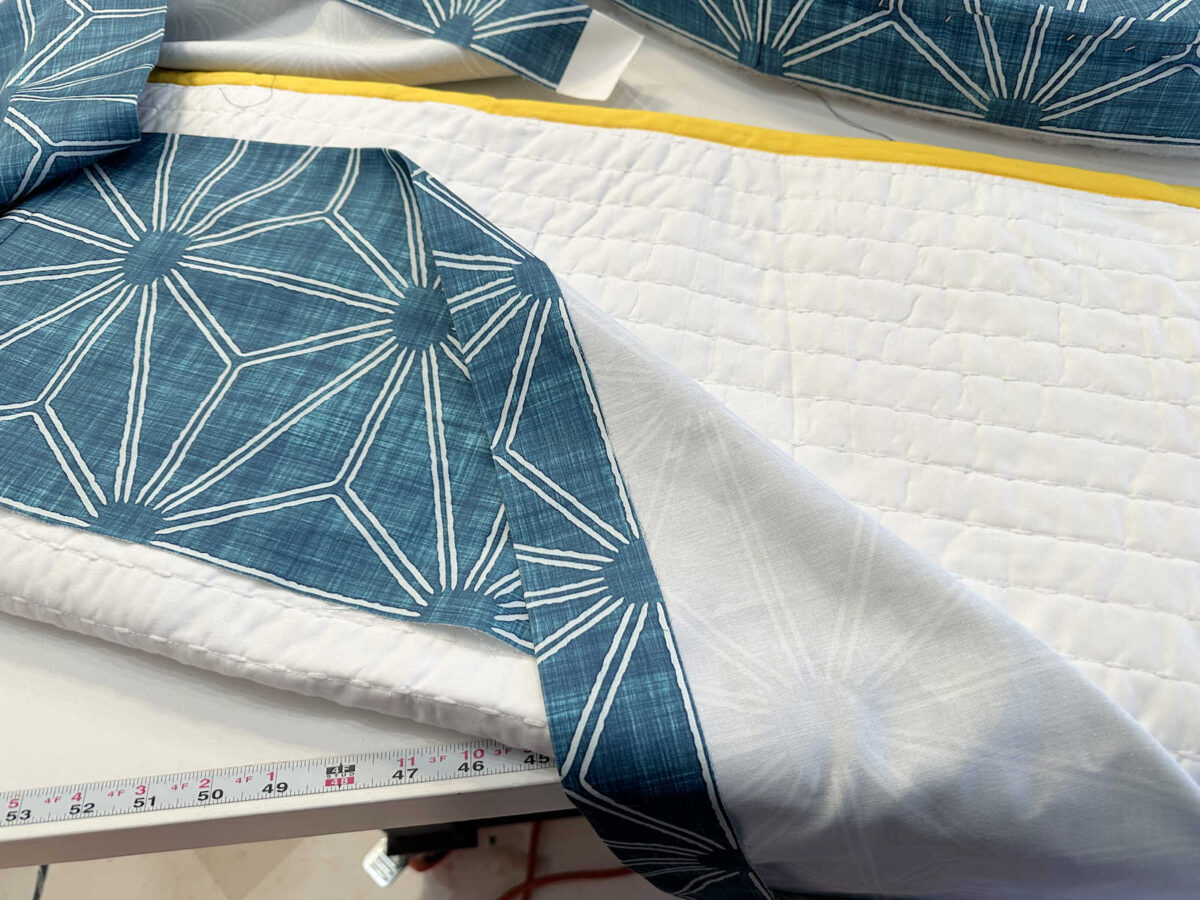
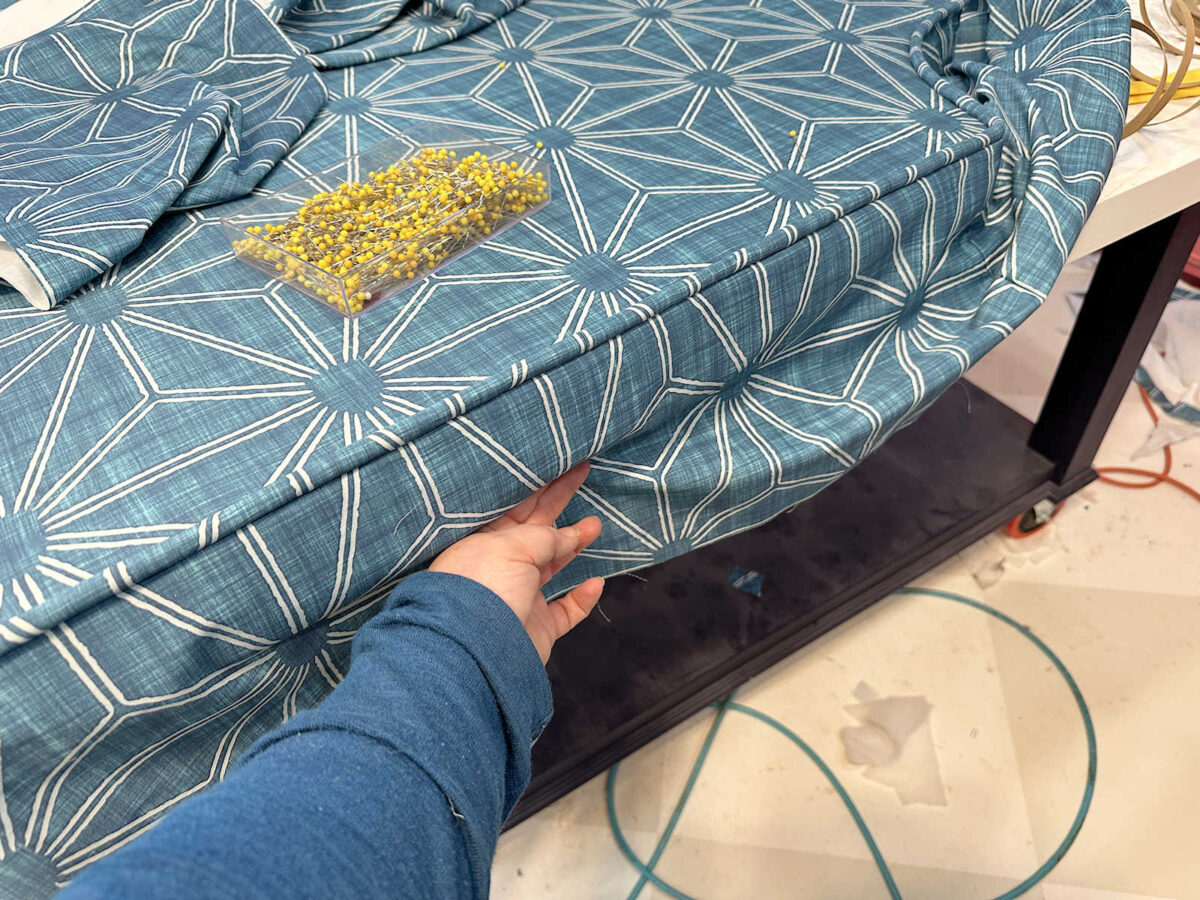
I pinned the piece to the edge with the folded/ironed edge just under the piping.

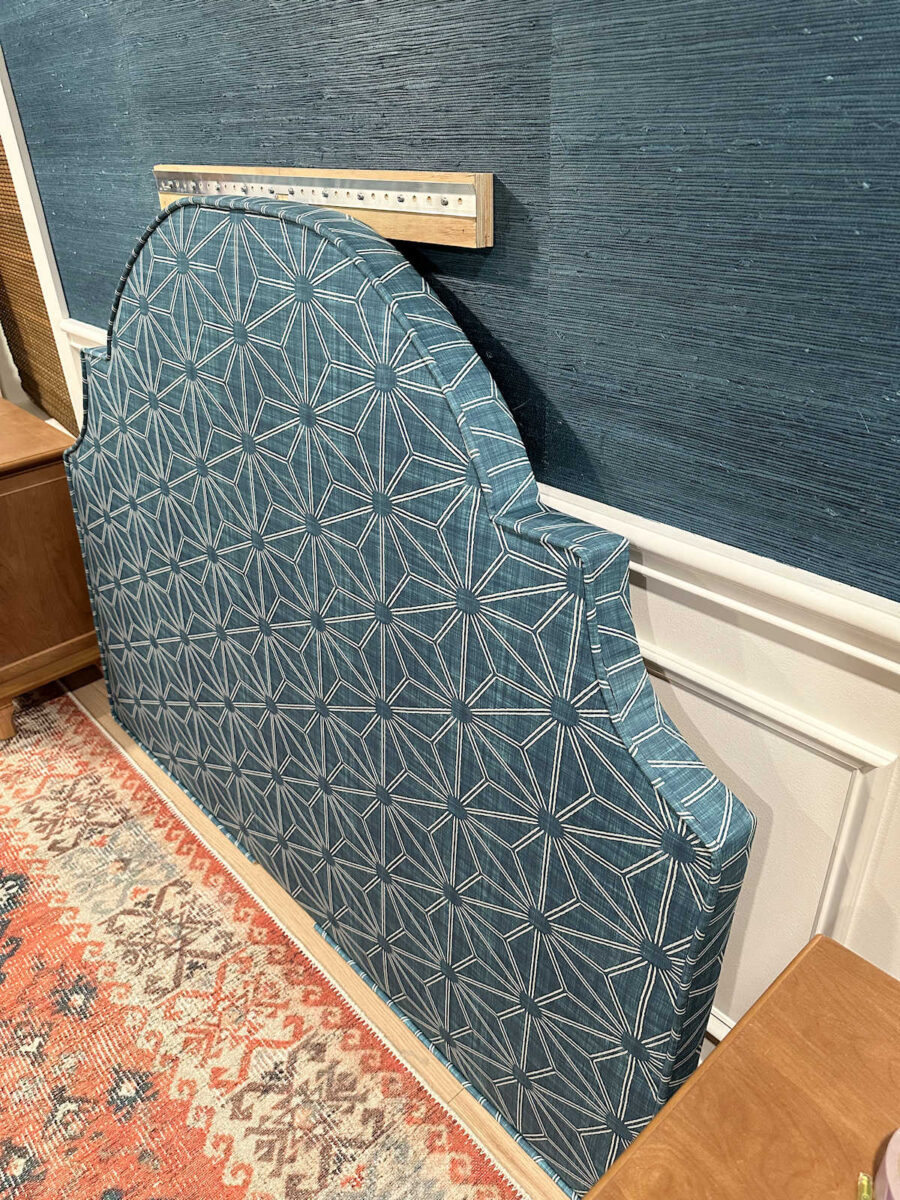
I tried my hardest to match the pattern on the sides to the face fabric.
But of course, once it wrapped around the curve, the matched pattern was lost.
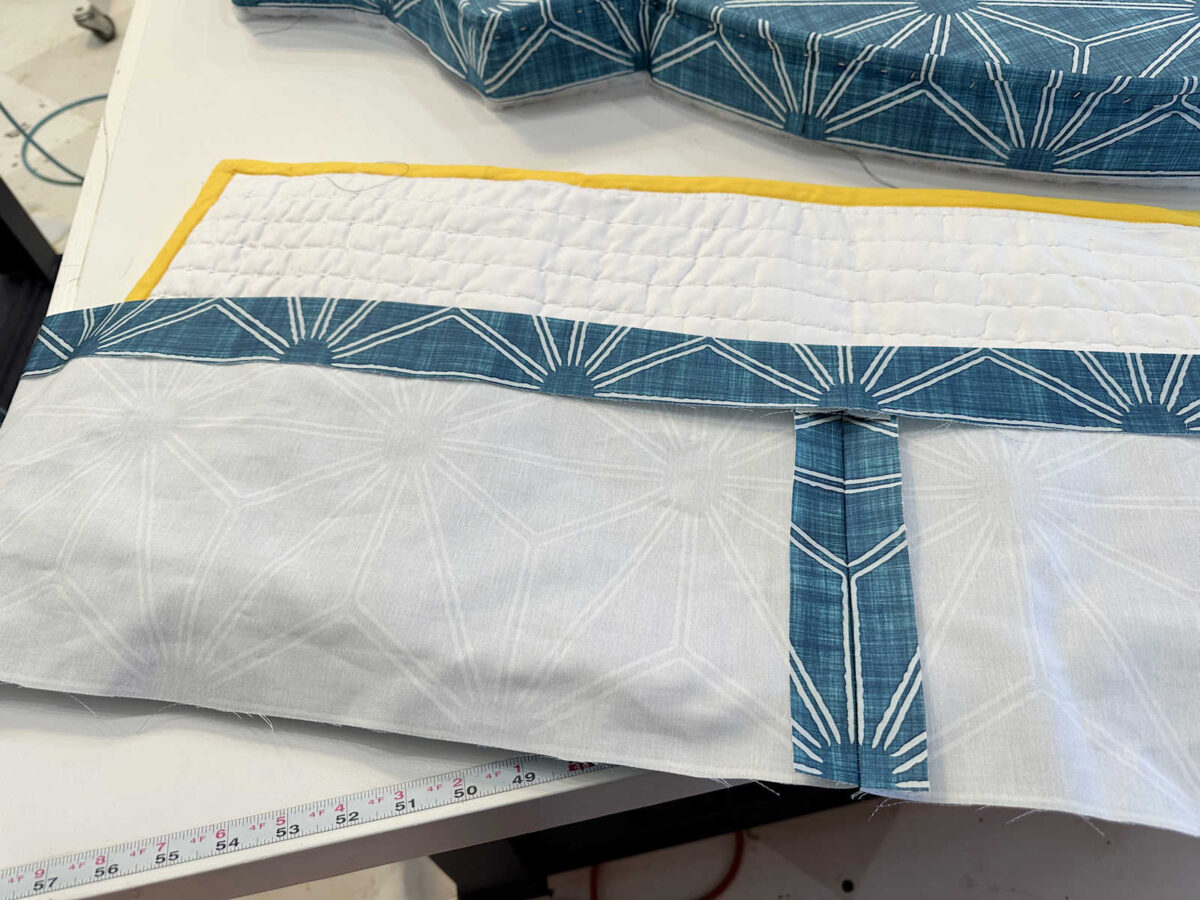
To attach this piece, I lifted up the fabric, leaving the folded piece against the side of the headboard, and I slipped a cardboard strip into the fold. I made sure the cardboard was right up against the piping, and right in the fold that I had ironed into the fabric, and then stapled it into place.
Here’s what the side looked like with the cardboard strip stapled on.
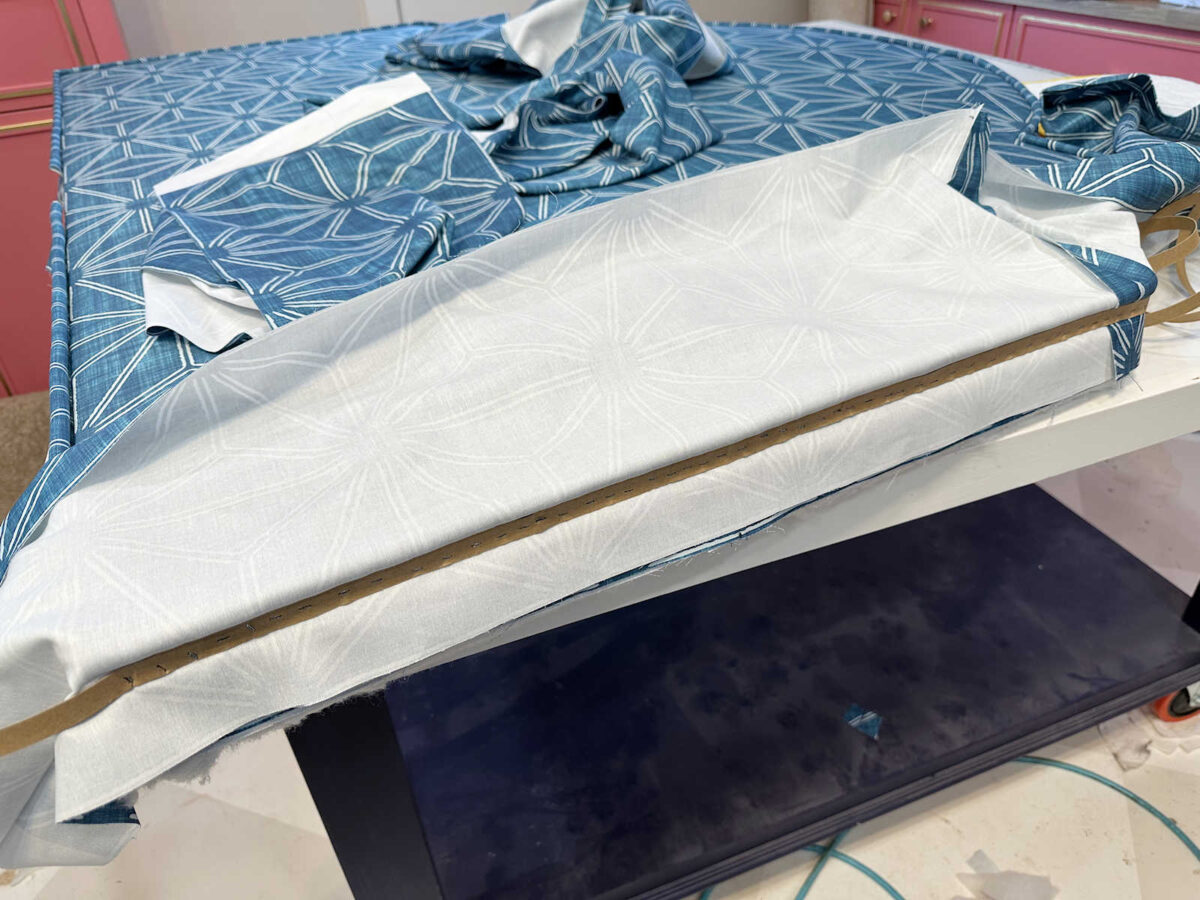
And here’s what it looked like with the fabric flipped back down over the side.

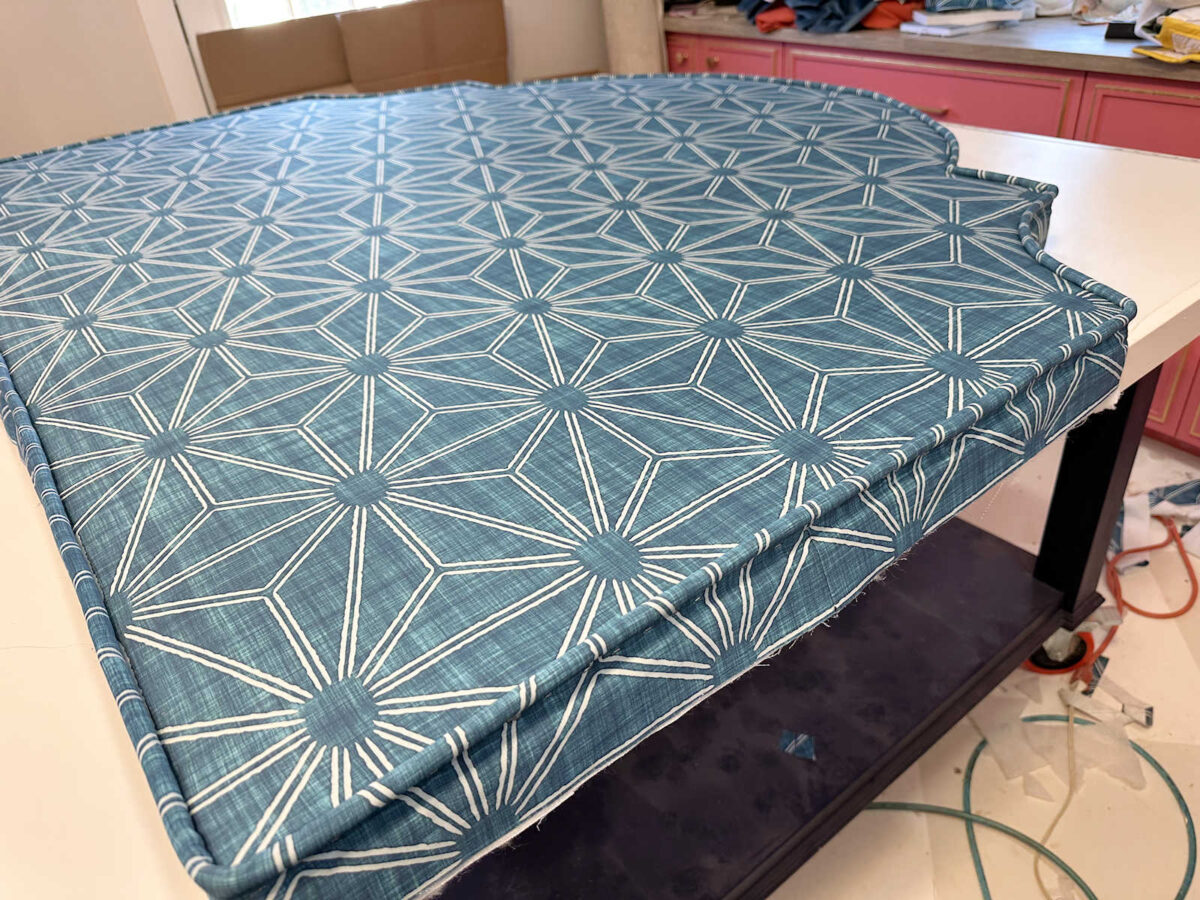
And from there, all I needed to do was wrap this extra fabric to the back of the plywood and staple it into place.
But before I did that, I added a strip of batting around the edge of the headboard.
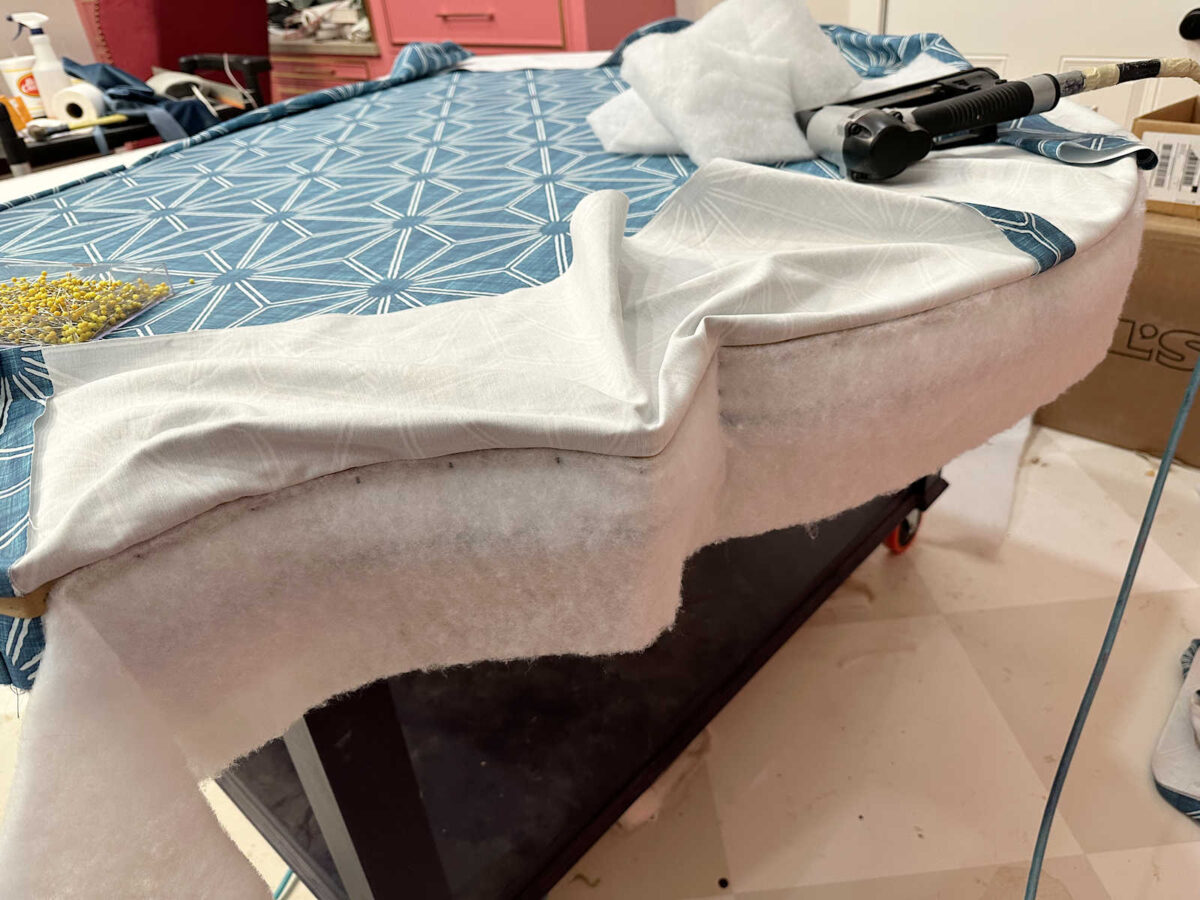
So when I flipped the fabric down, there was one layer of batting under it.
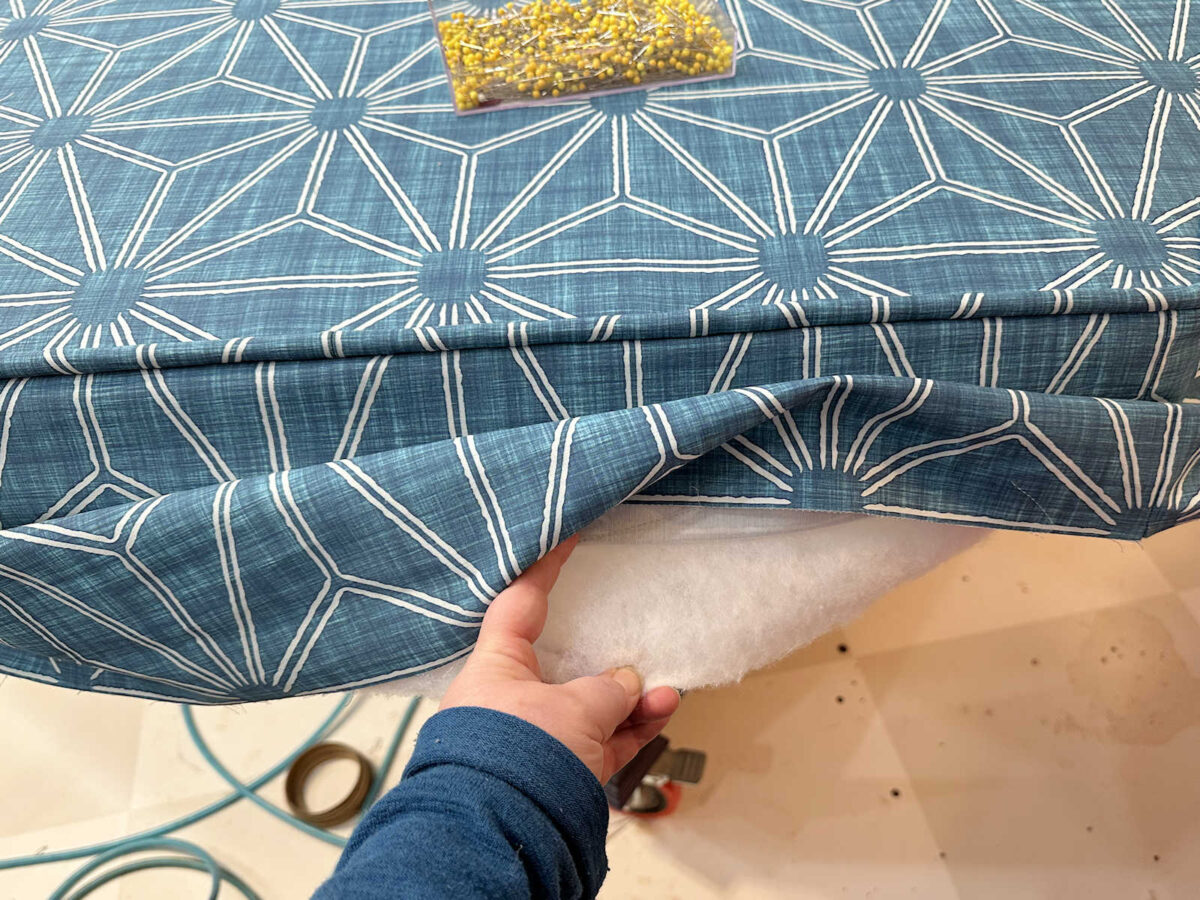
And then I wrapped both to the back and stapled them into place.
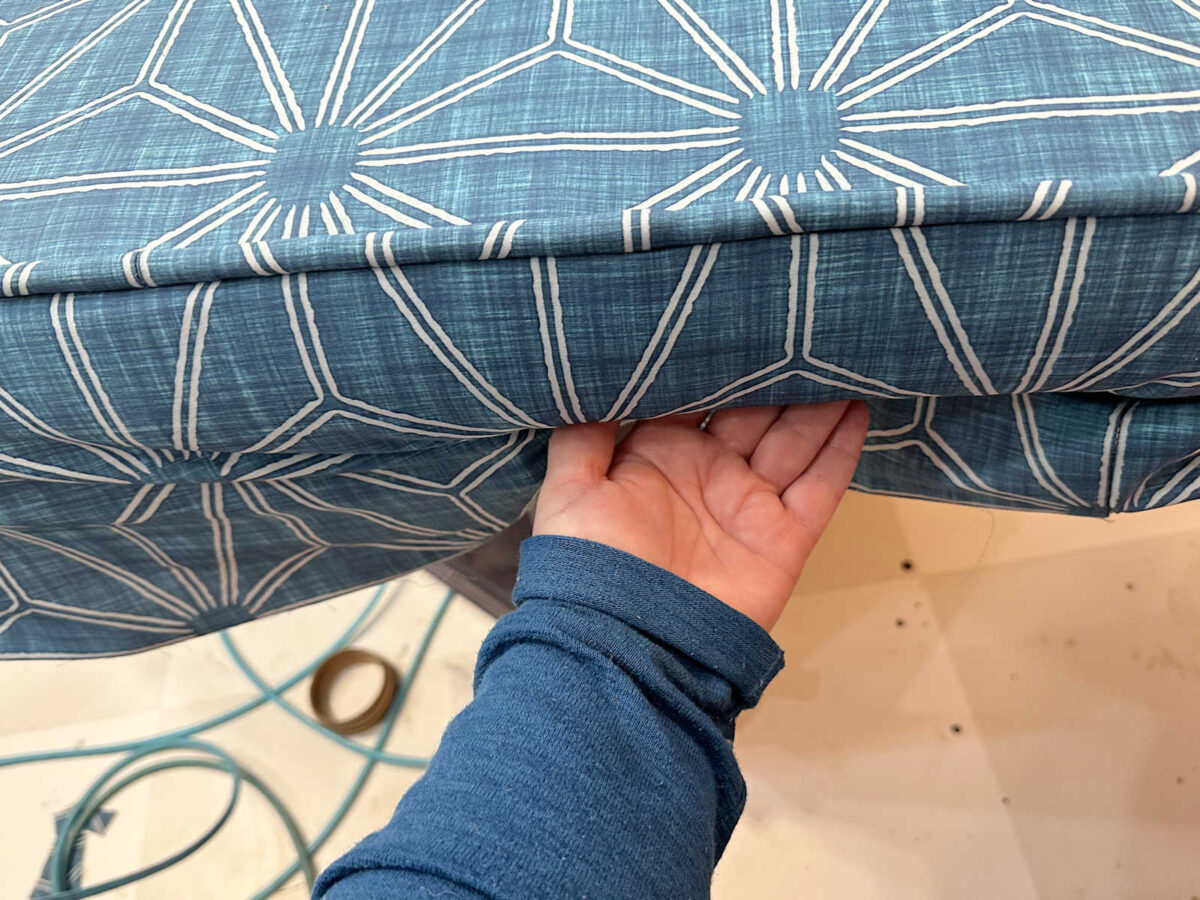
Here’s what it looked like with the batting and fabric wrapped to the back and stapled into place.
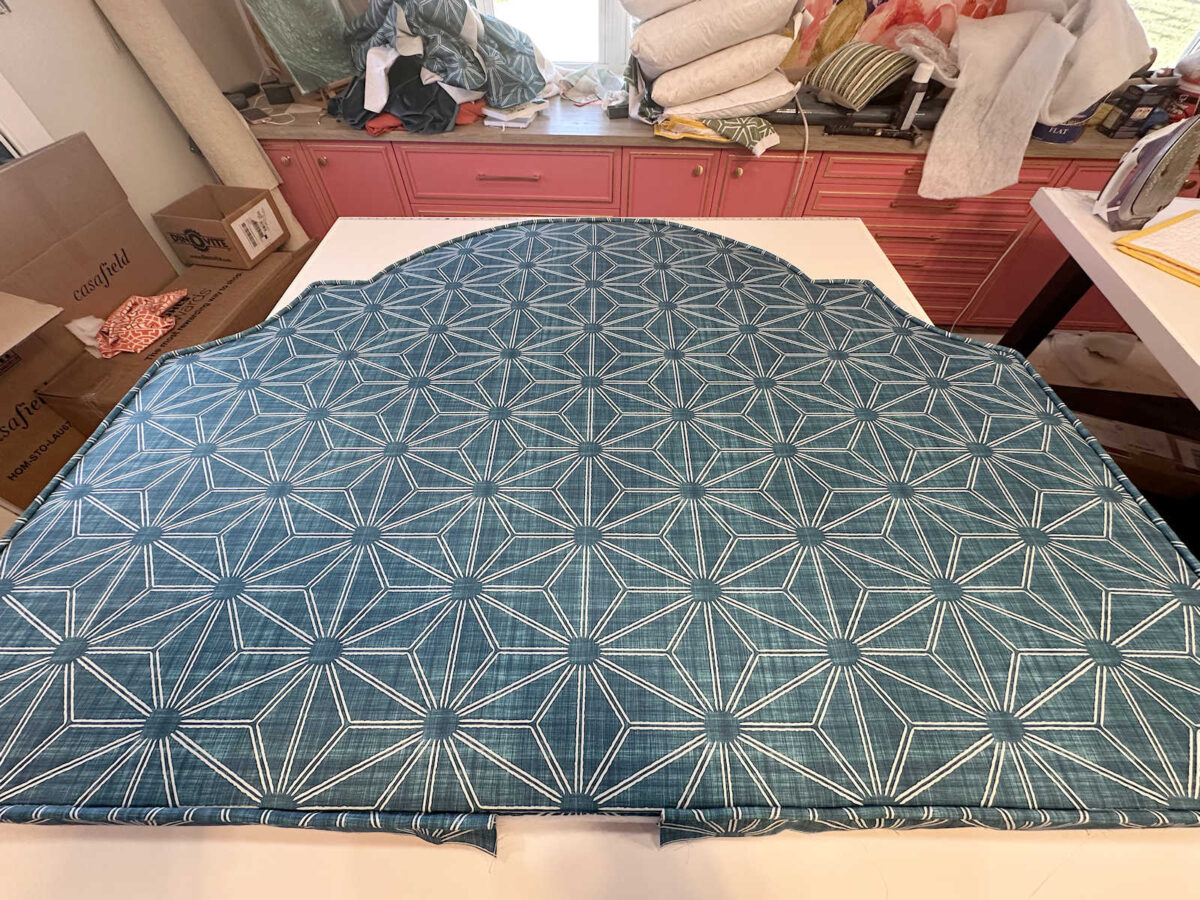
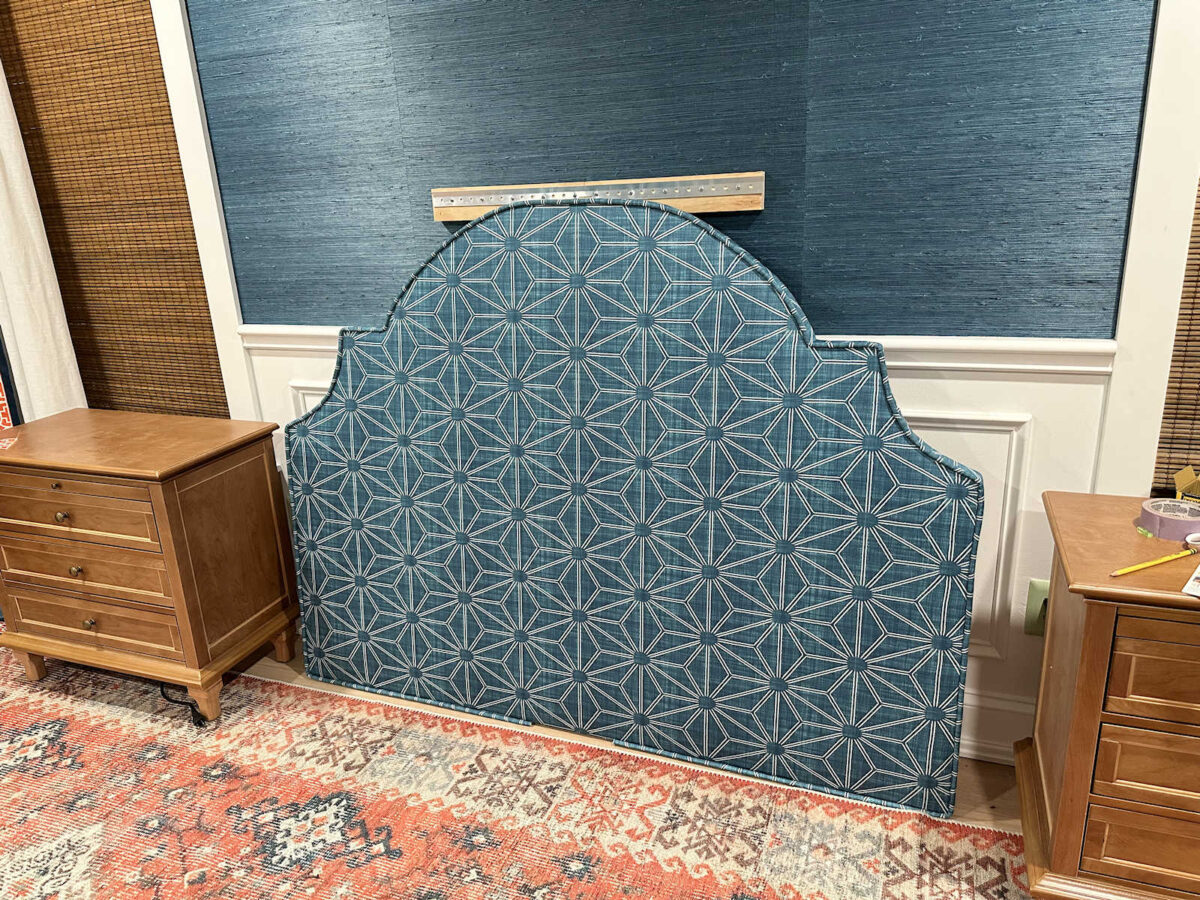
And once I did that all the way around the edges, it was finished!
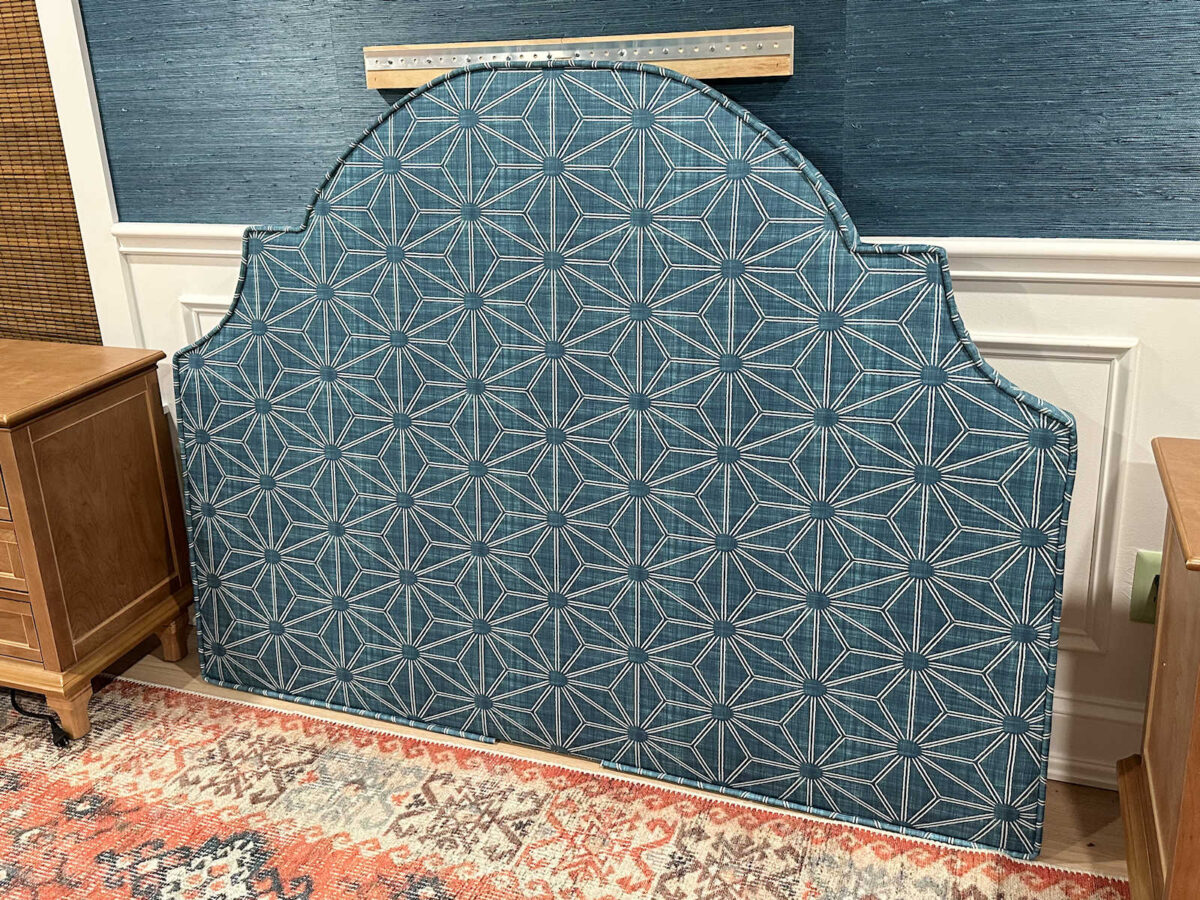
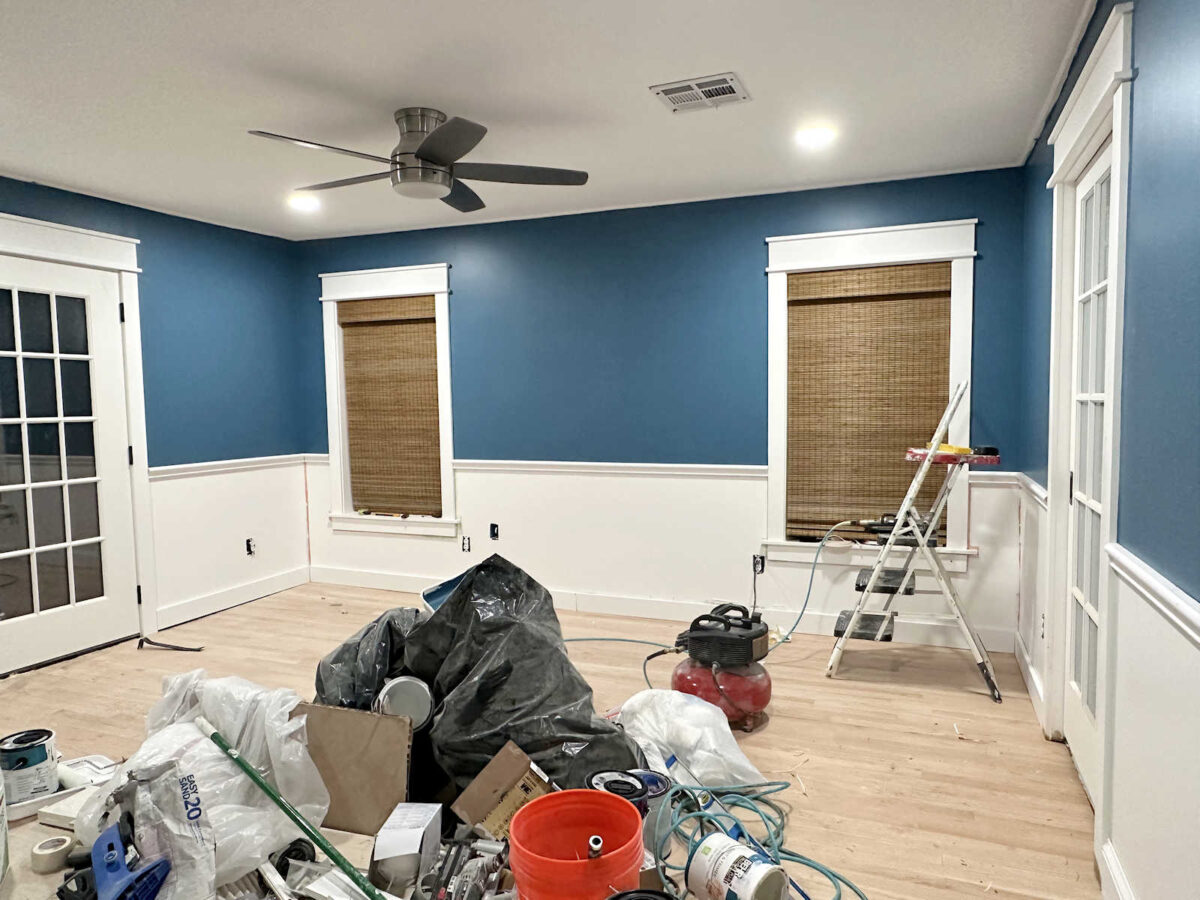
I haven’t been able to hang it yet because I can’t do it by myself, but I have everything ready to hang it on the wall. As you can see, I’m using a French cleat, but because it needs to clear the chair rail, I had to attach some scrap wood first, and then attach the cleat to the wood.
I chose not to add piping to the back edge of the headboard, but of course, you can do that as well. I chose not to since my piping matches the headboard, but if you’re using a contrast piping, I would personally use it on the front edge and the back edge.
So that’s it! I’m so glad to have this finished! I’ll get it hung on the wall today (with help) and then get the bed base finished today as well. That means that we’ll be in our new bedroom today!
More About Our Master Bedroom
see all master
bedroom diy projects
read all master
bedroom blog posts

Addicted 2 Decorating is where I share my DIY and decorating journey as I remodel and decorate the 1948 fixer upper that my husband, Matt, and I bought in 2013. Matt has M.S. and is unable to do physical work, so I do the majority of the work on the house by myself. You can learn more about me here.