
I have more bedroom progress to share with you today, and I’m so excited about it because I really am getting down to the last few projects on this room. It’s so close to being finished now! And there’s just something about finally being able to get the bedding on a bed that really makes it feel like the project is wrapping up.
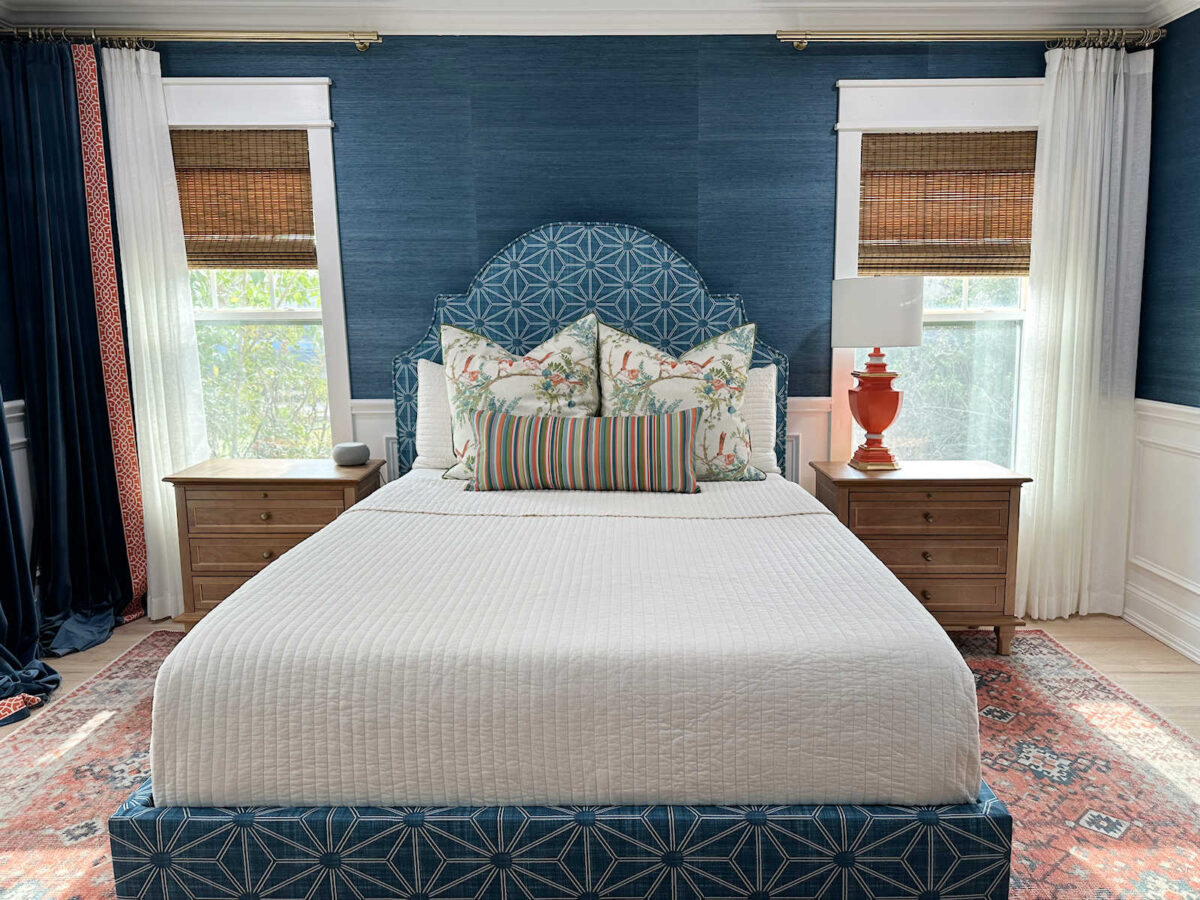
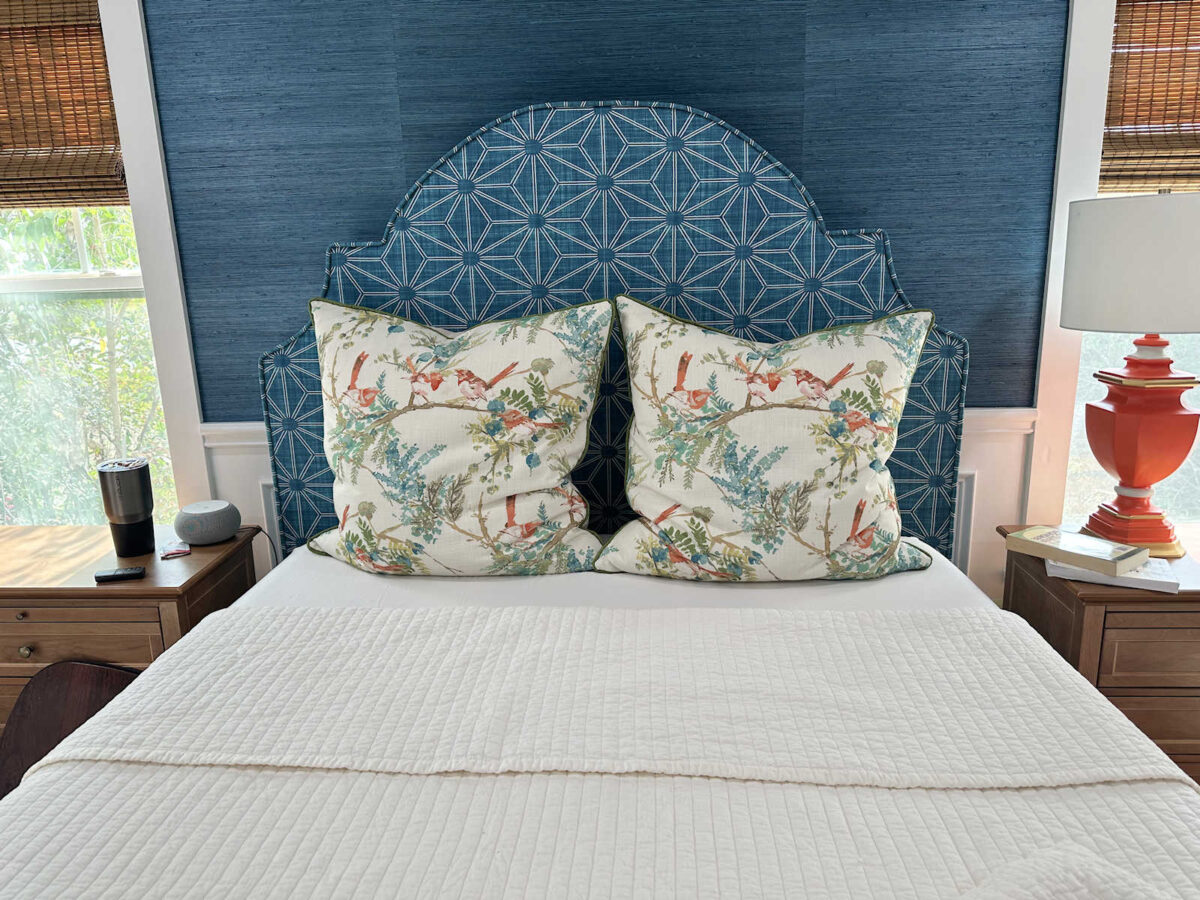
I have to give my mom a HUGE shoutout because she made all of the pillows for me. While I was working on the headboard and bed base, she was sewing pillows, so this was a team effort. And now that it’s all put together, here’s how it looks…
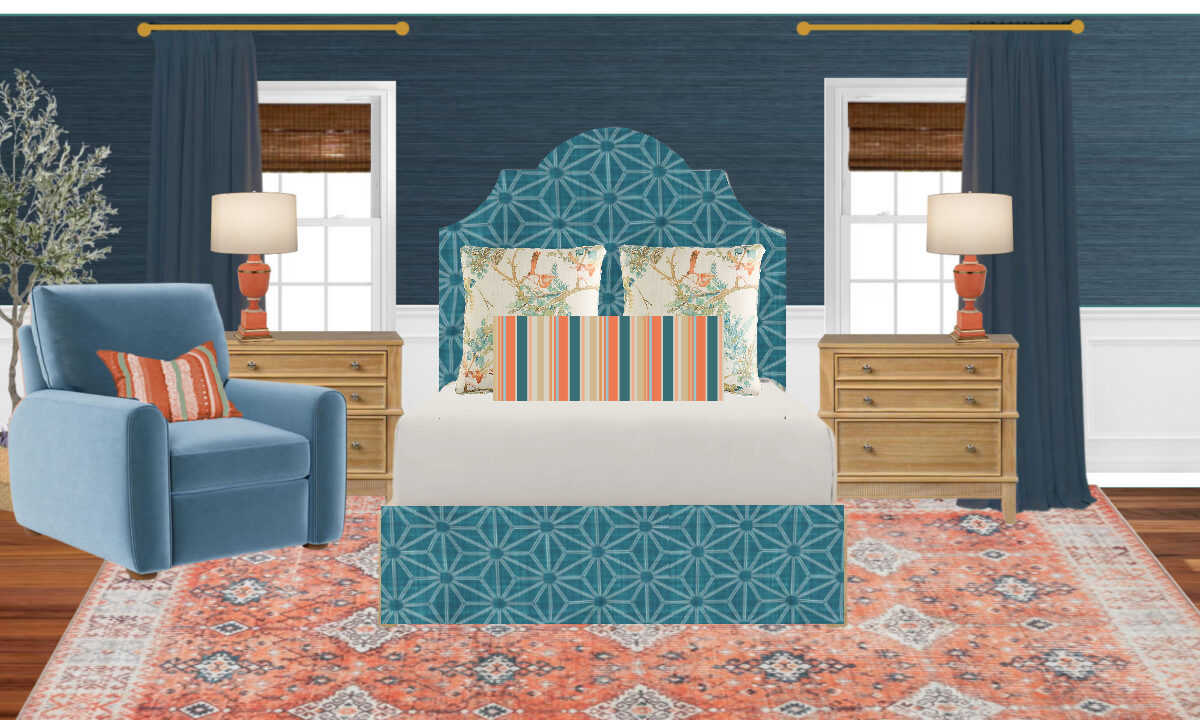
It’s so fun seeing a plan come together, and I couldn’t be happier with how this is turning out.
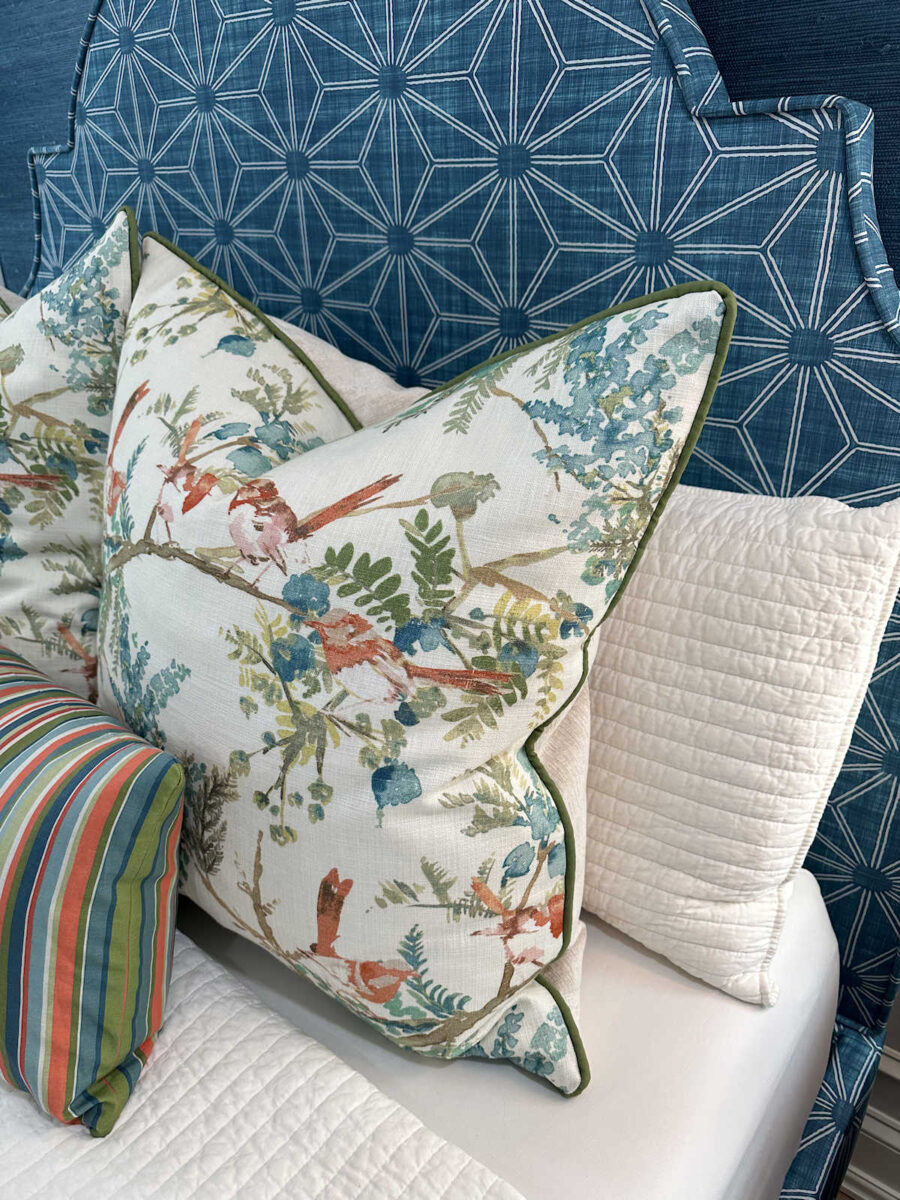
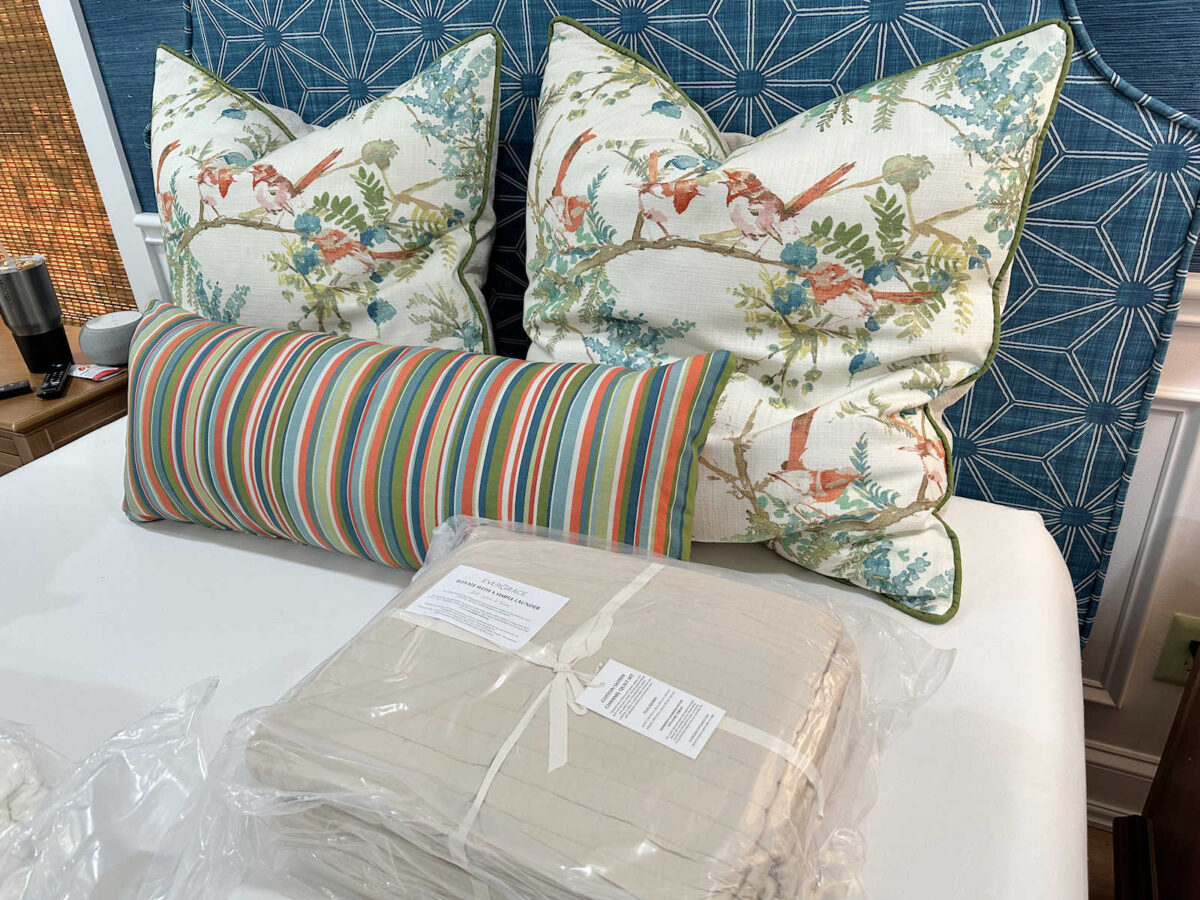
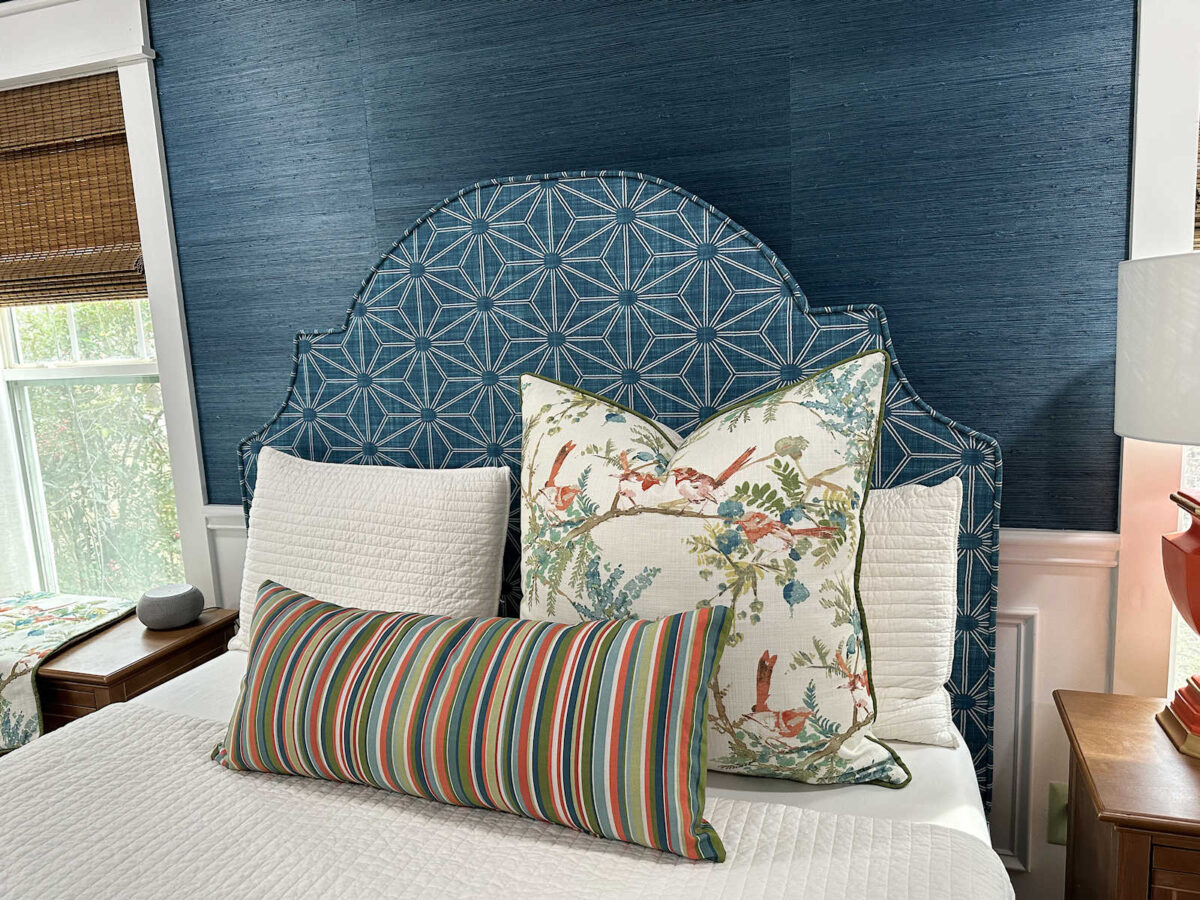
And she added piping in green to the bird fabric pillows. This is a green that I matched to the dresser color and then had printed at Spoonflower.
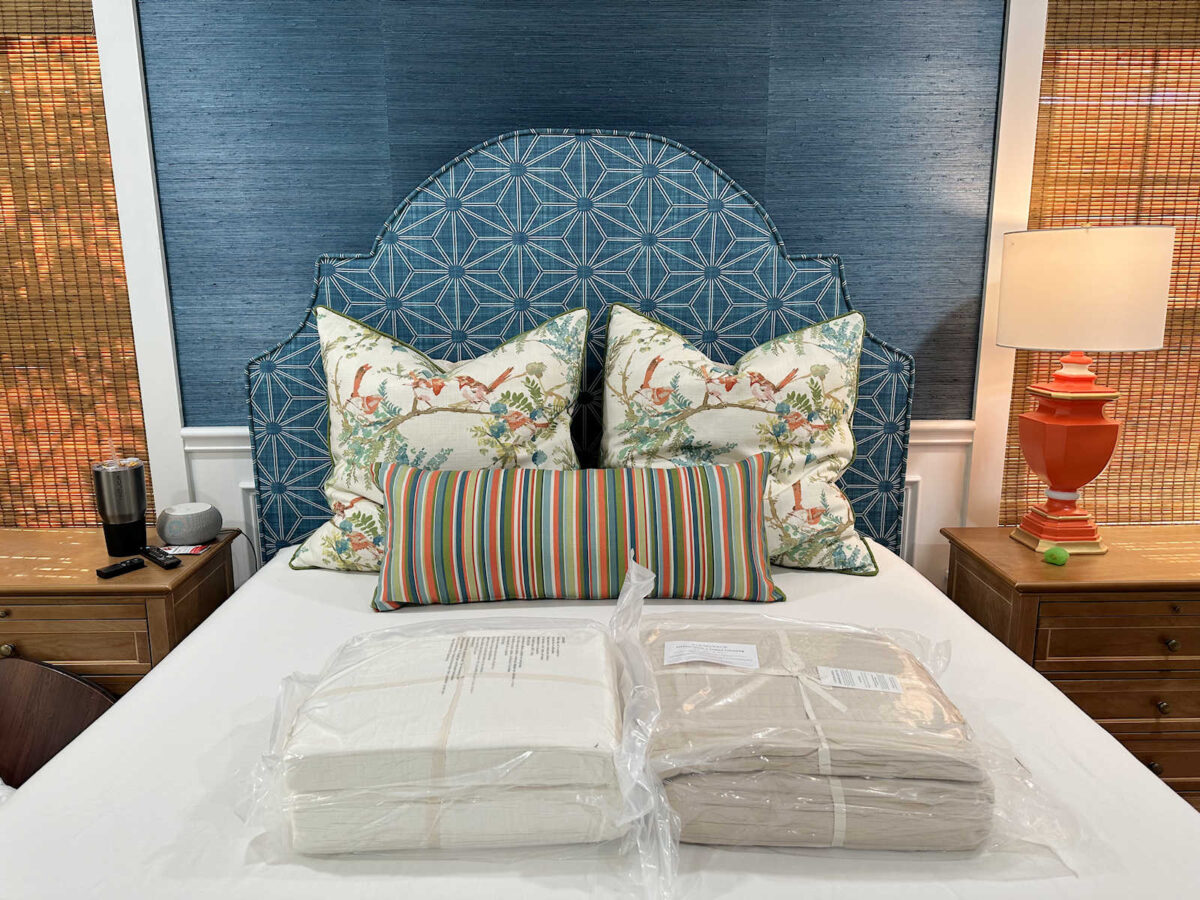
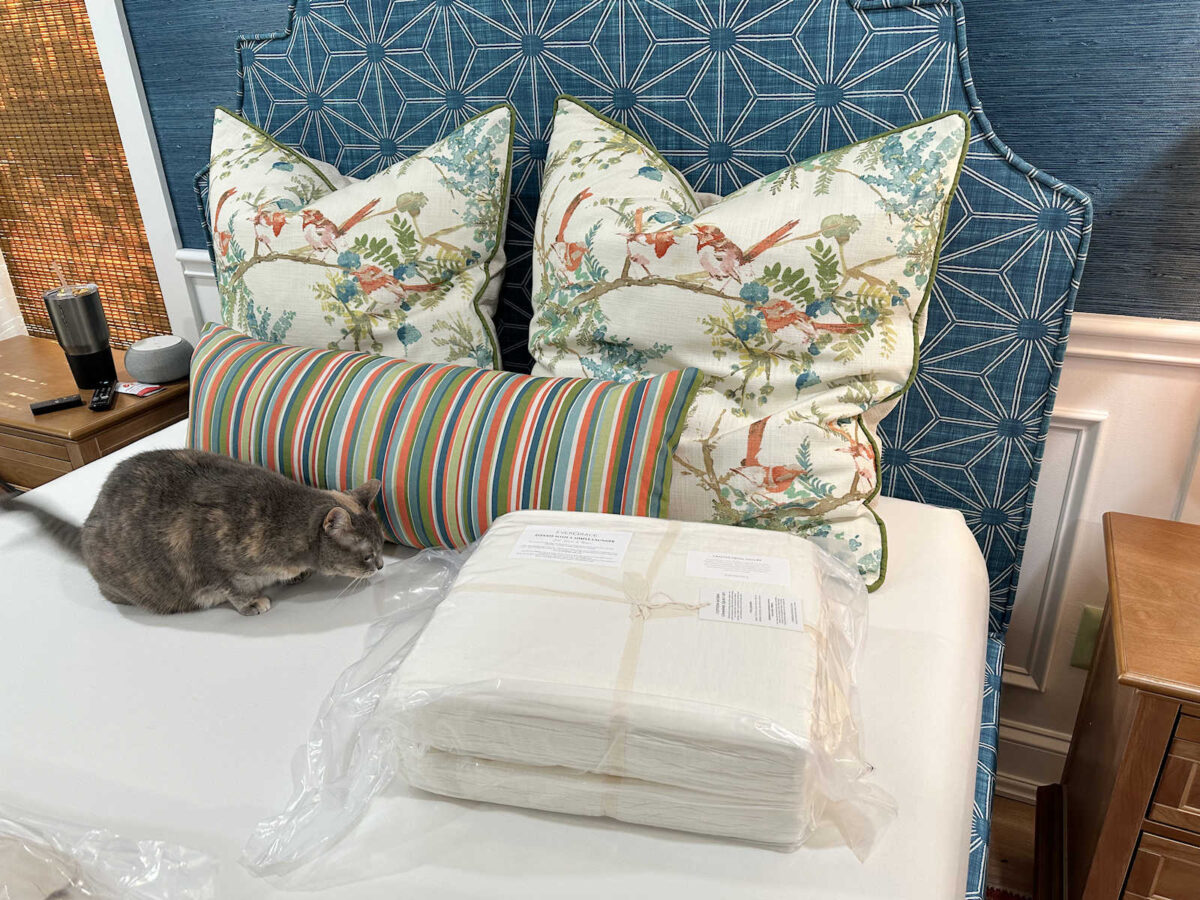
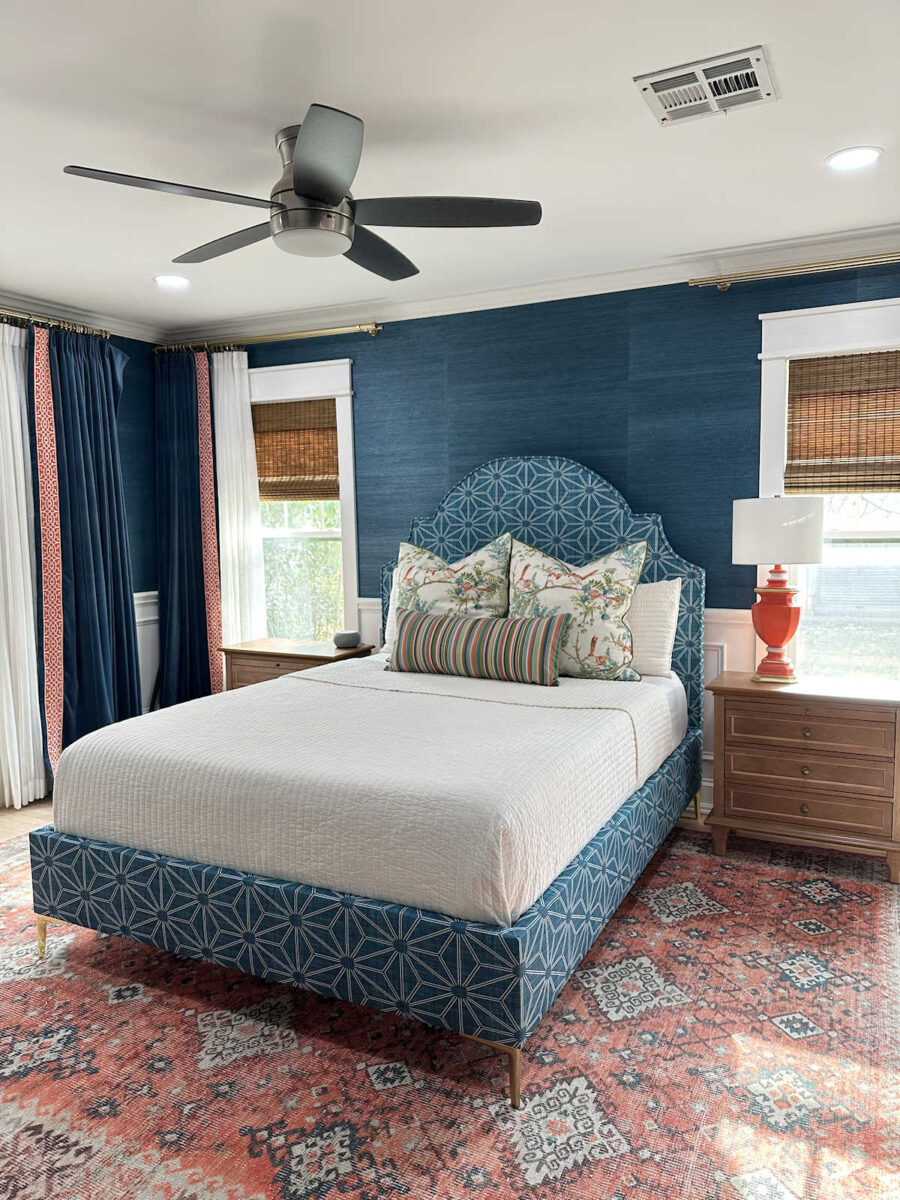
For the bedcover, I decided to go with a simple quilt. I bought it in two colors — a lighter cream color and a darker sand color. I found these quilts on Amazon (affiliate link), and while this quilt is very similar to the one I use in our previous bedroom, this one is thicker, so it feels and looks nicer, especially after it was washed and dried.
It’s so fun seeing my ideas go from mockups on my computer to the actual thing in our bedroom.
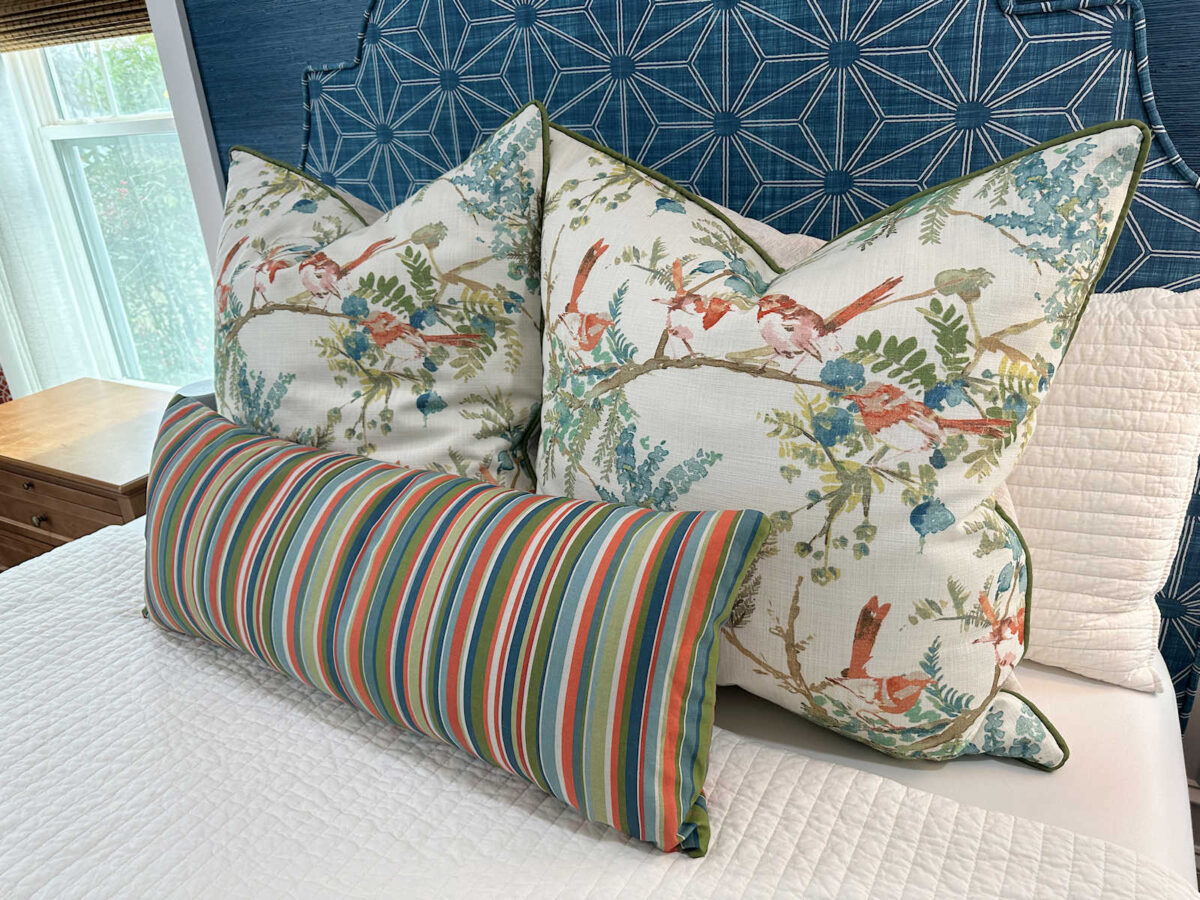
Anyway, here’s a closer look at the quilt in the color Light Sand with the pillows.
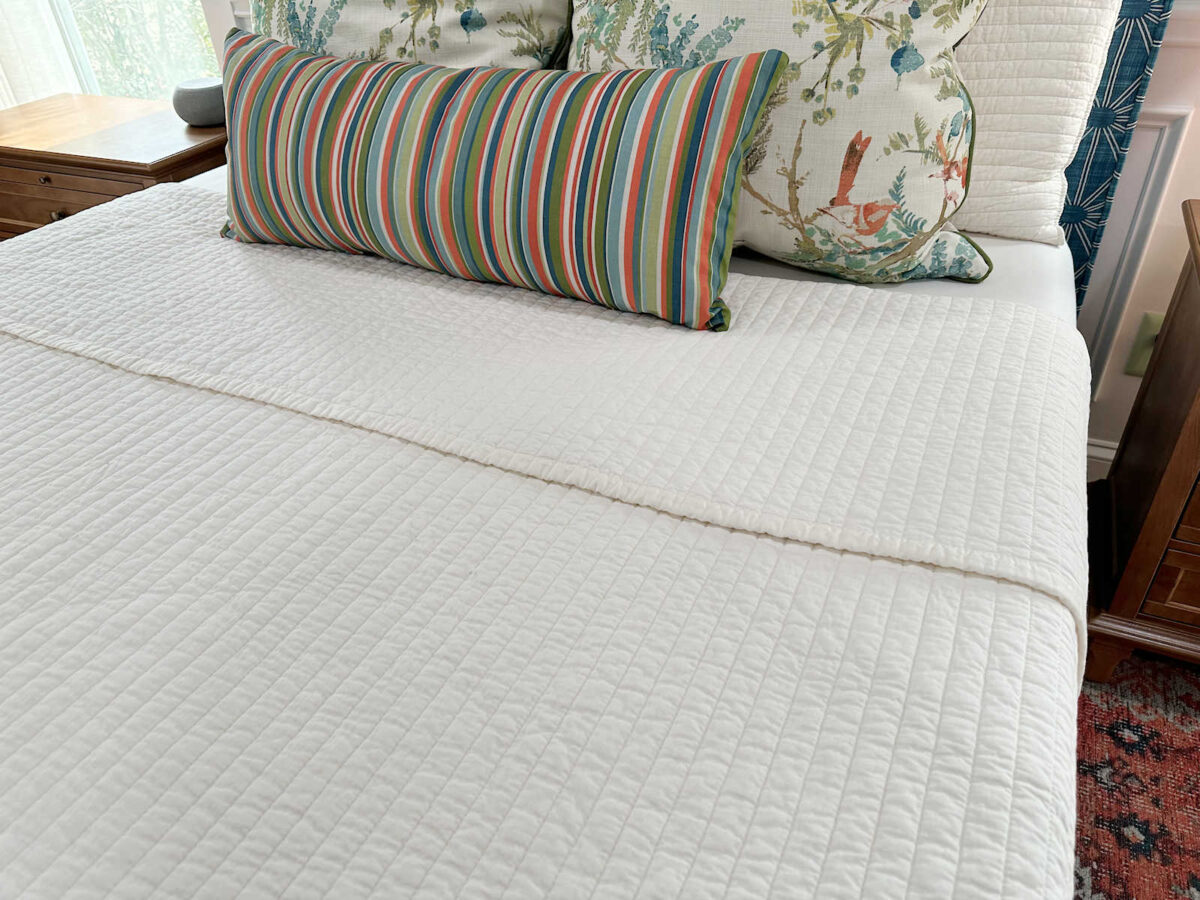
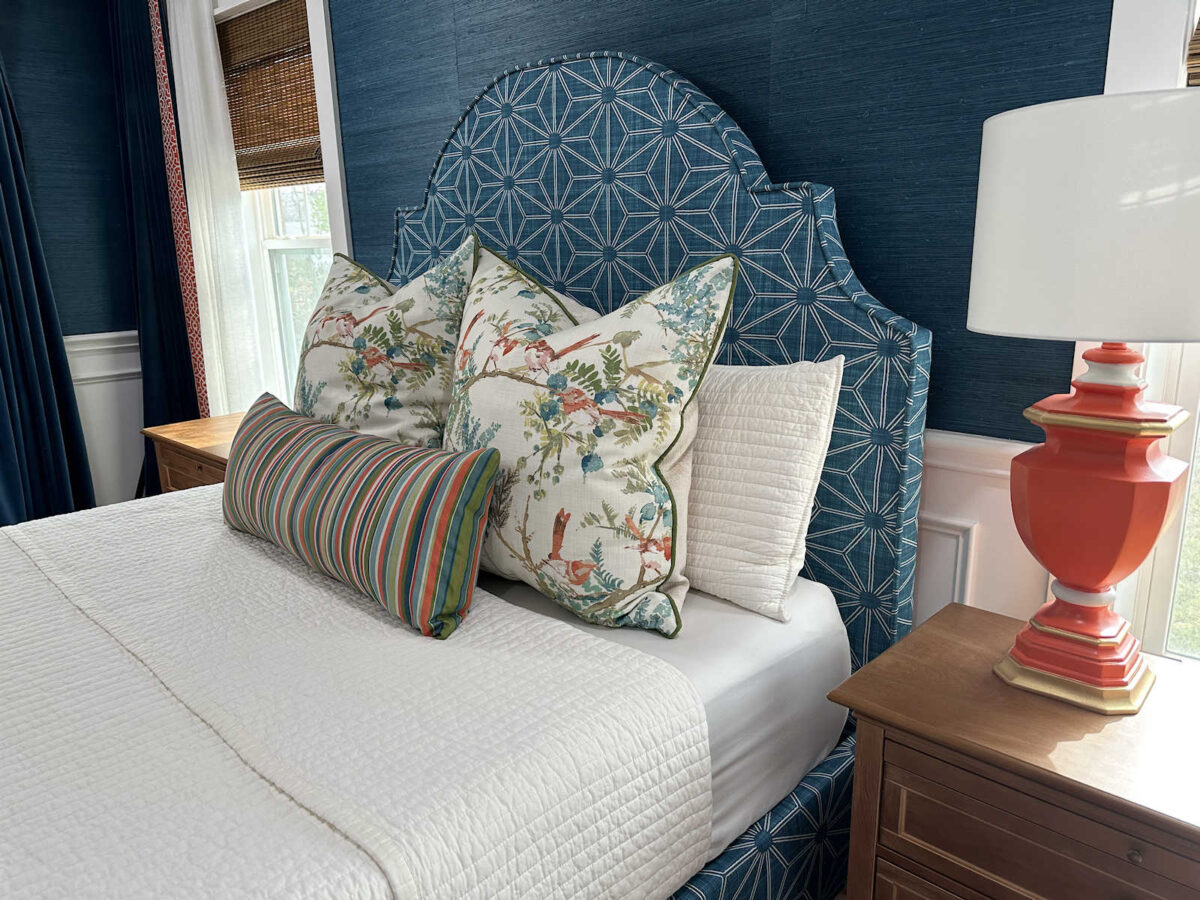
And here’s a closer look at the quilt in the color Cream with the pillows.
I took a day to decide. I still want to make a throw for the bed in the bird fabric. It’ll be trimmed in the green fabric, just like the pillows, and I initially thought I wanted some contrast between the cream background of the bird fabric and the color of the quilt. So I was really leaning towards the Light Sand color at first. But in the end, I went with the Cream color. I’m so used to using white bedding, and I thought that the Light Sand might look dingy to me. I’m very happy with my final selection, and I’m really pleased with the quality of this quilt.
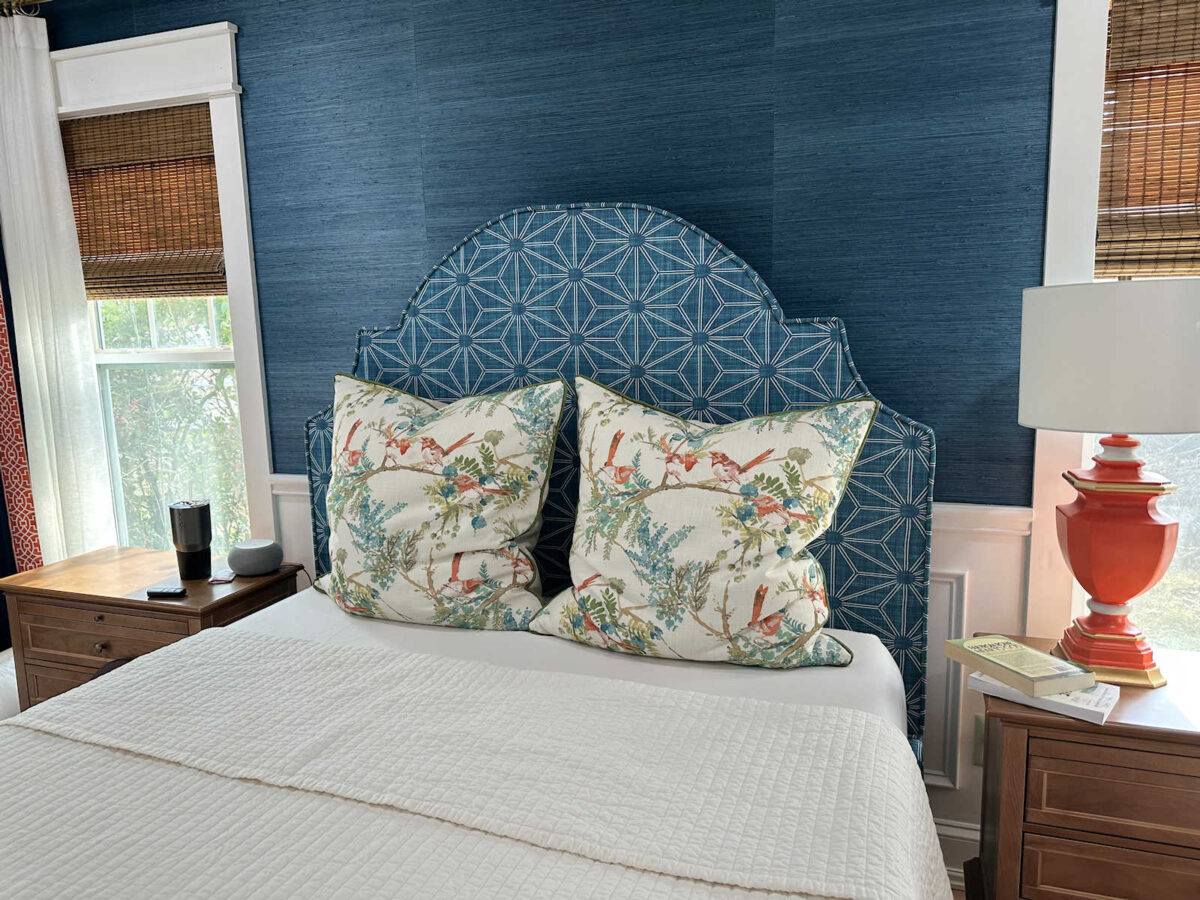
I bought the 28″ square feather pillow inserts on Amazon, and I would give these three out of five stars. I’ve bought the smaller sizes many times before, and I’ve always been very pleased with them. But on these bigger sizes, I think they get a bit stingy with the amount of feathers they use. They’re nice, but they’re not filled nearly enough for my taste. So they’re a bit slouchy, and I can’t stand slouchy pillows.
I especially don’t like the thought of these specific pillows being slouchy. Since the bird fabric is a main accent fabric in the room, I want these pillows to be filled as much as possible so that the fabric really shines. I considered opening up the seams and adding more feathers to each one since I always have extra feather pillow inserts on hand.
But then I decided to try out adding two pillow inserts into one pillow cover, and that did the trick. So I’ve ordered two more pillow inserts for the other pillow cover, and they’ll be here on Monday. It costs more, but it saves time, and my time is more valuable to me right now when I have other projects I need to be working on.
So until I get the new feather inserts, I’ll have to live with slouchy pillows. 😀 At least I still get to enjoy looking at the pretty fabrics. I also got the new feet for the bed base yesterday, so I’ll be swapping those out today.
And now that we can see the bed with the pillows in place, we can revisit whether or not the wall over the headboard needs a little decorative touch or not. I’m leaning towards yes, but I’m still not 100% sure. I’ll make that final decision once I get the draperies and the second lamp finished.
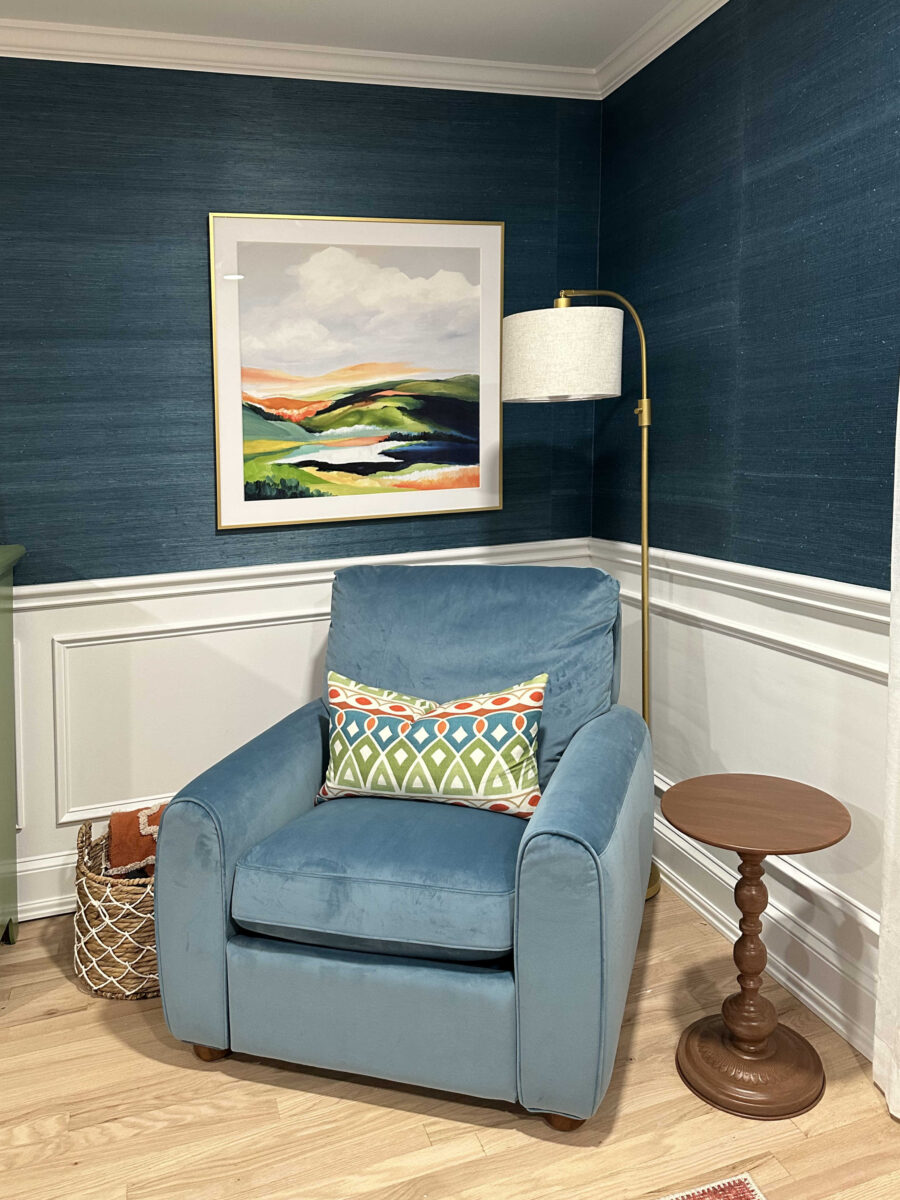
And now, turning to another part of the room, I think my reading corner is finished. Well, I might possibly make one small change, but for the most part, it’s finished. I’m pleased to tell you that we no longer have to look at this eyesore on the wall anymore. I’ve been looking at this open breaker box for a year now, but I finally remember to buy replacement screws so that I could put the cover back on. (The original screws got lost in all of the construction over the last year.)
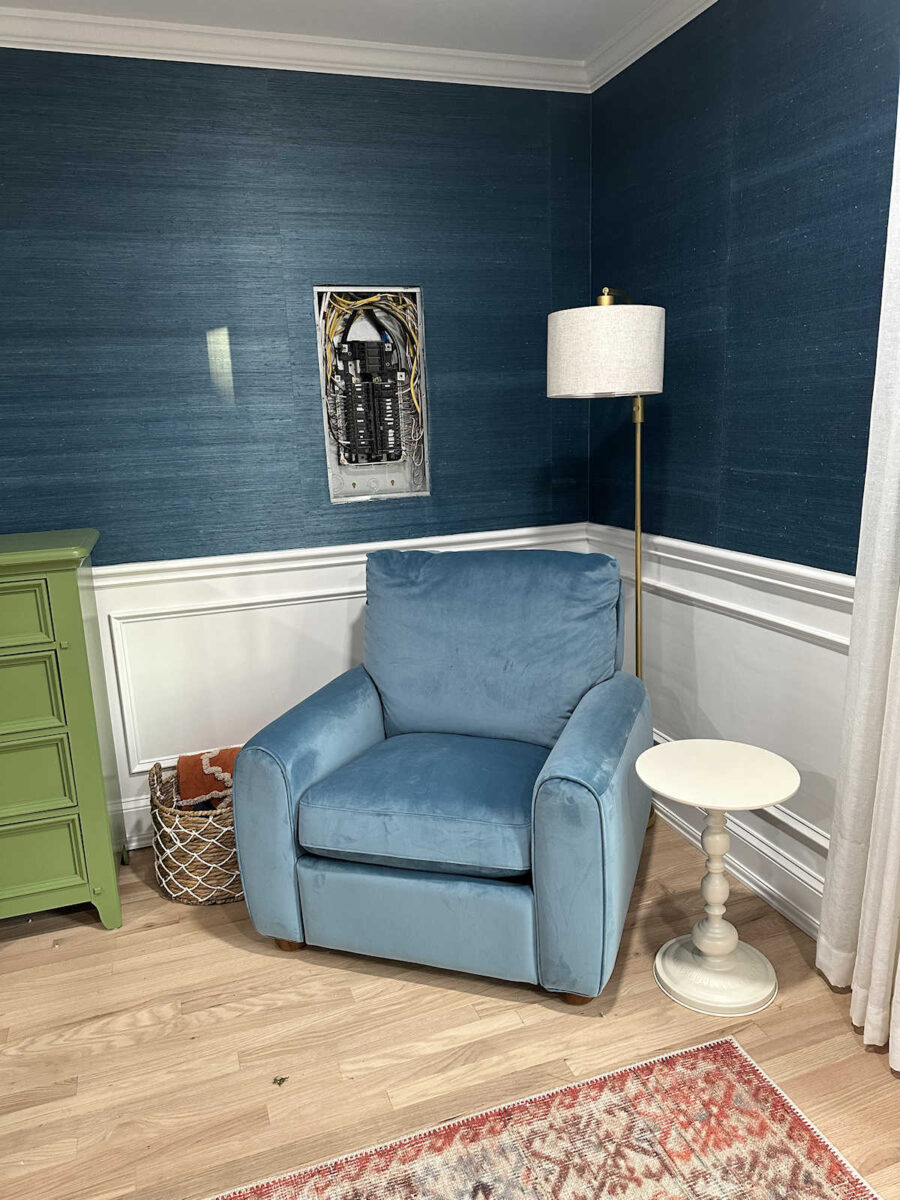
But more importantly, I got the artwork back that I purchased to cover the breaker box. I bought this print from Minted (affiliate link) in the 30″ x 30″ size. I had it matted and framed so that the finished dimensions are 36″ x 36″. I used my new favorite glass, museum glass, and then chose a simple gold frame for it. I didn’t want a big, fancy frame because I need the finished framed picture to be as light as possible so that I can easily remove it from the wall when I need to access the breaker box.
The one thing I might change is the little side table. It’s metal, and it was originally a cream color. I didn’t want or like the cream color, so I tried to paint it to look like wood. But in the end, that was a fail. It doesn’t look like wood at all. 😀 So I’ll probably end up painting it gold. It’ll be a quick and easy fix.
But overall, I’m so excited about how this room is turning out! I have one major project to finish — the draperies. And then I have a few more small projects to tackle before the room is officially finished. I’m so close to that finish line!
More About Our Master Bedroom
see all master
bedroom diy projects
read all master
bedroom blog posts

Addicted 2 Decorating is where I share my DIY and decorating journey as I remodel and decorate the 1948 fixer upper that my husband, Matt, and I bought in 2013. Matt has M.S. and is unable to do physical work, so I do the majority of the work on the house by myself. You can learn more about me here.