
Well, I still didn’t finish the grasscloth wallpaper in the bedroom suite foyer even though I worked on it for six hours yesterday. Ugh. I made some really good progress, but I knew going into this that the foyer was going to be challenging. Even though it’s a relatively small space, it has three doorways that I have to work around, two of which had the trim headers that needed to be removed, and one that presented a bit of a unique situation.
Those doorways with the trim headers really slowed me down. I thought would never get the one off of the bathroom (future storage closet) door. This trim has been up there for about ten years, and it was installed back when I used to use construction adhesive on every piece of trim I installed. I was quickly reminded why I don’t use construction adhesive anymore. It’s overkill and almost never needed, but if you have to remove the trim, it wrecks the drywall.
And then if you want to reuse the trim, you’re left with this mess that you have to clean up before it can be reused.
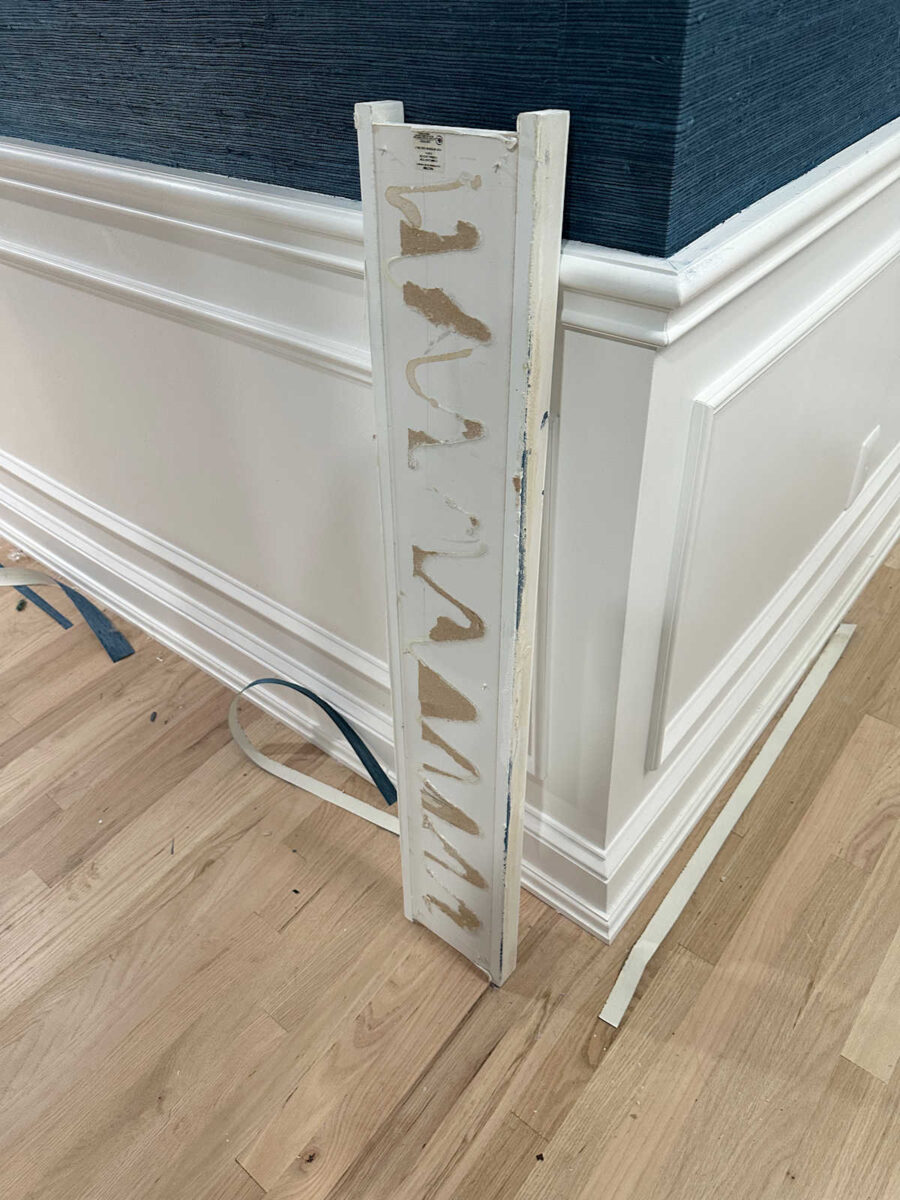
But I did finally get that trim off. I got the drywall cleaned up a bit, and cleaned up the back of that trim. Then I wallpapered that wall and reinstalled the trim. I’ll show y’all how all of that turned out when I’m finished with all of the wallpaper and get the whole area cleaned up.
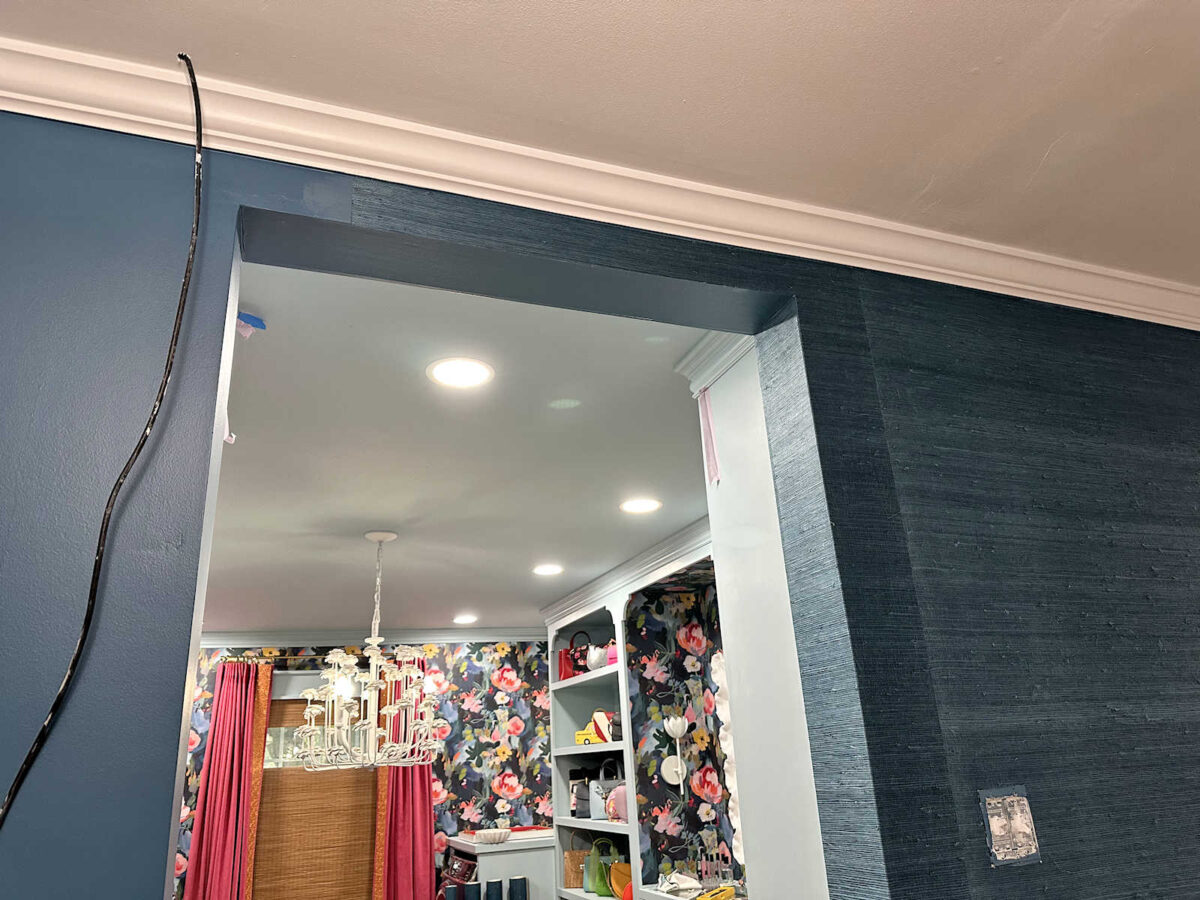
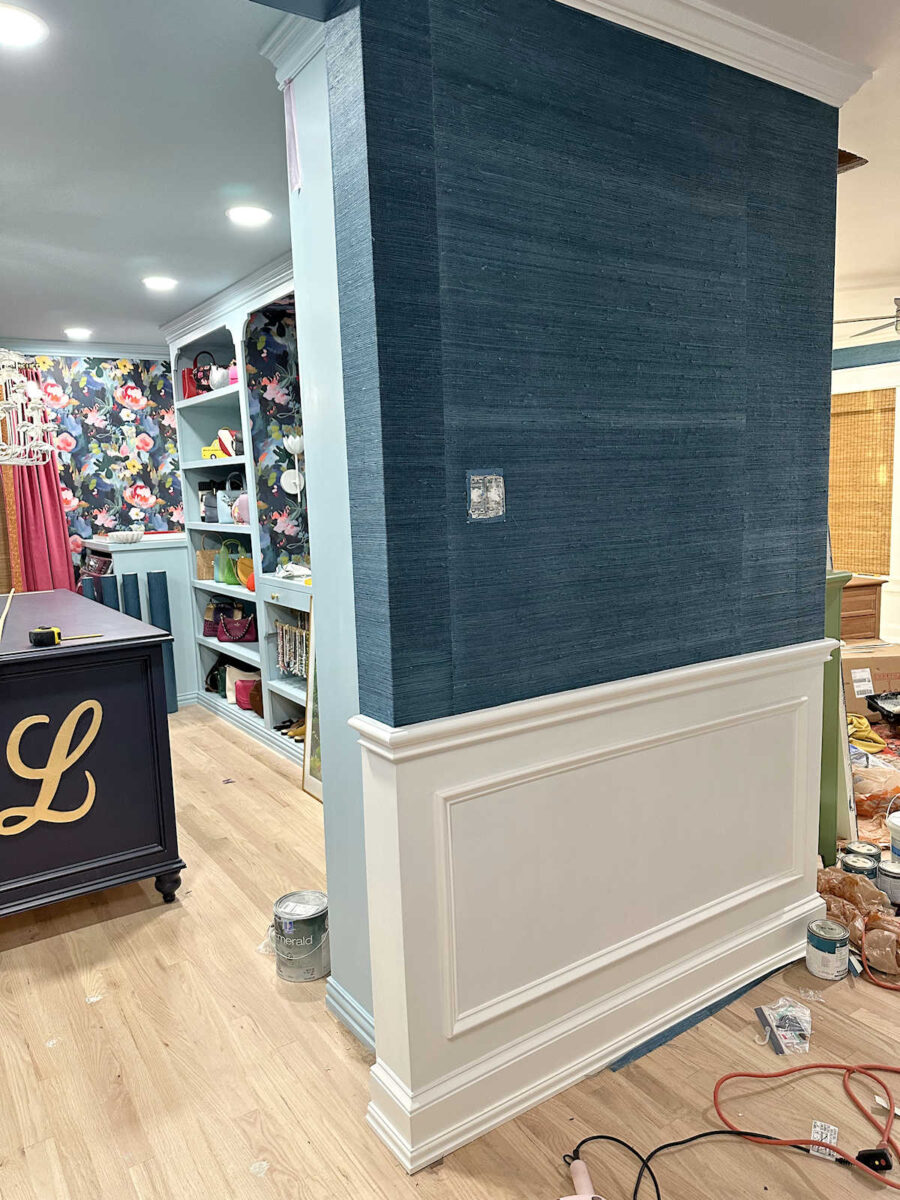
The biggest challenge I faced yesterday was installing the grasscloth wallpaper around the closet doorway. I wasn’t really sure how this would work, and even still, this remains a “figure it out as you go” kind of thing. But in order to be able to wrap the grasscloth around the side jamb of the doorway and cover the whole jamb, that left me with nothing to cover the top jamb in the right corner.

So it looks like that top jamb will have to be covered with a completely separate piece of wallpaper. We’ll see if I can pull this off and make it look like one continuous piece of wallpaper instead of two separate pieces.
Once that piece was up, I loved the overall look of it, but there were two issues that I didn’t like. First, I thought that I could just cut the edge of the wallpaper on the closet side of the door jamb with a very clean cut and leave it at that. But even with a really clean cut, it just looks unfinished to me.

Here’s a look at it from the closet side. Ignore those rogue splotches of dark teal paint on the trim. Those need to be touched up with the light blue. But as far as the grasscloth goes, I’m not loving how this looks with it just dead ending right there.
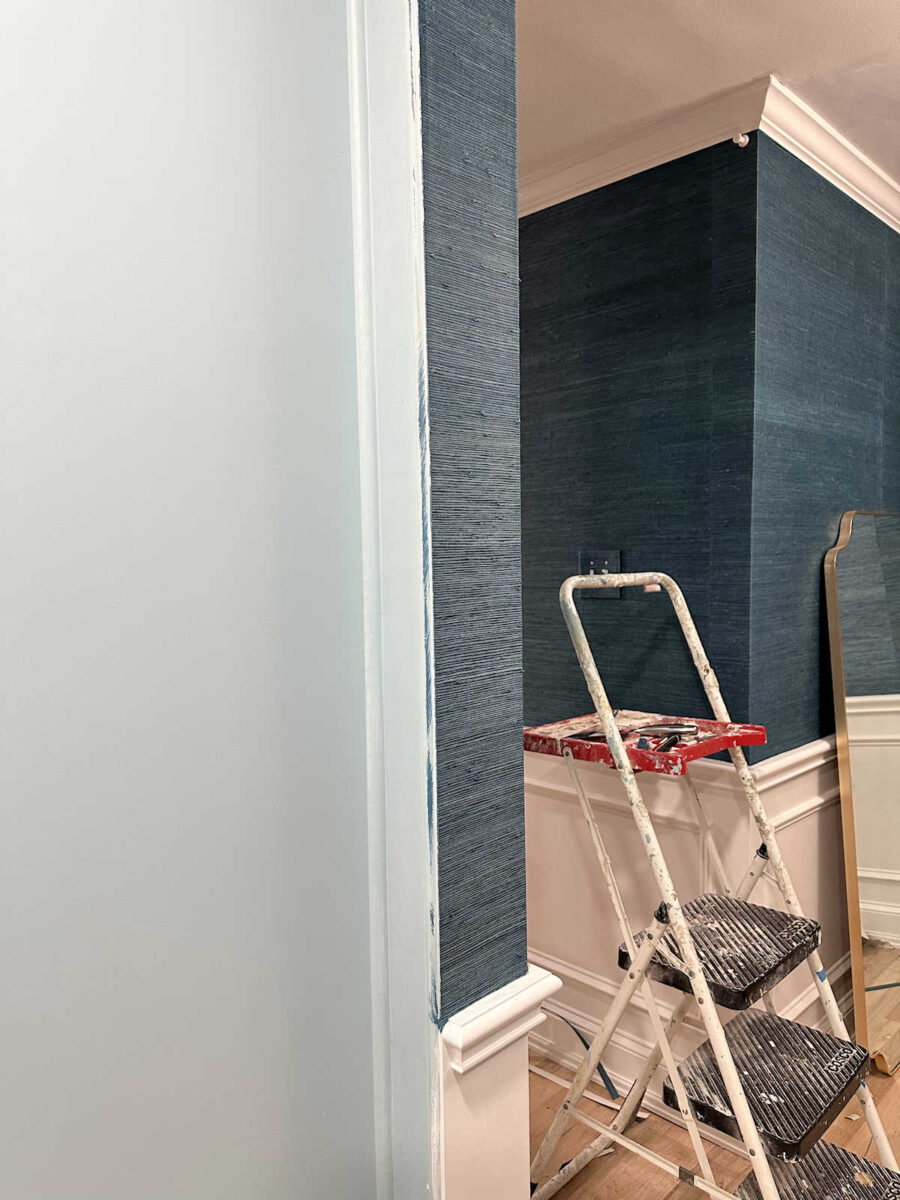
So I think I’m going to add a tiny piece of trim right on the edge to give it a clean finish. I’ll paint this piece dark teal to blend in with the wallpaper, and I’ll put it all the way around the door jamb on the wallpapered areas.

I think I’ll be much happier with it once that trim is up. It’ll give it a much more finished look, but of course, that’s just one more thing added to my list that needs to be done now. At least it’s not a huge project, but I thought I was all finished with trim, so this does feel like I’m going backwards a bit.

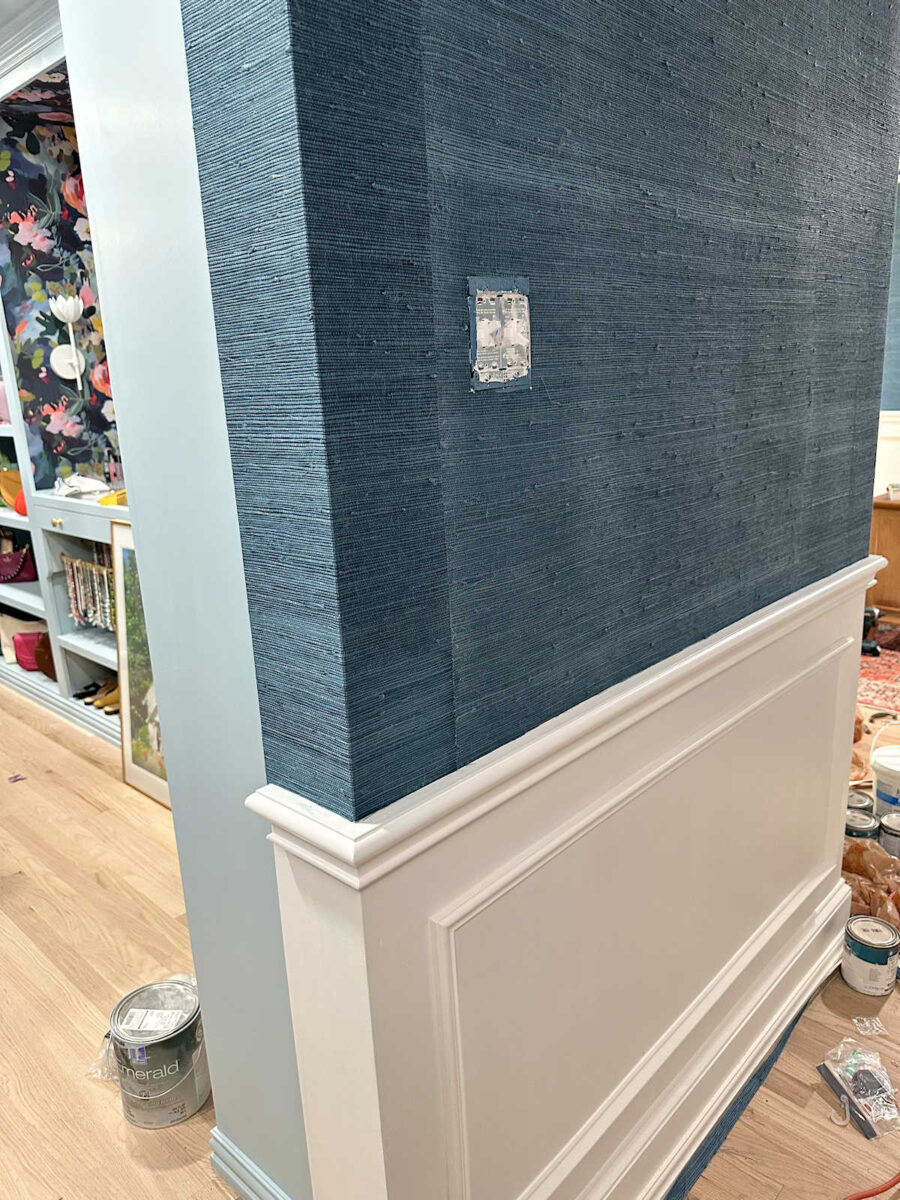
But the bigger issue is that once I got that piece up and stood back to look at it, I saw that this piece was clearly darker than the one next to it. It was the very first piece of a new roll of wallpaper, and this roll is clearly darker than the previous roll.
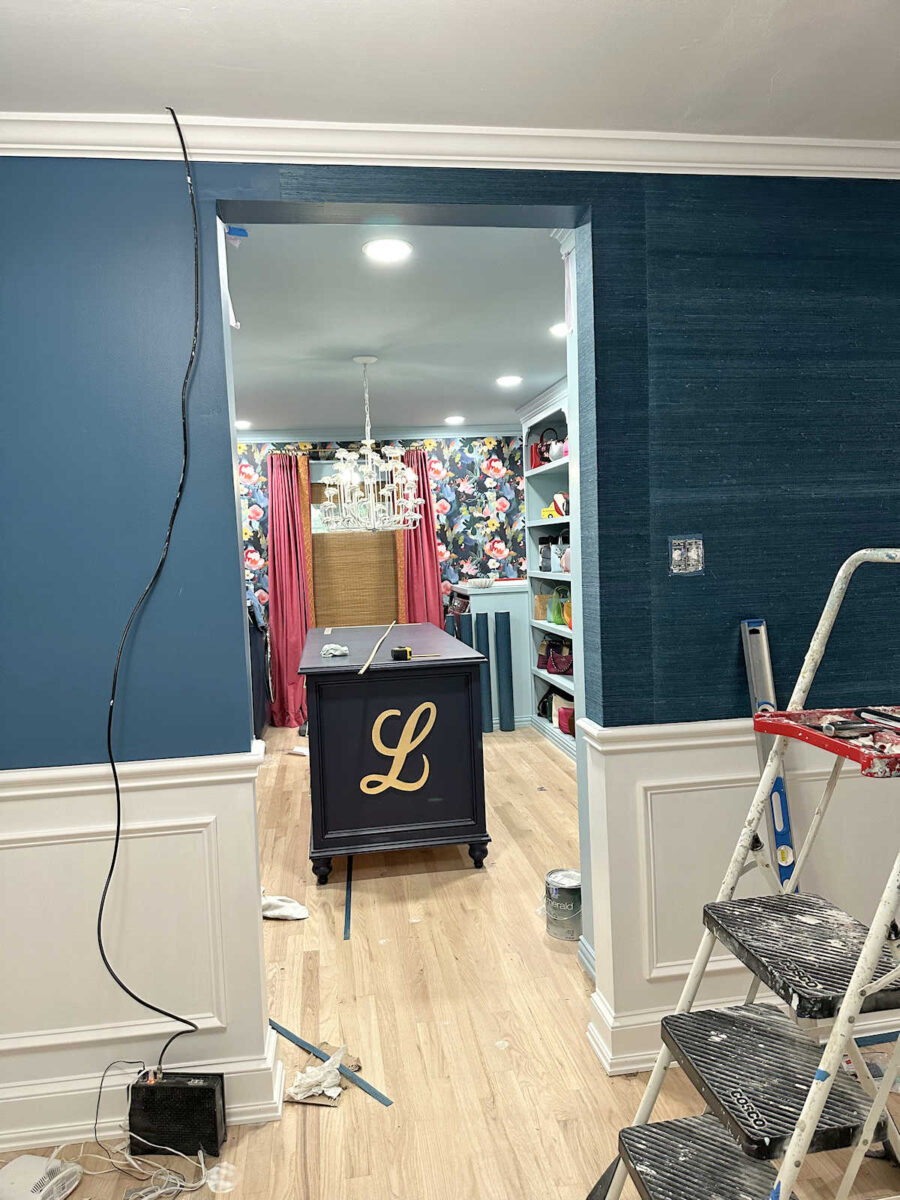
And it’s not just the lighting because it’s darker from every point of view.

I was disappointed to see that. I don’t really want a darker color framing the doorway. And I’m not sure if taking it down and replacing it would even help because, as I said, it was the first piece of a brand new roll of wallpaper. I have this roll and then one other roll left, so I think I might actually end up with three extra pieces of wallpaper. But there’s no guarantee that replacing it with another piece will make a difference since my options are to replace it with a piece from this same roll, which will probably be the same color, or replacing it with a piece from that final roll, and there are no guarantees if that will solve anything. For all I know, that final roll may be just as dark.
So I decided to take my chance and see if I could use a wet rag to rub some of the dye off of this piece. As you can see here, the wet rag definitely removed some of the dye.

I just did a small area to test. You can see it below. It’s that square that looks darker because it’s wet.
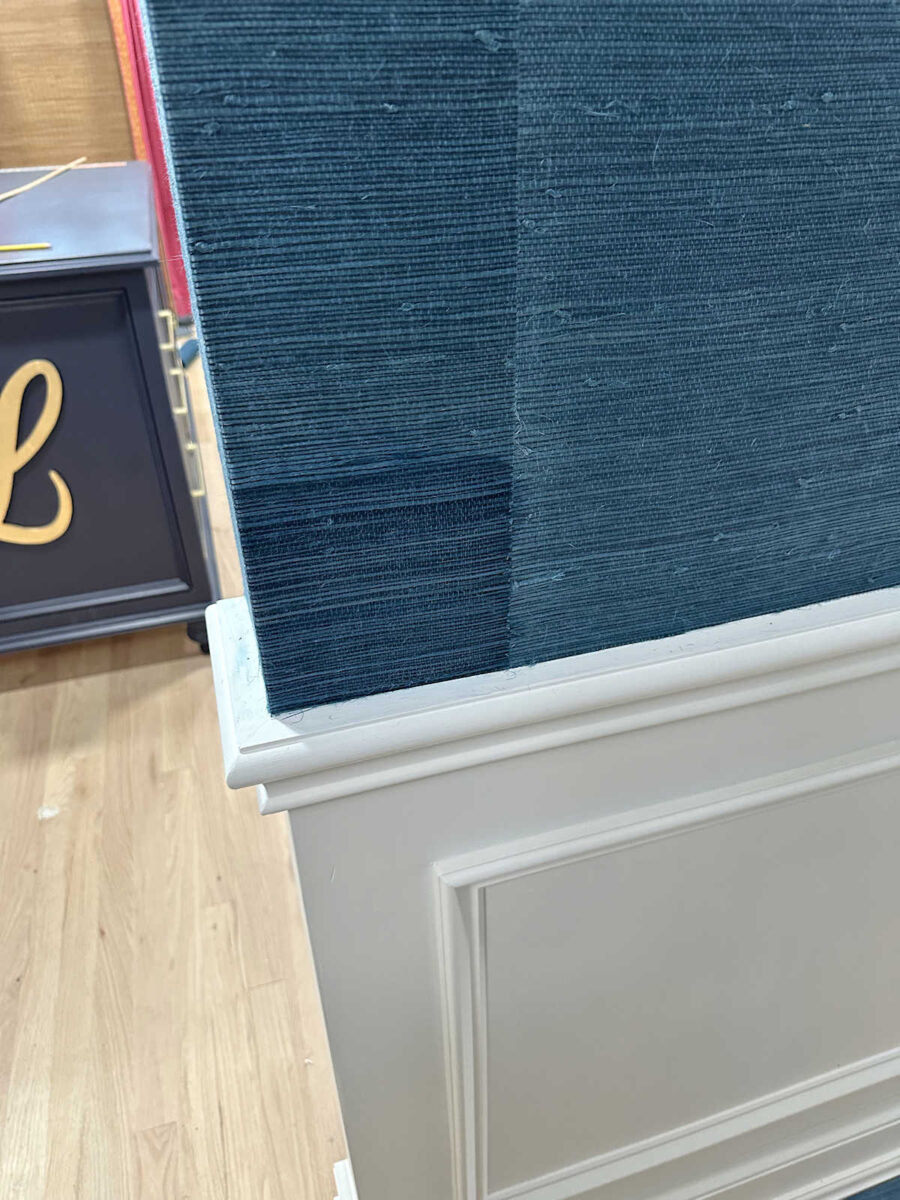
But once it was dry, it actually did look a bit lighter.
It wasn’t a perfect match, but it was lighter. The problem is that I didn’t take enough of the color off right at the seam, so the seam appears darker.
I tried it one more time to take even more of the dye off, and that seemed to work really well.
That seam is still darker, though, so I’m not sure if it’s actually going to work. But I am going to do the rest of it and see if I can get it to look good. I don’t need it to be perfect. The beauty of grasscloth is its imperfections. But I want to at least give this a try before gambling with a completely new piece, which will be a gamble since it’s possible that a new piece will present this same exact problem.

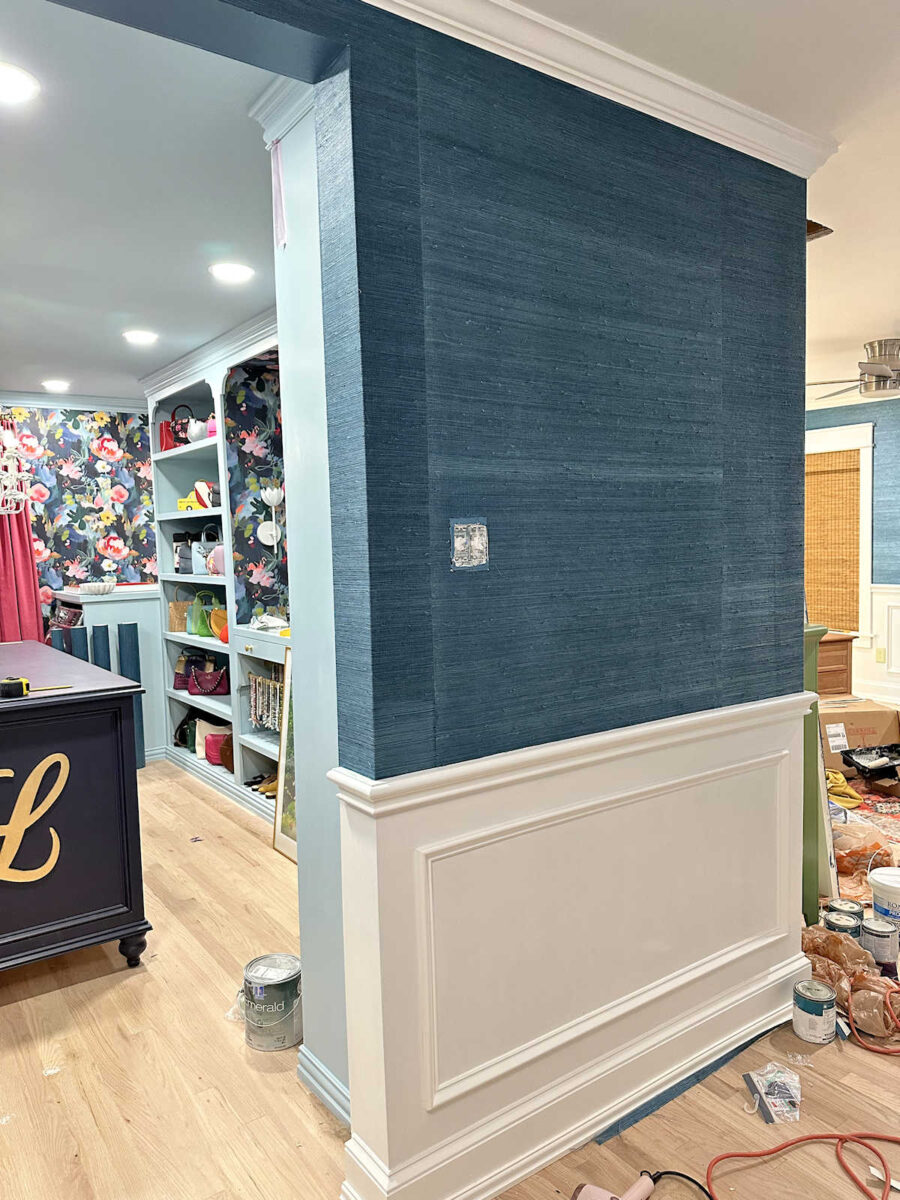
So anyway, progress continues, but there have been some road bumps along the way. Overall, I’m so pleased with how it’s turning out, though. I can’t wait to get these last few pieces up (I think I have four more pieces to hang), and then get the whole area cleaned up and cleared out so that we can see the finished grasscloth in all its glory. I won’t have any time to work on it today, so I’ll pick this back up tomorrow.
I’m really hoping that I can work through these last couple of challenges and get these last few details worked out so that I can be done with this project by the end of tomorrow and be ready to move on to the next project. The headboard fabric and hallway bench fabric should be here today, so I’ll be champing at the bit to move on to other projects once I have that fabric in hand.
More About Our Bedroom Suite Foyer
see all Bedroom Suite
Foyer diy projects

read all Bedroom Suite
Foyer blog posts

Addicted 2 Decorating is where I share my DIY and decorating journey as I remodel and decorate the 1948 fixer upper that my husband, Matt, and I bought in 2013. Matt has M.S. and is unable to do physical work, so I do the majority of the work on the house by myself. You can learn more about me here.