
I made my paint color decision for the bedroom dresser, and I got it finished yesterday. What I realized when reading the comments on yesterday’s post was that there was no possibility for me to choose a color that everyone would love. The responses were so varied, and everyone had a different idea. Some people loved the idea of painting it coral. Others loathed all color options and thought it needed to be stained wood. Some people really thought it should be green. Others hated the idea of green. Lots of people thought it should just be painted a neutral color, but the opinions on which neutral to use were split. Some thought a light neutral, others thought a dark neutral.
In the end, I just had to decide what it was that I wanted. That’s what we all have to do with our own homes, right? As much as we’d love for everyone who walks through our front doors to oooohhhh and aaahhhhh over every decision we make, we know that it’s impossible to decorate our homes in such a way that everyone will love every decision we make.
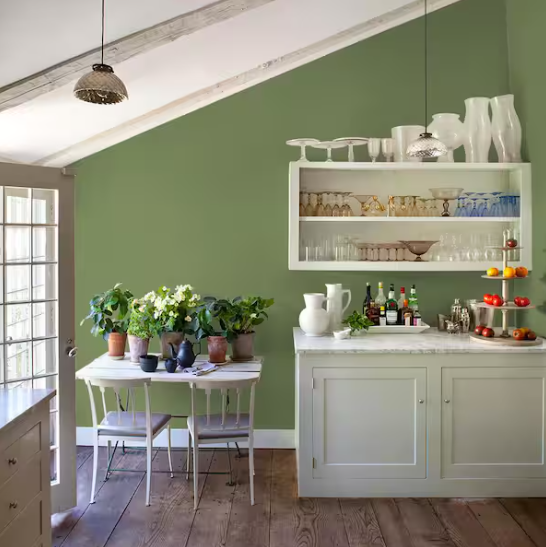
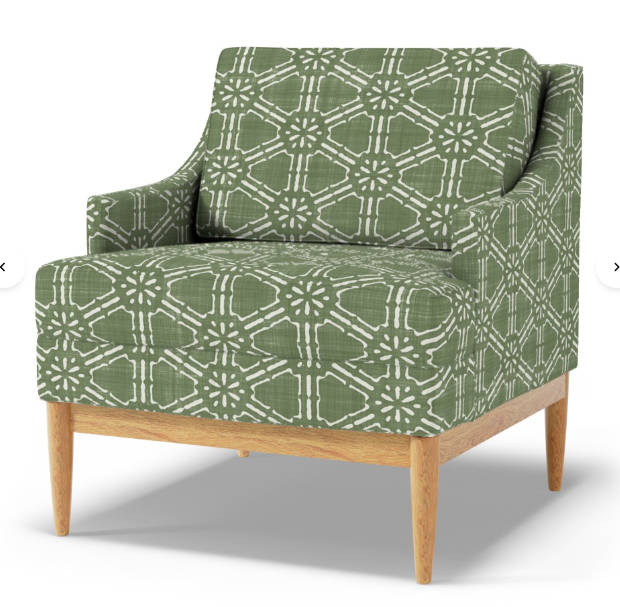
With all of that said, I went with green. I tried to match it as closely as possible to this fabric that I plan to use on the bench in the foyer. This fabric is from Spoonflower.
So I ended up choosing this Glidden color called Moss Point Green.
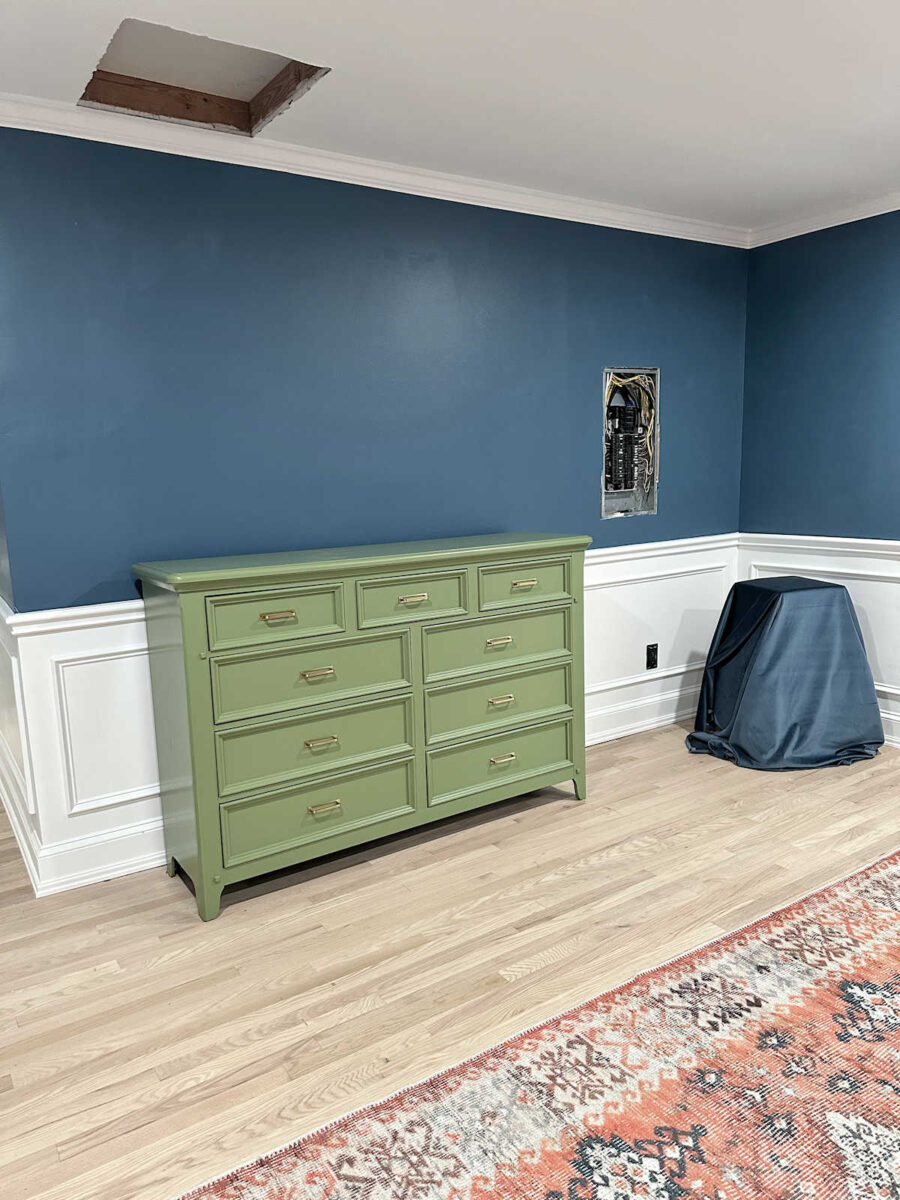
And…I love it. For some reason, it looks brighter in photos than it does in the room. In the room, it looks darker, but not too dark.
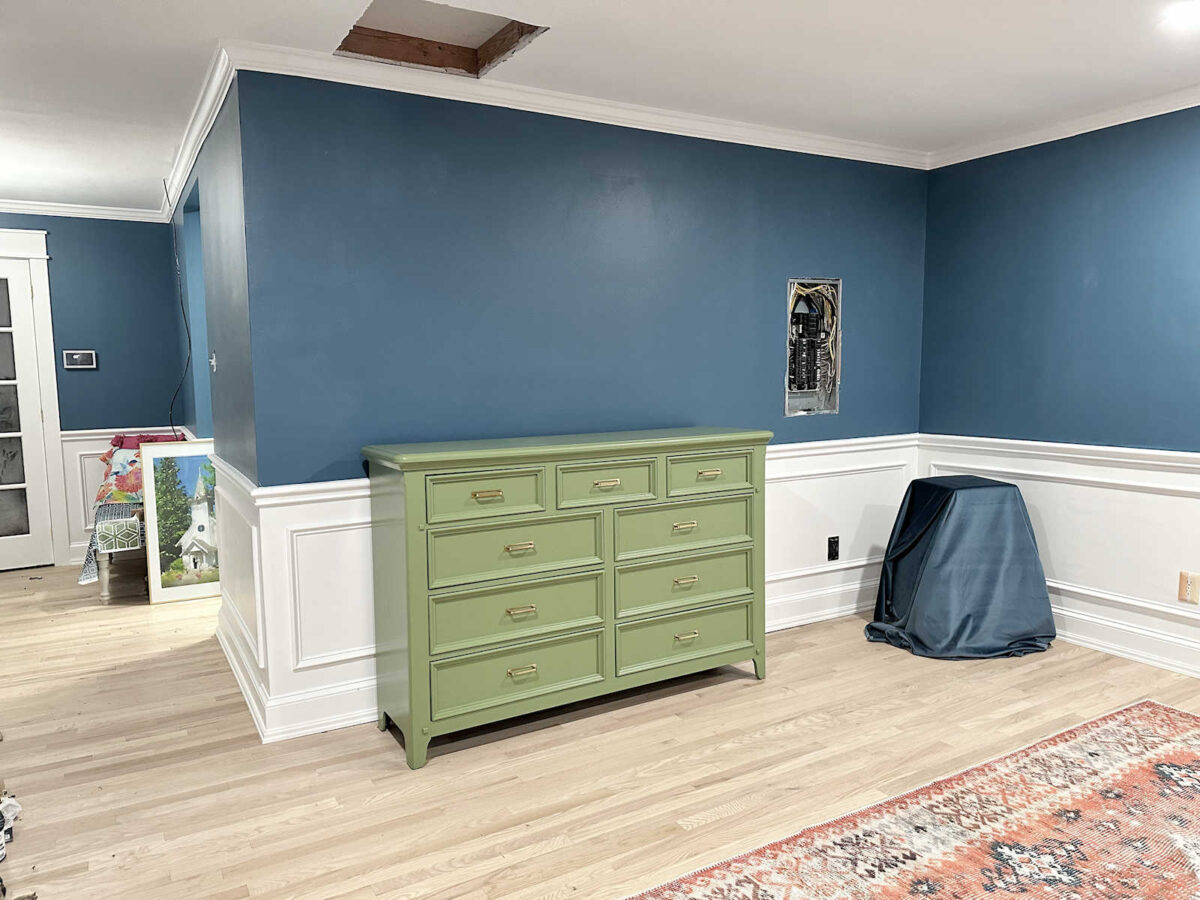
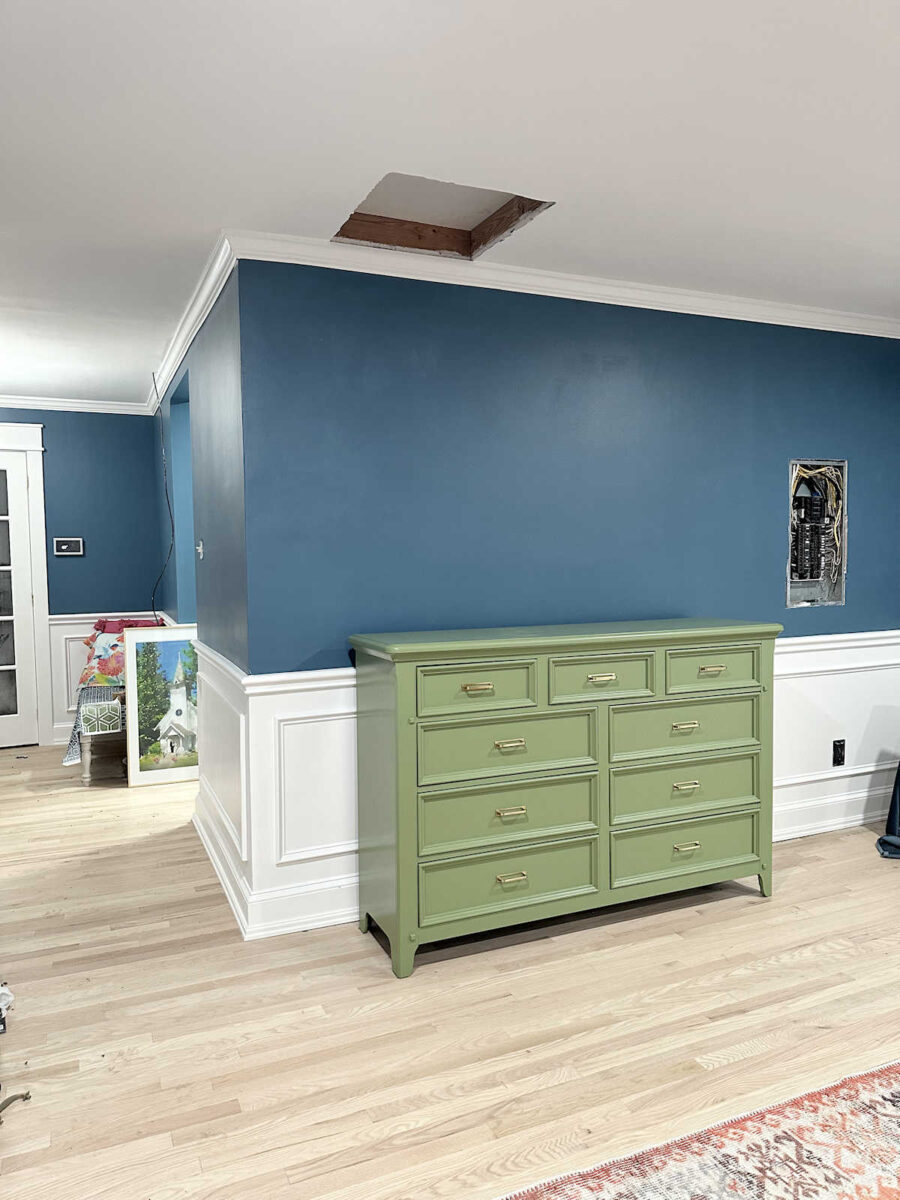
I like it from every direction. It will look good with the foyer bench…obviously, since I matched the color to that fabric. You can see the fabric draped over the edge of the bench in the photo below. And the chapel picture has a ton of green in it, also.
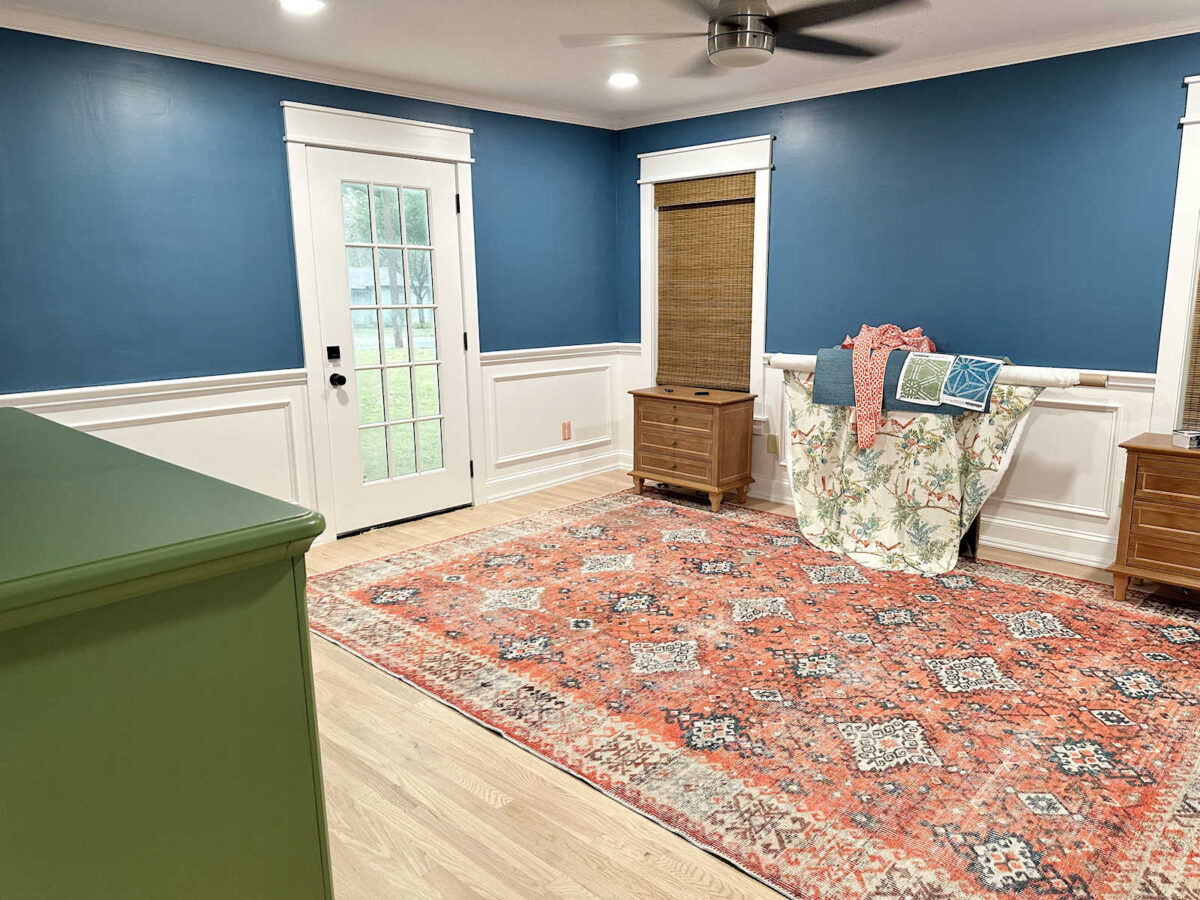
And it goes with the green in the bird fabric perfectly. I’ll also be adding some green to the bedding. In fact, I’ll probably be using that green fabric that’s lying on the wallpaper in the photo below.

Here’s what it looks like together from the room entrance.
That fabric that I’m considering using on the bed as an accent is this one, also from Spoonflower. It’s the exact same color as the green cube fabric that I’ll be using on the bench in the foyer.
So, it’s done. And I’m really happy with how it turned out. I know I disappointed a lot of people who thought that green was a terrible choice, but I really do love it, and I think it’ll all work once the room is done.
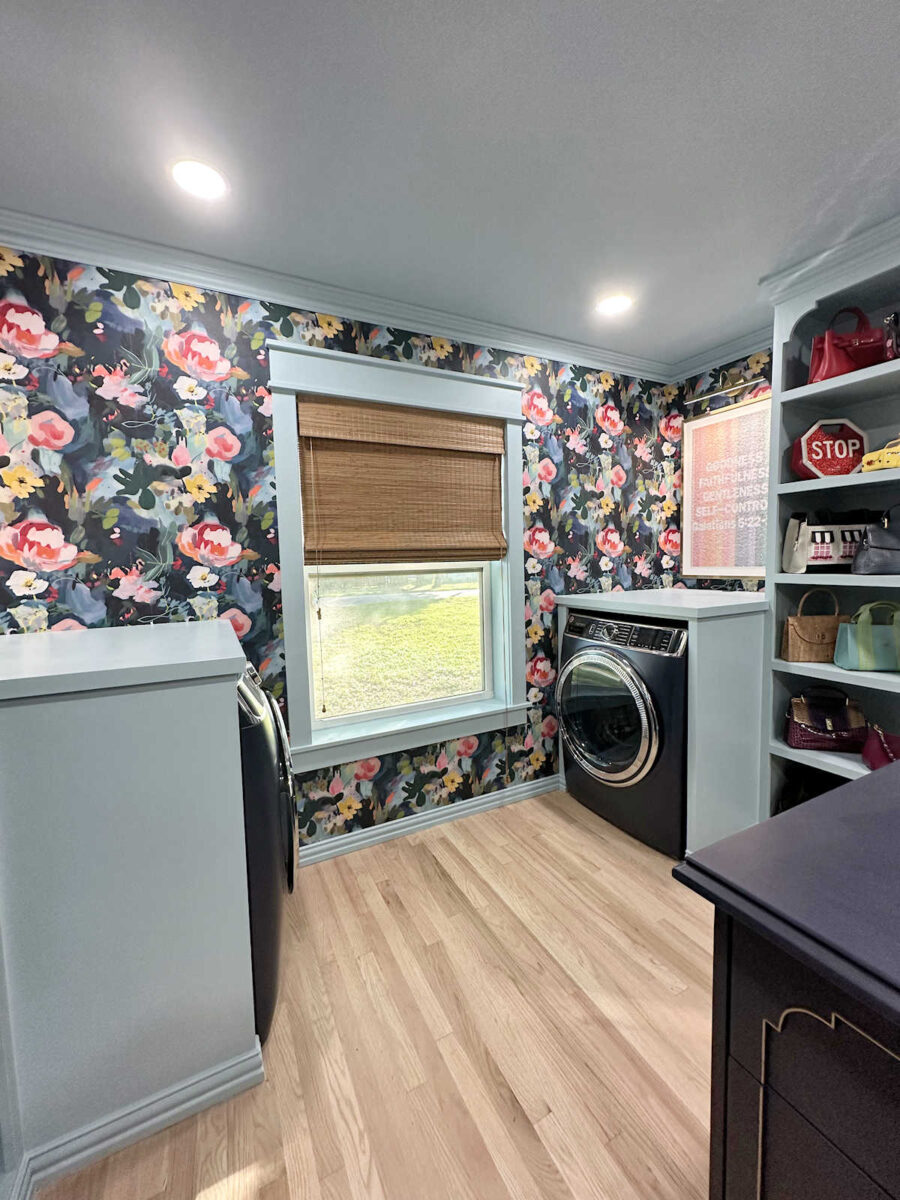
Also, there’s a lot of that green in the wallpaper in the bathroom…

And that green is also found in the wallpaper in my closet as well.
So here’s a look at the dresser before, when it was in our previous bedroom…

And here’s what it looks like now. I found the new drawer pulls at Lowe’s. I was limited in my options since I had to work with the holes that were already drilled in the drawer fronts, but I thought these were very pretty, and the size was exactly what I needed.
For those of you wondering about the process, I painted the whole thing with a brush (a 2.5-inch Purdy sash brush, because quality matters), and I used Behr Premium Plus paint. Since I was using brand new paint that had never been opened before (except to mix the color in the store), I didn’t add any paint conditioner to the paint. I just used it right out of the can.
To get the smoothest finish possible, I took all of the drawers out so that the drawer fronts would be horizontal, and I made sure to turn off the fan in the room while they dried. The longer the drying time, the more time the paint has to self-level when it’s still wet.

I painted two coats, allowing about an hour of dry time between coats, and then left everything to dry overnight. And then this morning, I put the drawers back in and then put the new drawer pulls on. Since the dresser was previously painted with latex paint, and I was using latex paint this time, I did very little sanding. I only spot sanded areas where I could see imperfections in the previous finish, but I didn’t sand the whole thing.
After I give the paint a few days to cure, I’ll go back and put a couple of coats of clear finish only on the top. And of course, I’ll use my favorite go-to clear coat — General Finishes High Performance Topcoat in a flat finish (affiliate link). If I were painting kitchen cabinets, I would clear coat everything with General Finishes. It provides such a durable finish that I love to use on cabinets in kitchens and other high traffic areas and areas where people gather. But on furniture pieces in areas with far less traffic, I find that the clear coat is only really needed on the top to protect the finish from items that are placed on the top.
More About Our Master Bedroom
see all master
bedroom diy projects

read all master
bedroom blog posts

Addicted 2 Decorating is where I share my DIY and decorating journey as I remodel and decorate the 1948 fixer upper that my husband, Matt, and I bought in 2013. Matt has M.S. and is unable to do physical work, so I do the majority of the work on the house by myself. You can learn more about me here.