
Progress has been slow on my bedroom walls. I’m still working through the pain of my injured right hand, and that has definitely slowed me down quite a bit. After grasping a paint roller for hours while priming the walls in the foyer and bedroom on Tuesday, I was so thankful to have Wednesday off (I spend Wednesday afternoons having lunch with my mom and brother) because my hand was so sore and achy that I don’t think I could have worked even if I wanted to.
But yesterday, I was ready to get back to work, even if progress was slow. And even though I didn’t get very far, I get more excited with each new step.
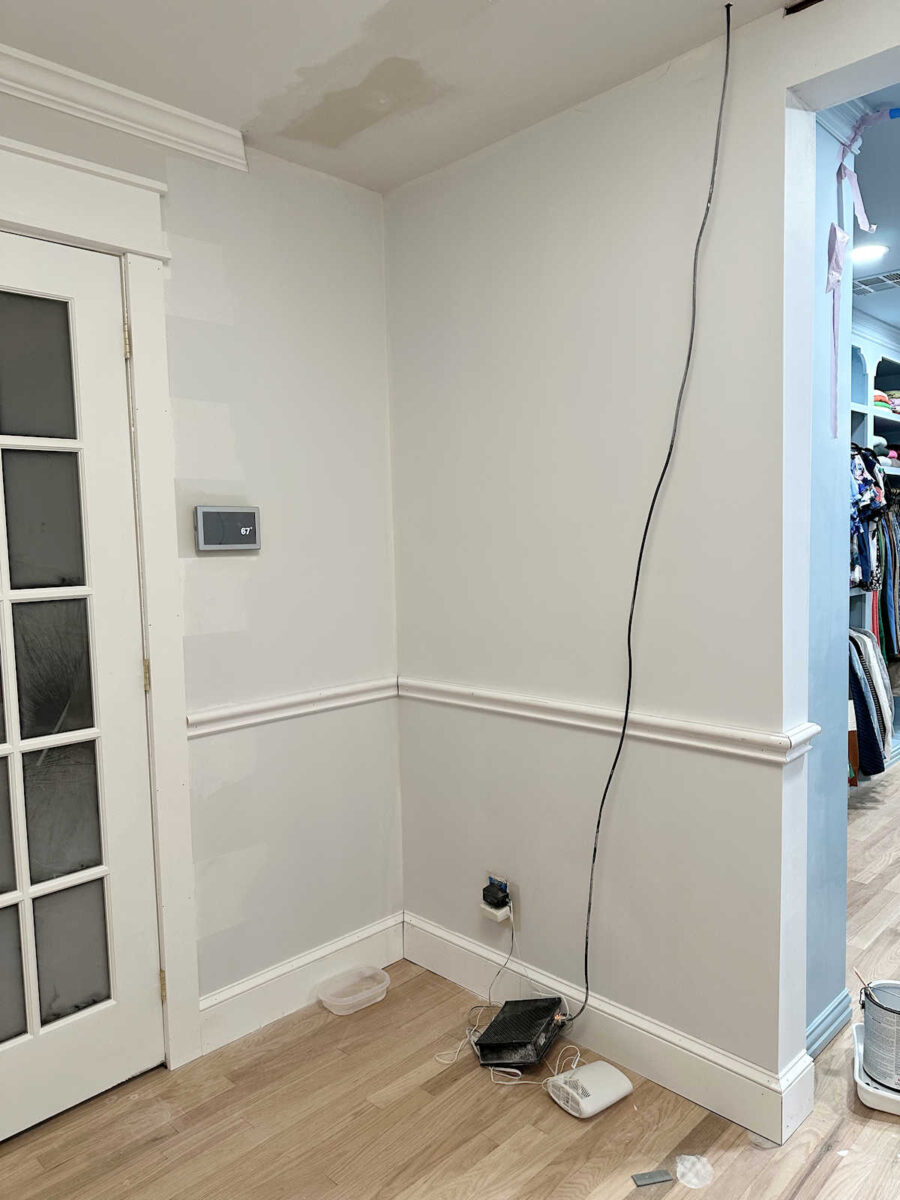
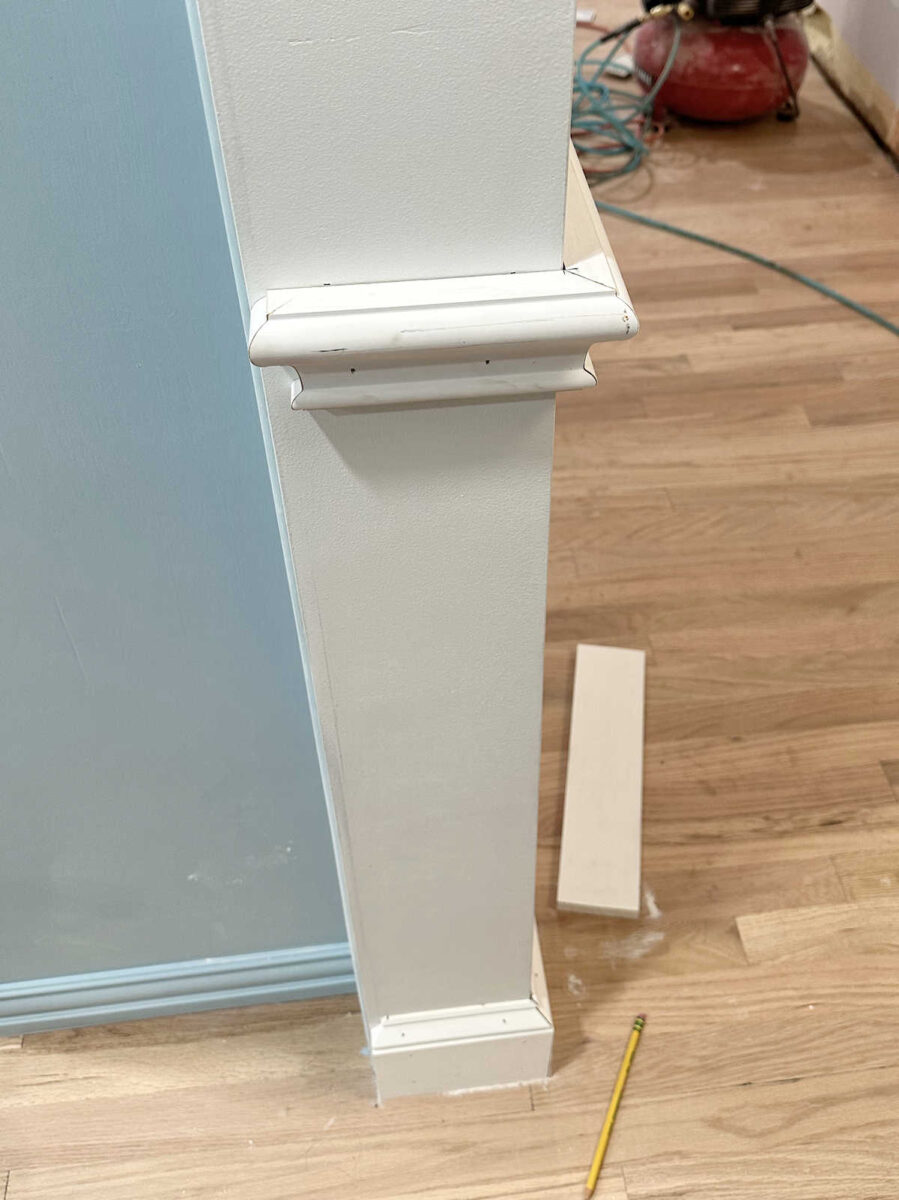
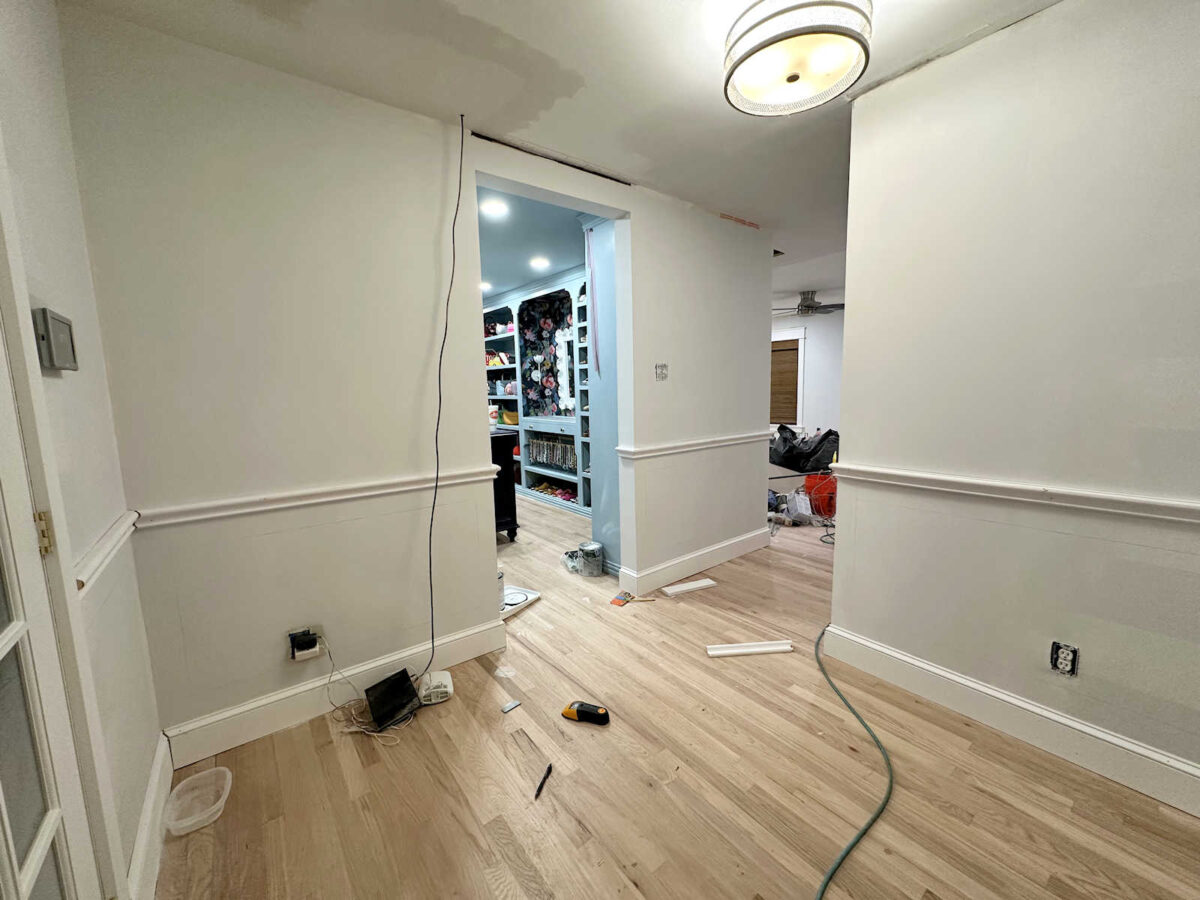
So yesterday, I got all of the baseboards installed in the foyer. For the baseboards, I used simple 1″ x 5″ boards topped with base cap molding. And then I cut and installed the chair rail molding.

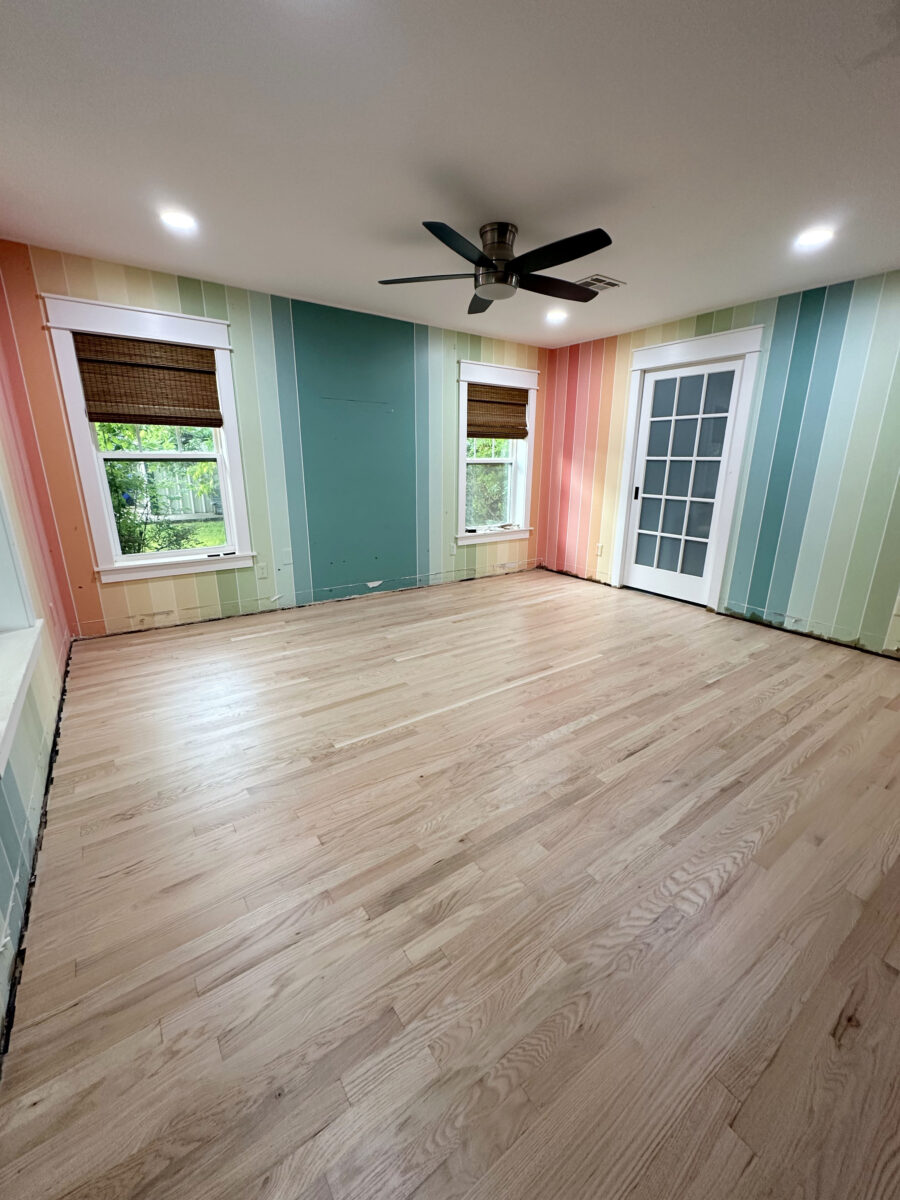
I decided to skip that second coat of primer on these walls. I didn’t want to spend any more time gripping a paint roller because of my hand, but I also plan to paint all of the upper walls a dark teal before installing the grasscloth wallpaper. The main point of the primer was to cover over all of the unpainted drywall mud and drywall, and also to highlight any areas that needed repair/patching/sanding that I may have missed. So even though these walls still look like a mess, the primer served its purpose.
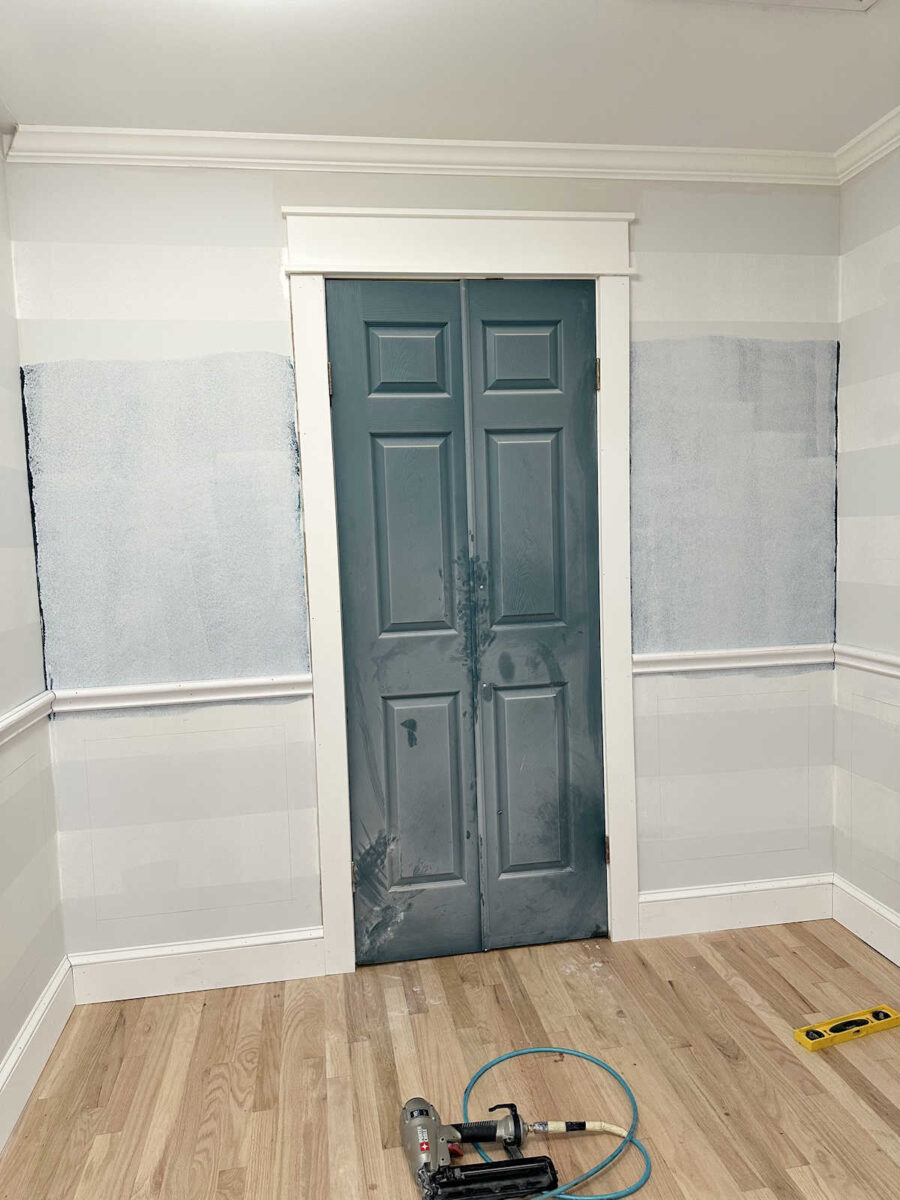
I did notice that I missed a spot on the ceiling, though. That will have to be primed because paint reacts differently over unprimed drywall than it does on primed drywall, and that spot will be obvious if it’s not primed.
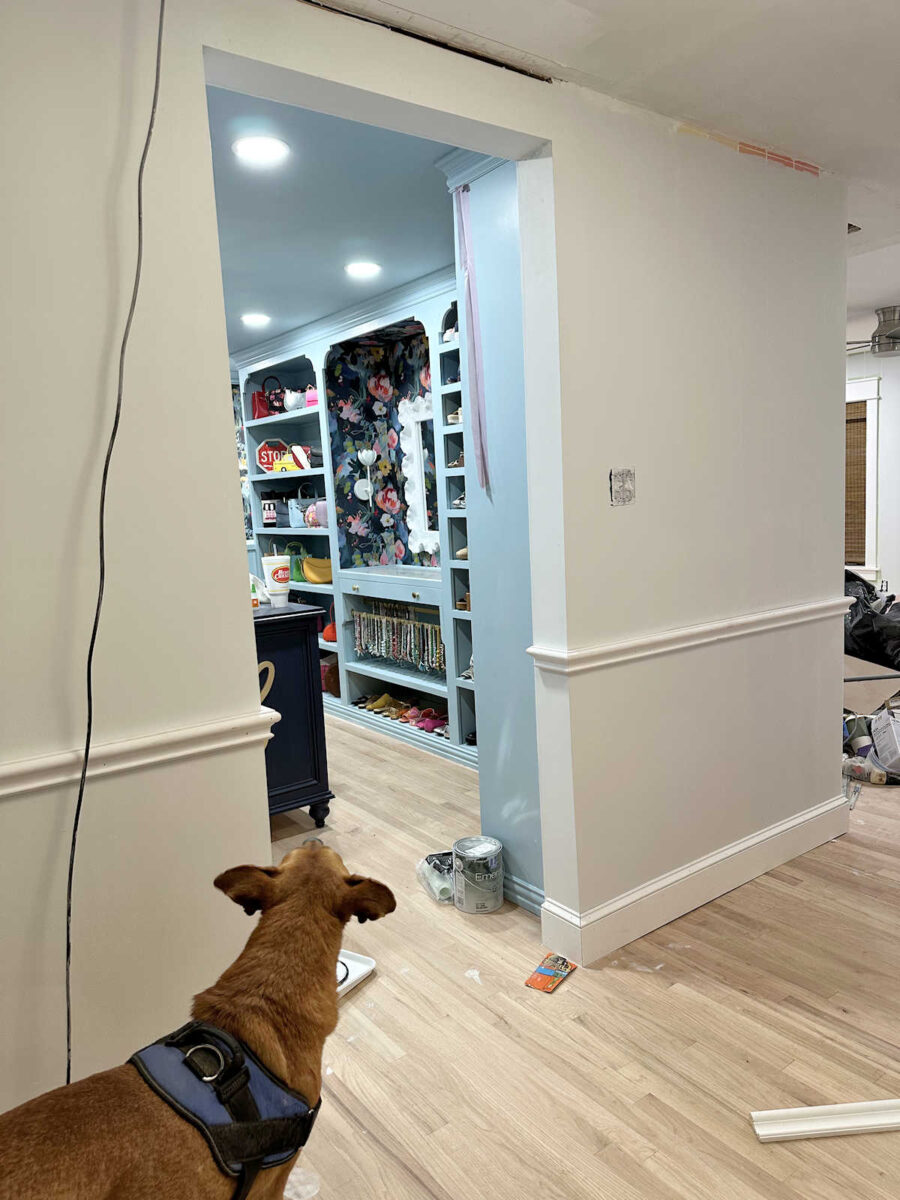
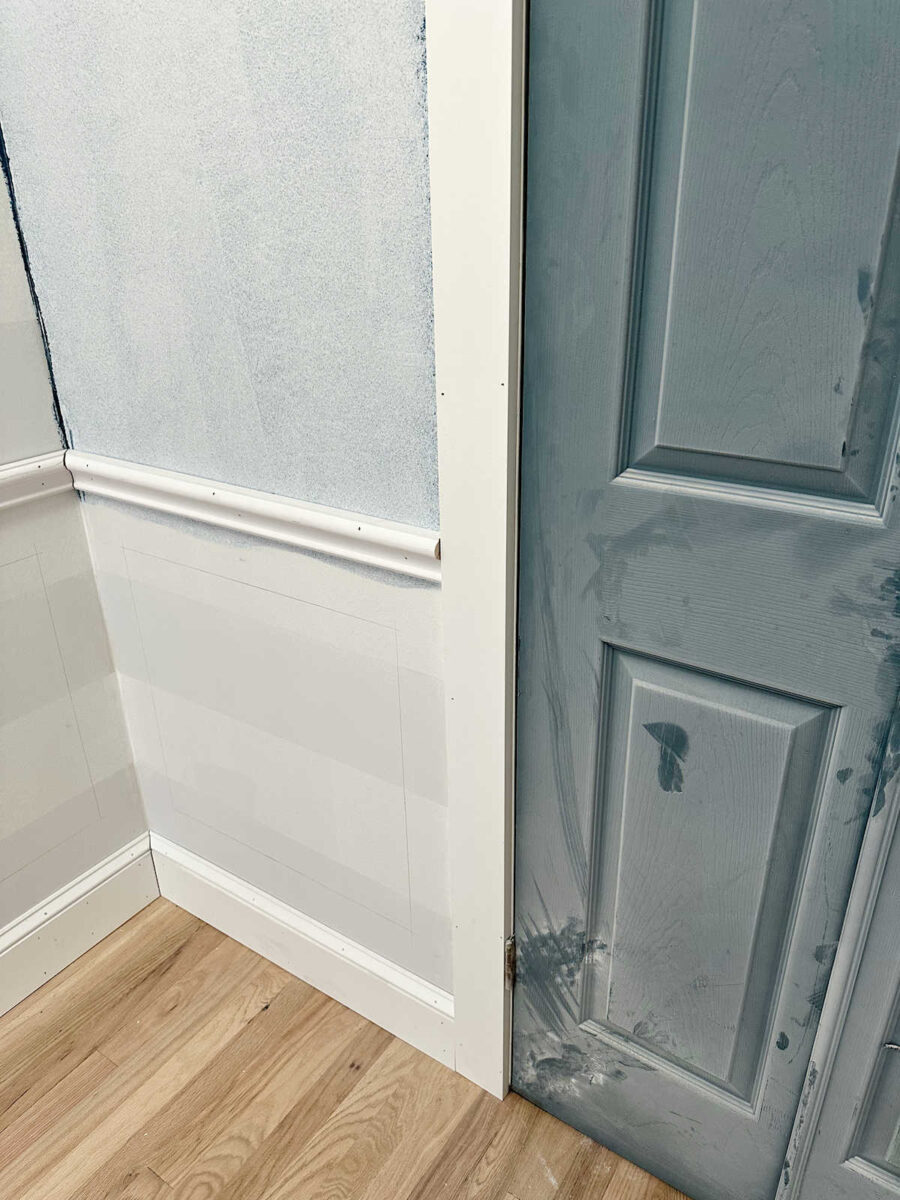
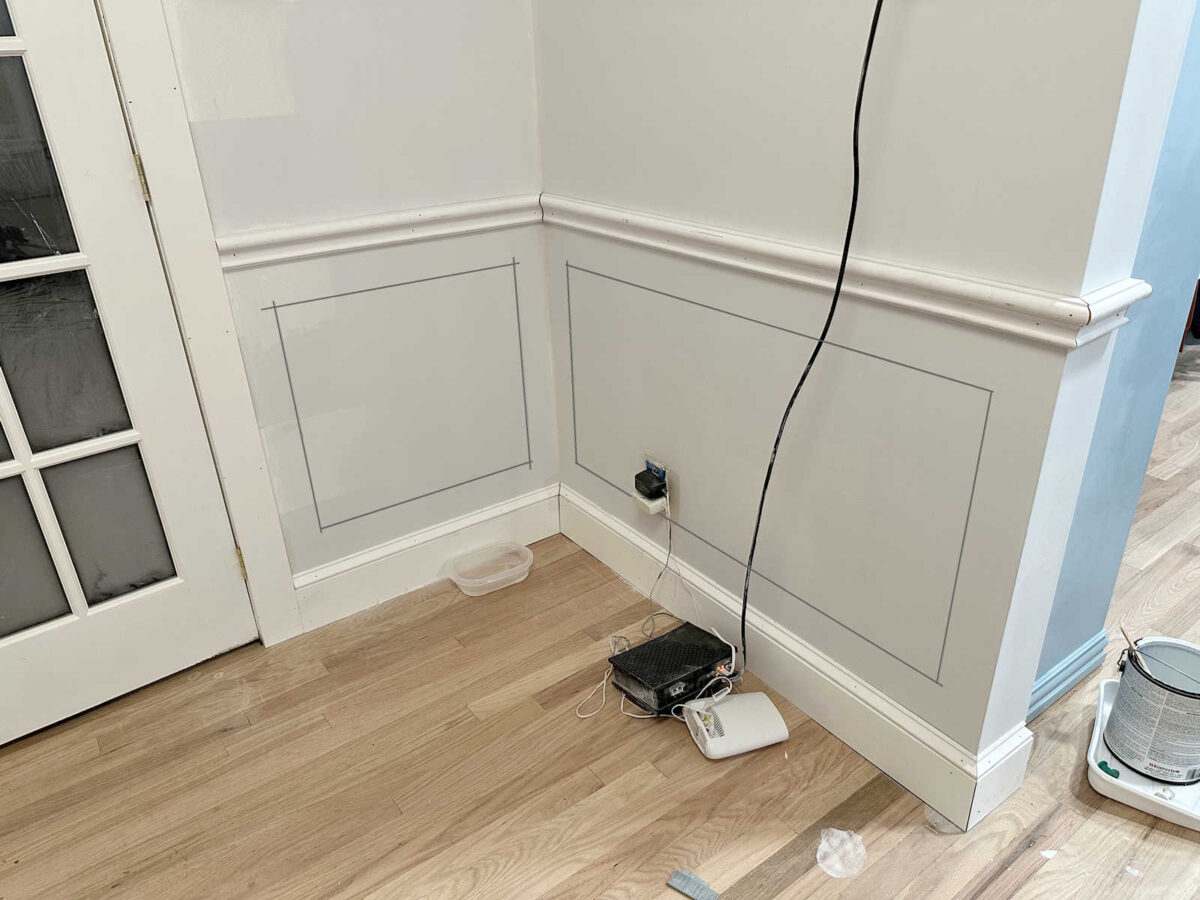
Since the walk-in closet doorway is different from all the other doorways in the house (i.e., taller and just drywall wrapped around the jambs instead of trimmed out), I decided to wrap the chair rail around the door jambs. Since it’s different, I wanted it to be very obviously different so that it looks very intentional. I really love how this turned out.
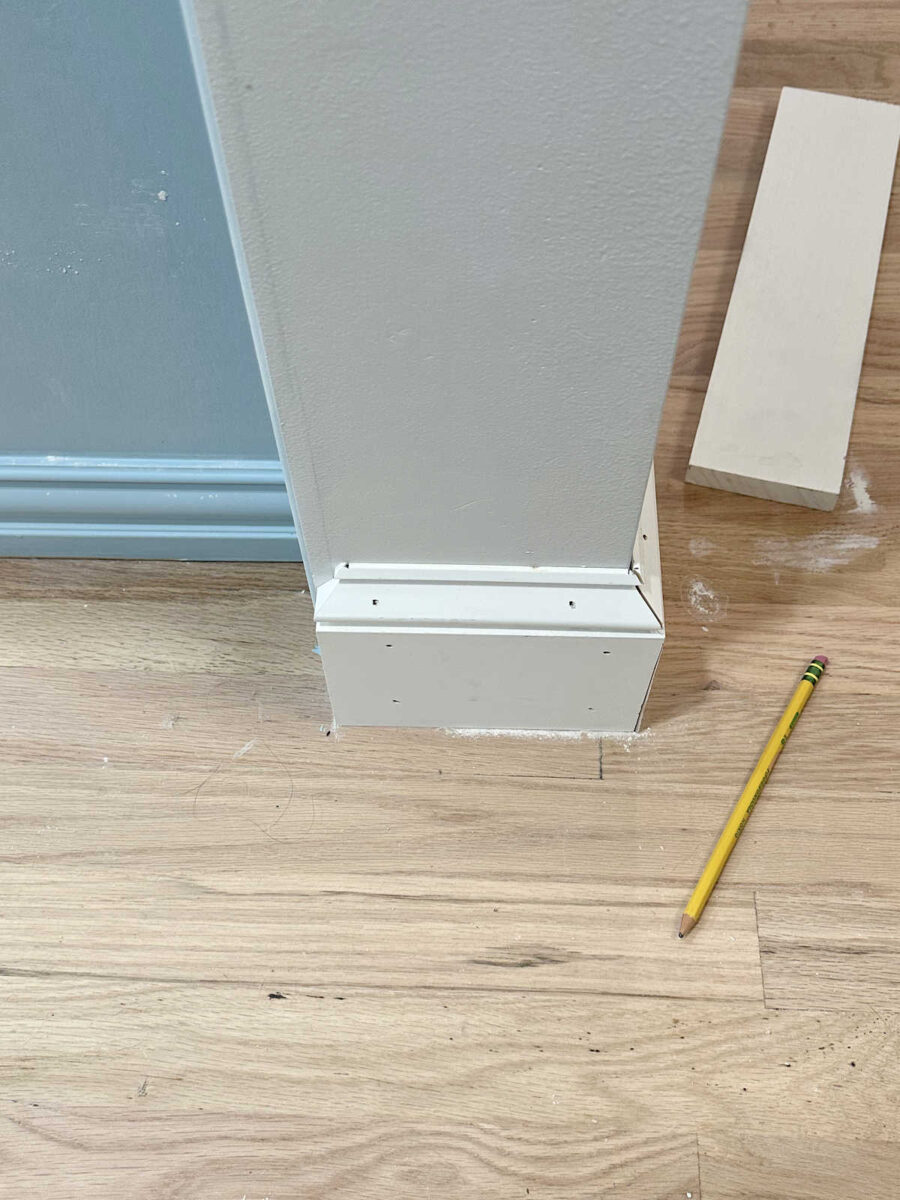
On the baseboards, I did a straight cut on the 1×5 board, but on the basecap, I did the 45-degree cut so that it ended at the wall.
And then I did the same thing with the chair rail with the 45-degree turn that ends at the wall.
That will make the wallpaper installation a little more challenging in that area, but I’ll just have to be very patient and meticulous about it, and I think it’ll look nice.
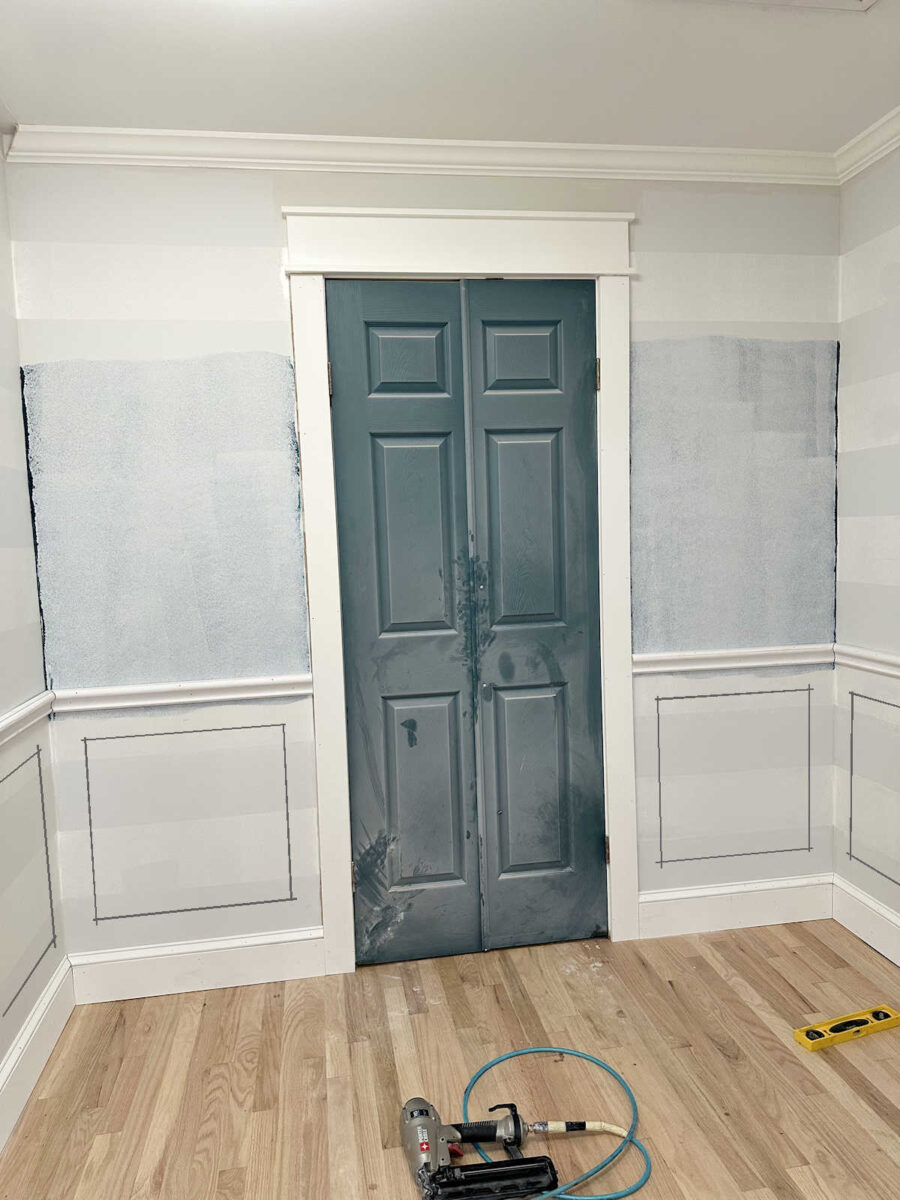
In the areas where the chair rail butts up against doorways that are trimmed out, I just did a straight cut on those area. That’s how I did it in the music room, so I wanted those to be consistent. Once those ends are painted, they tend to disappear.
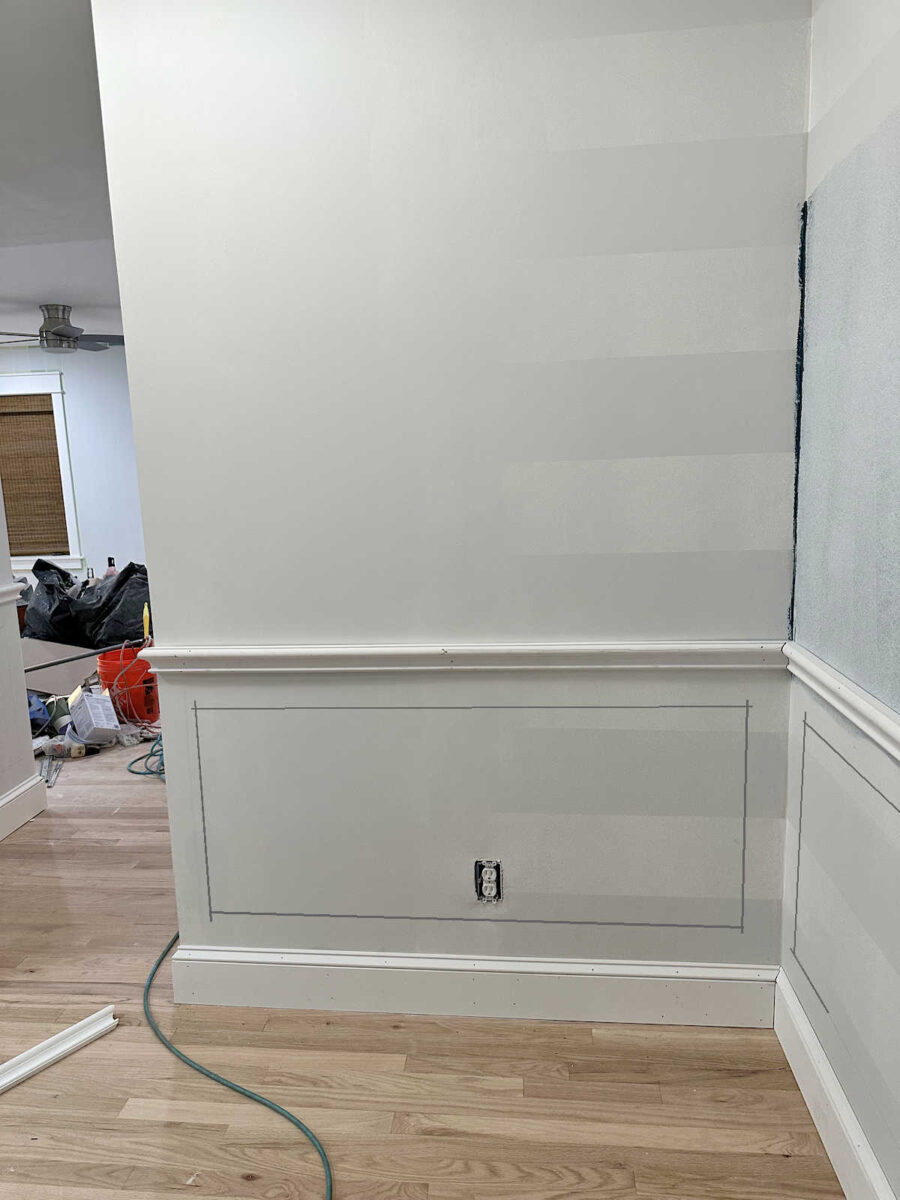
While I didn’t get any of the picture frame molding cut and attached yesterday, I did get all of the walls prepped for that. I know different people have different methods for this, but this is how I do it. I use a 1″x4″ board and a pencil…
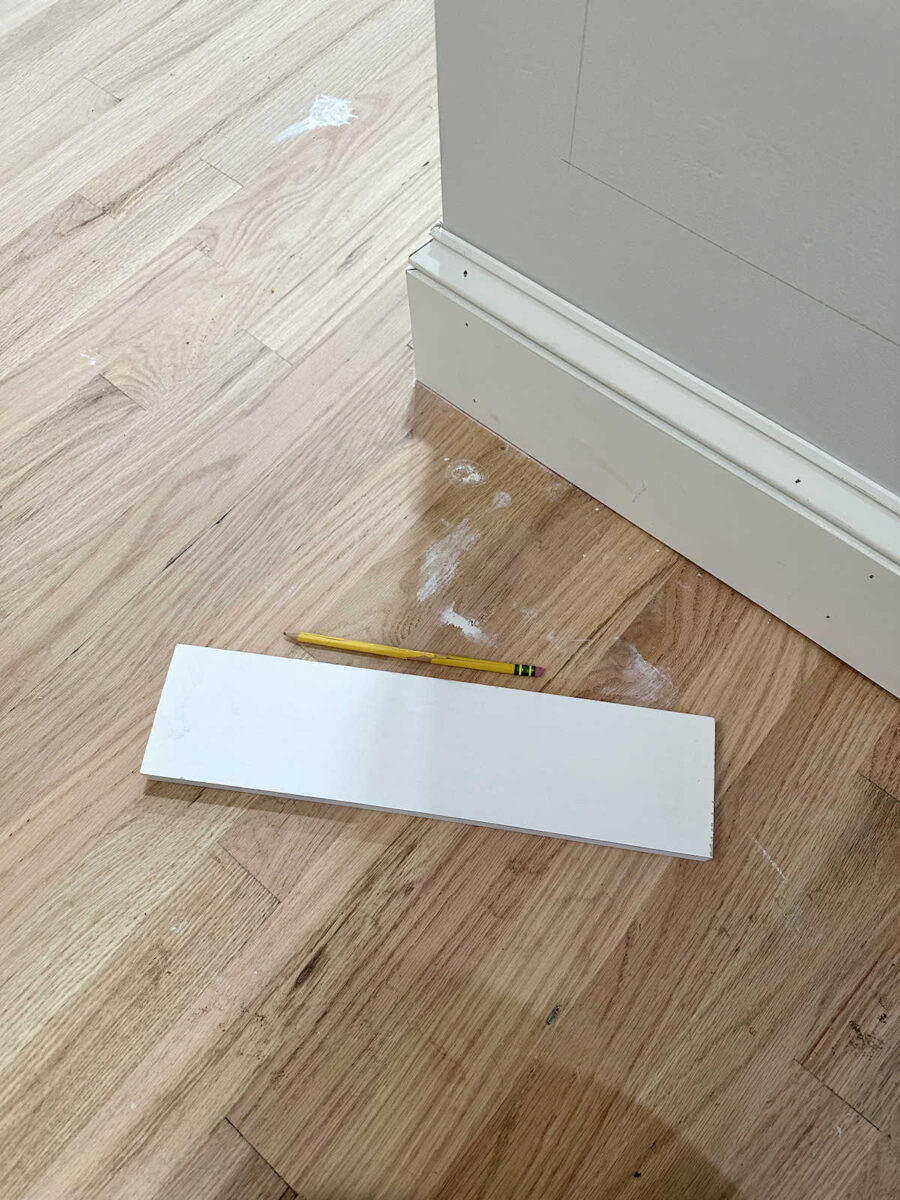
And then I place that on top of the baseboards (on top of the base cap) and draw the line on the wall.
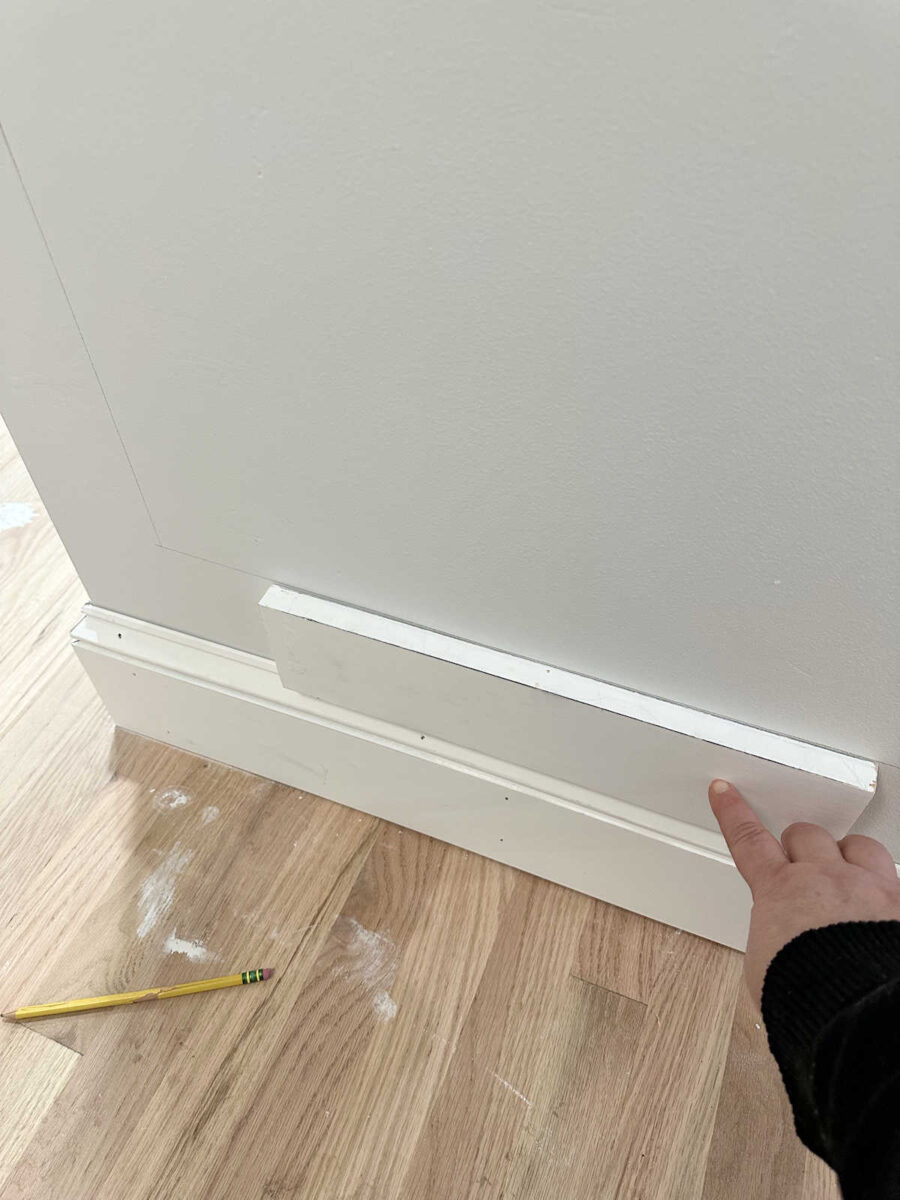
And then I repeat that process under the chair rail, and then on the sides to create the vertical lines.
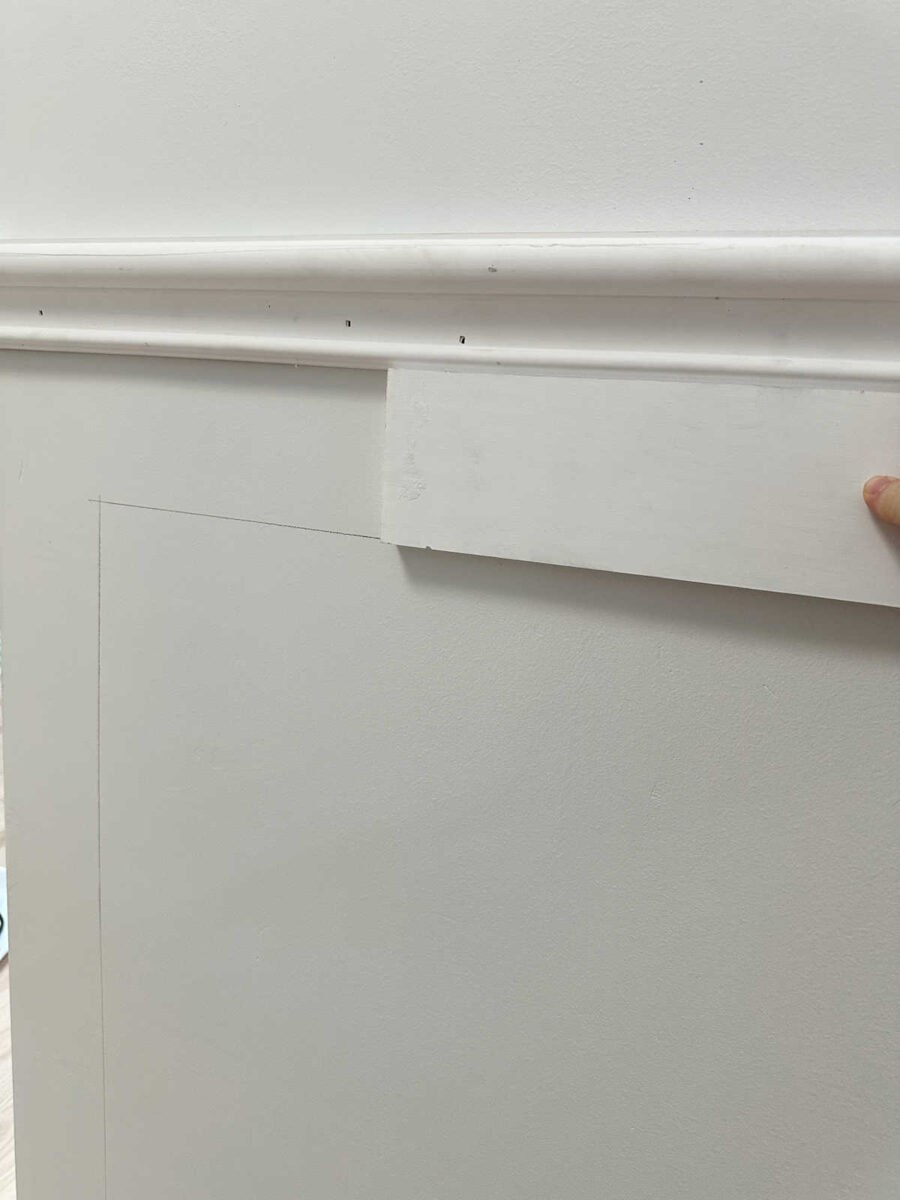
Once I have that box drawn on the wall (I’ve enhanced my pencil marks in the image below), I measure each individual line to cut the trim.
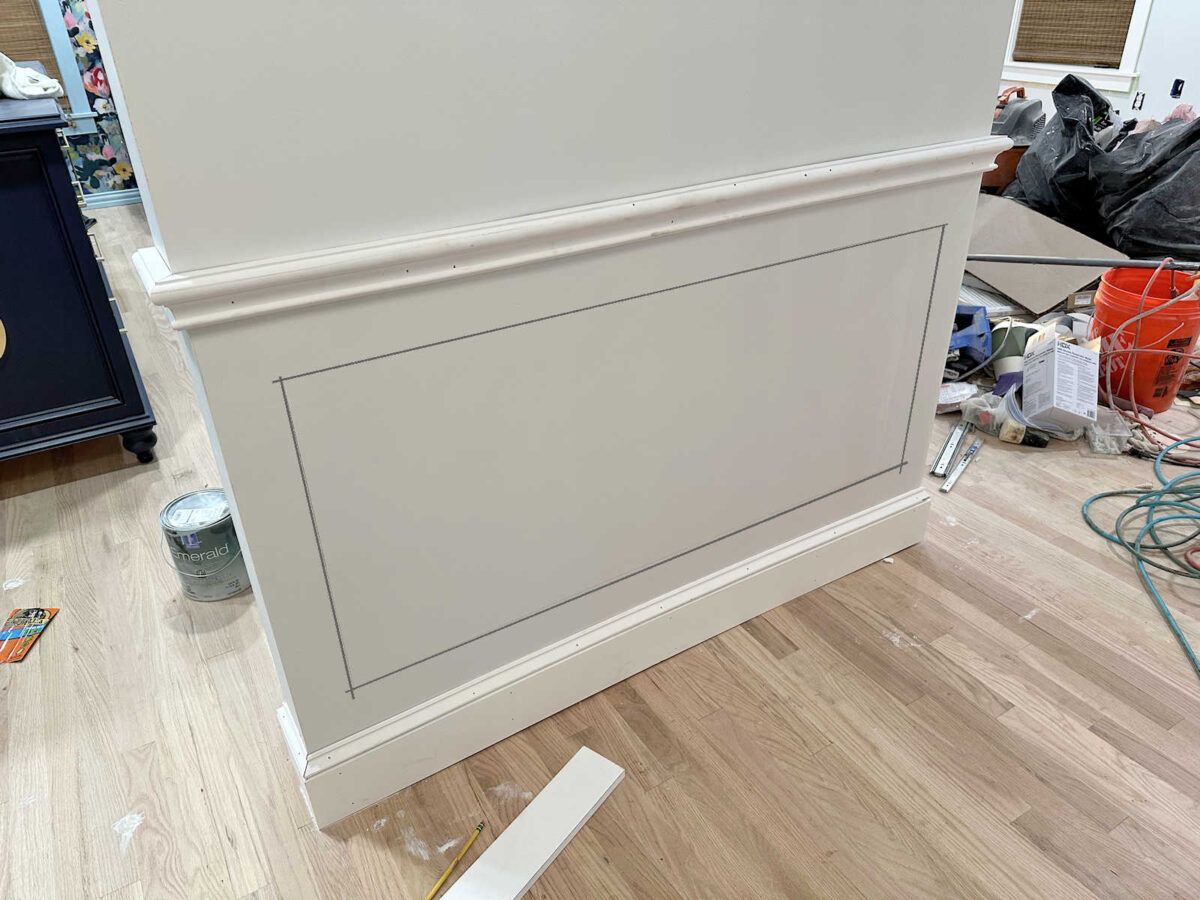
The reason I do it this way is because I’ve learned the hard way that when dealing with an old house where baseboards might not be perfectly level and nothing is perfectly square, the finished picture frame molding looks a lot better if I follow the lines of the walls, baseboards, and chair rail rather than building picture frames that are perfectly square and trying to make those fit inside areas where the trim around them might not be perfectly square and level.
It’s a little more work to do it this way because every individual line has to be measured, but I’ve found that it produces a better finished result.
So today, I’ll begin the work of measuring all of these lines and cutting the molding for the picture frames. I’m not sure how much I’ll be able to get done, again because of my hand, but if at all possible, I want to at least get all of the trim in the foyer finished.
That includes the picture frames plus the rest of the crown molding. If I can at least get that much done, I’ll be very happy about the progress.
I hate that I’ve been slowed down by an injured hand, but that’s just how life goes, right? It’s definitely getting better, but it’s aggravating to be slowed down like this. I’ll just keep making small steps forward until I feel like I can move forward at a full sprint without reinjuring myself.
More About Our Master Bedroom
see all master
bedroom diy projects

read all master
bedroom blog posts

Addicted 2 Decorating is where I share my DIY and decorating journey as I remodel and decorate the 1948 fixer upper that my husband, Matt, and I bought in 2013. Matt has M.S. and is unable to do physical work, so I do the majority of the work on the house by myself. You can learn more about me here.